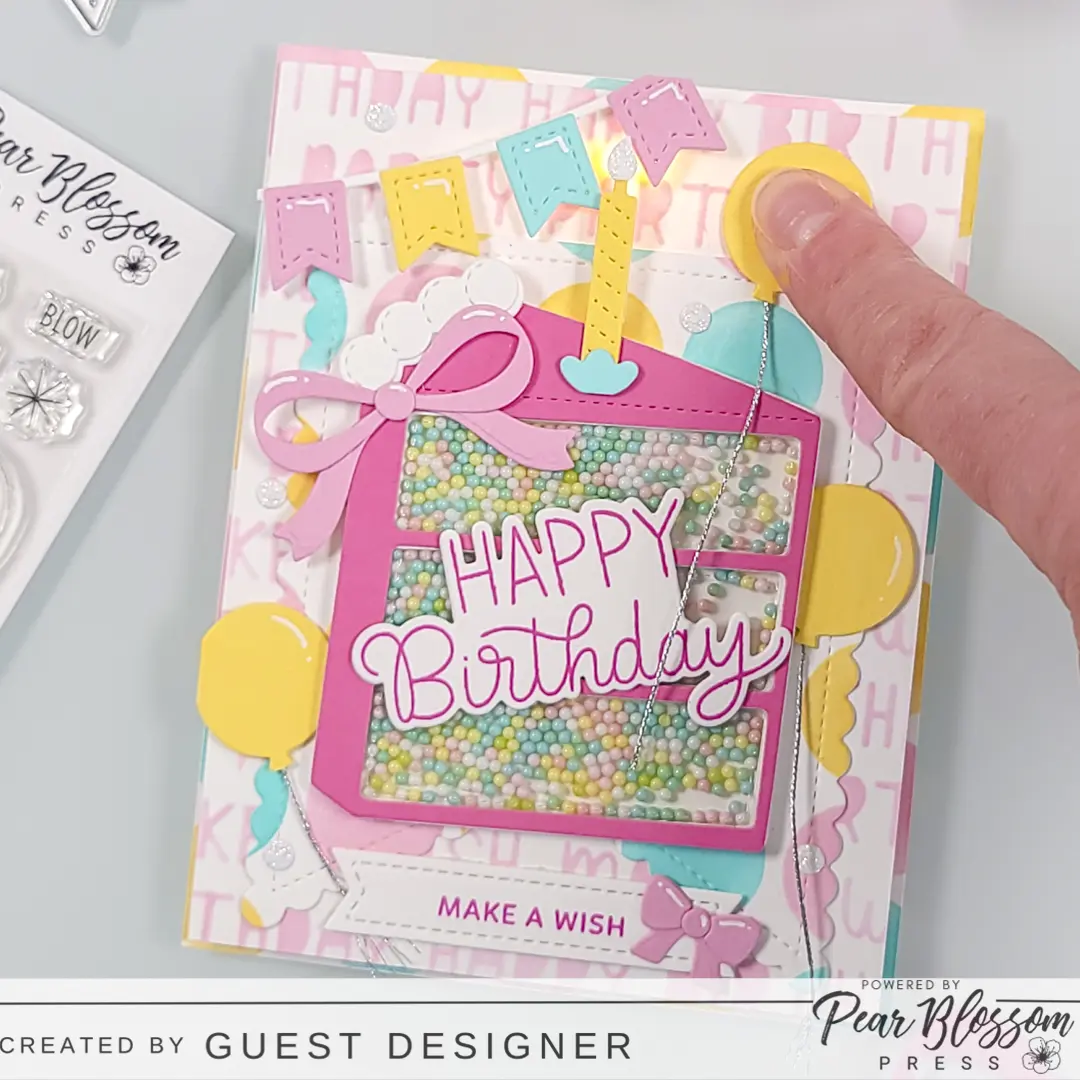
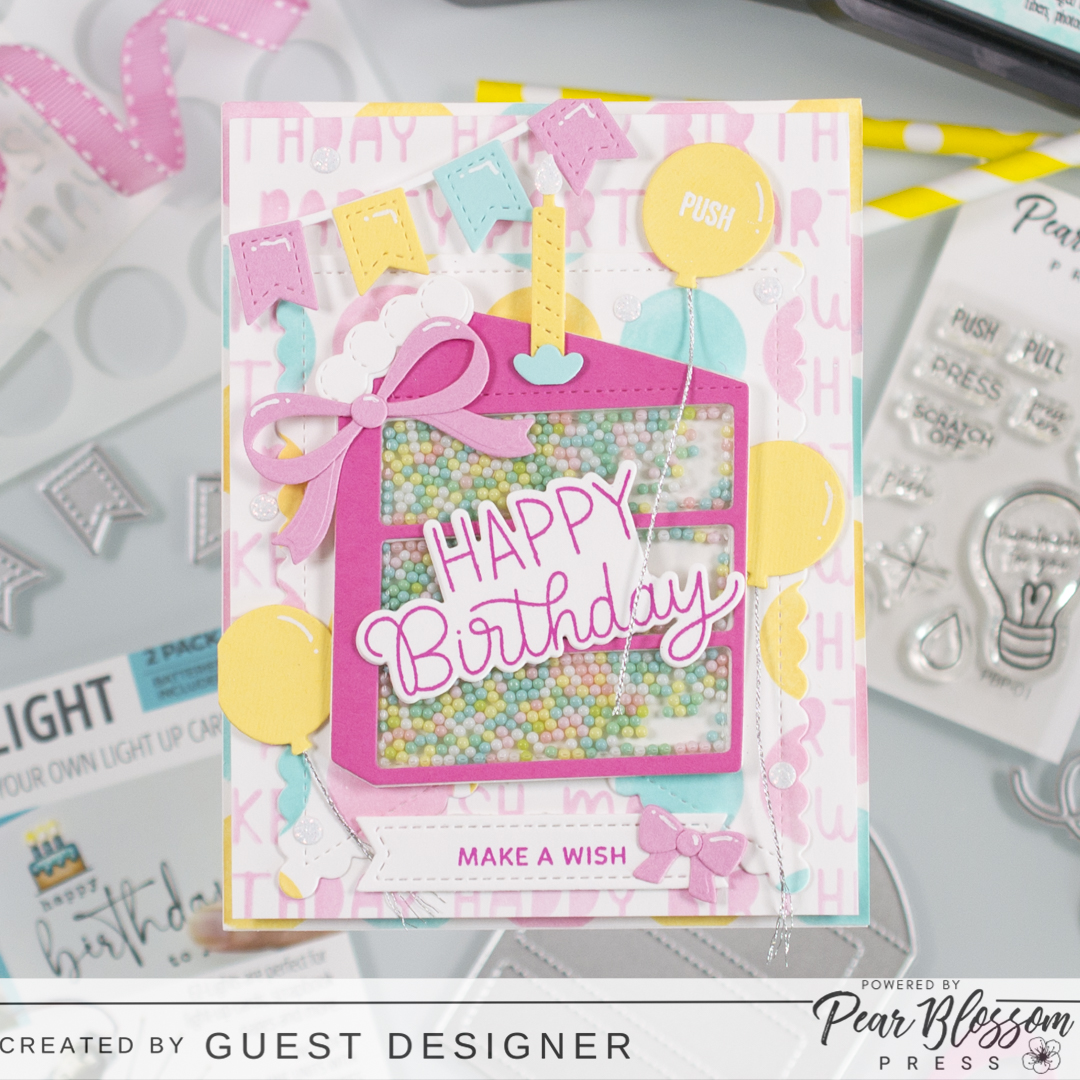
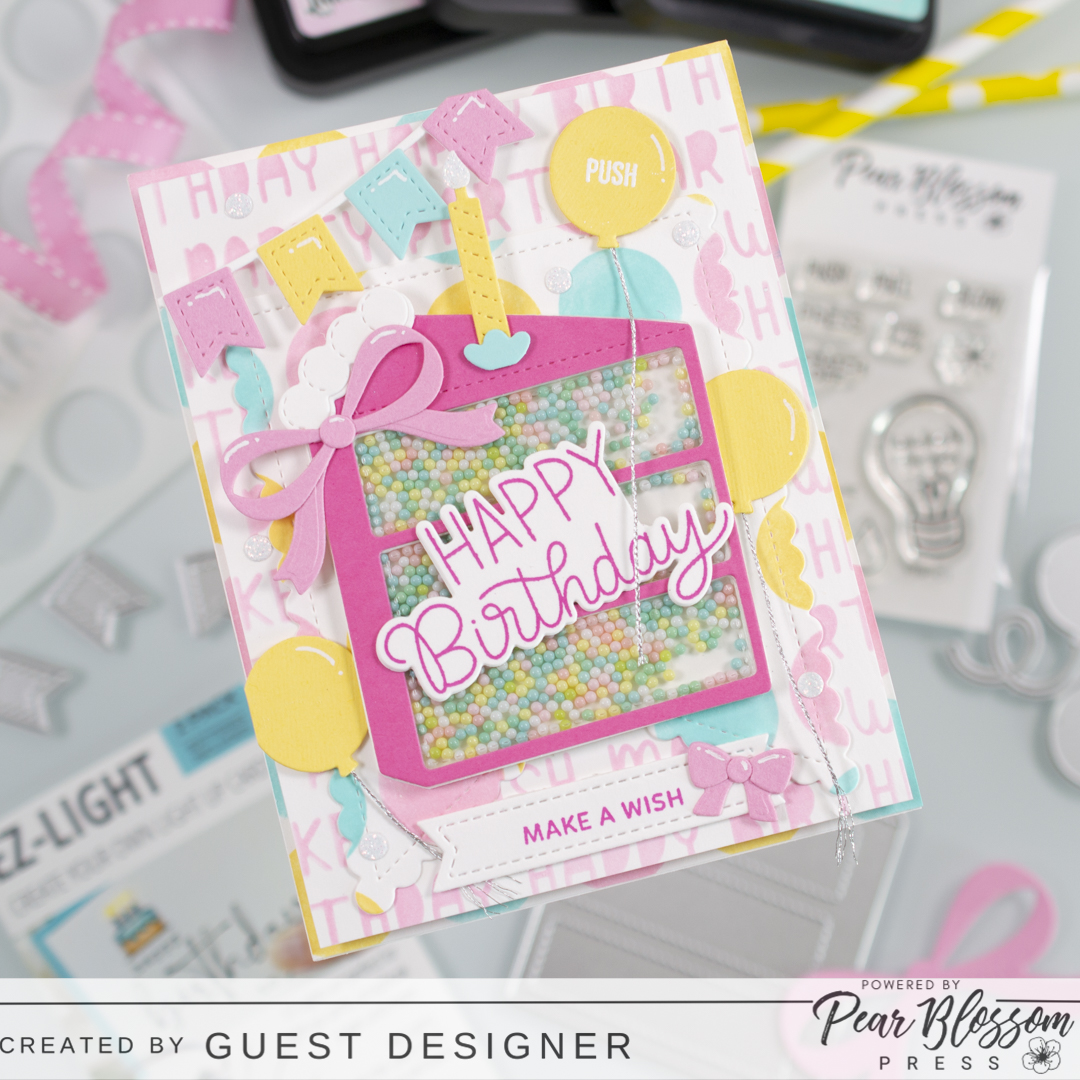
Hello! Christina here with you today and I’m so excited to be a guest designer this month on the Pear Blossom Press blog! I have a fun project to share with you featuring the EZ-Light unit, which actually is super easy to use, and for an added interactive element, I also made this birthday card design into a shaker! Below you’ll find a supply list and all the details about creating this fun card. So let’s get started!

SUPPLIES
EZ-Light pack
PB Press Stamp and Die Bundle
Cake Slice Shaker
Spring Breeze Shaker Beads
Sweet Dreams Shaker Beads
Streamer Dies
Scallop Flag Tags Dies
Circle Grid Stencil
Birthday Words Stencil
Alphabet Candles Stamp Set – “Happy Birthday” Sentiment
Alphabet Candles Coordinating Dies
Birthday Mug Addition Dies – balloons
Foam Tape
Distress Ink Colors:
Spun Sugar
Scattered Straw
Salvaged Patina
Hero Arts Ultra Pink Core Ink Pad – sentiments
White Embossing Powder – “Push” stamp instructions
Clear Embossing Ink
Clear Acetate
Pastel Colored Cardstock
White Glitter Cardstock – candle flame and confetti
Silver Metallic Twine – balloon strings
White Gel Pen – highlights
My first step was to stencil two white cardstock panels measuring 4 ¼ x 5 ½ inches. I stenciled one using the Birthday Words with Spun Sugar Distress Ink and the other using the Circle Grid design with Spun Sugar, Scattered Straw, and Salvaged Patina Distress Inks. I trimmed the birthday words panel to approximately 4 x 5 ¼ inches and then die cut a large Scallop
Flag from the center of the Circle Grid panel. Next I layered the Scallop Flag onto the Birthday Words panel to create the background for our shaker element. (I saved the remaining Circle Grid panel that I die cut the Scallop Flag from for the last step!)
Next, I created the shaker element using the Cake Slice Shaker Dies. I die cut the cake slice frame from white cardstock 6 or 7 times and stacked and glued them together to create the shaker walls. For the base of the shaker, I die cut a full cake slice from white cardstock and then attached the stacked shaker walls to it. Next, for the shaker window, I die cut a cake slice frame from bright pink cardstock and attached a piece of acetate to the reverse side. With the shaker components completed, I filled the shaker wells with the beads and then secured the shaker window to the top with liquid adhesive.
My next step was to get started on the remaining elements of my card design. I die cut the candle, the balloons, the streamer, and a few other decorative details from coordinating pastel- colored cardstock. I also stamped and die cut the main sentiment as well as the smaller secondary sentiment strip.
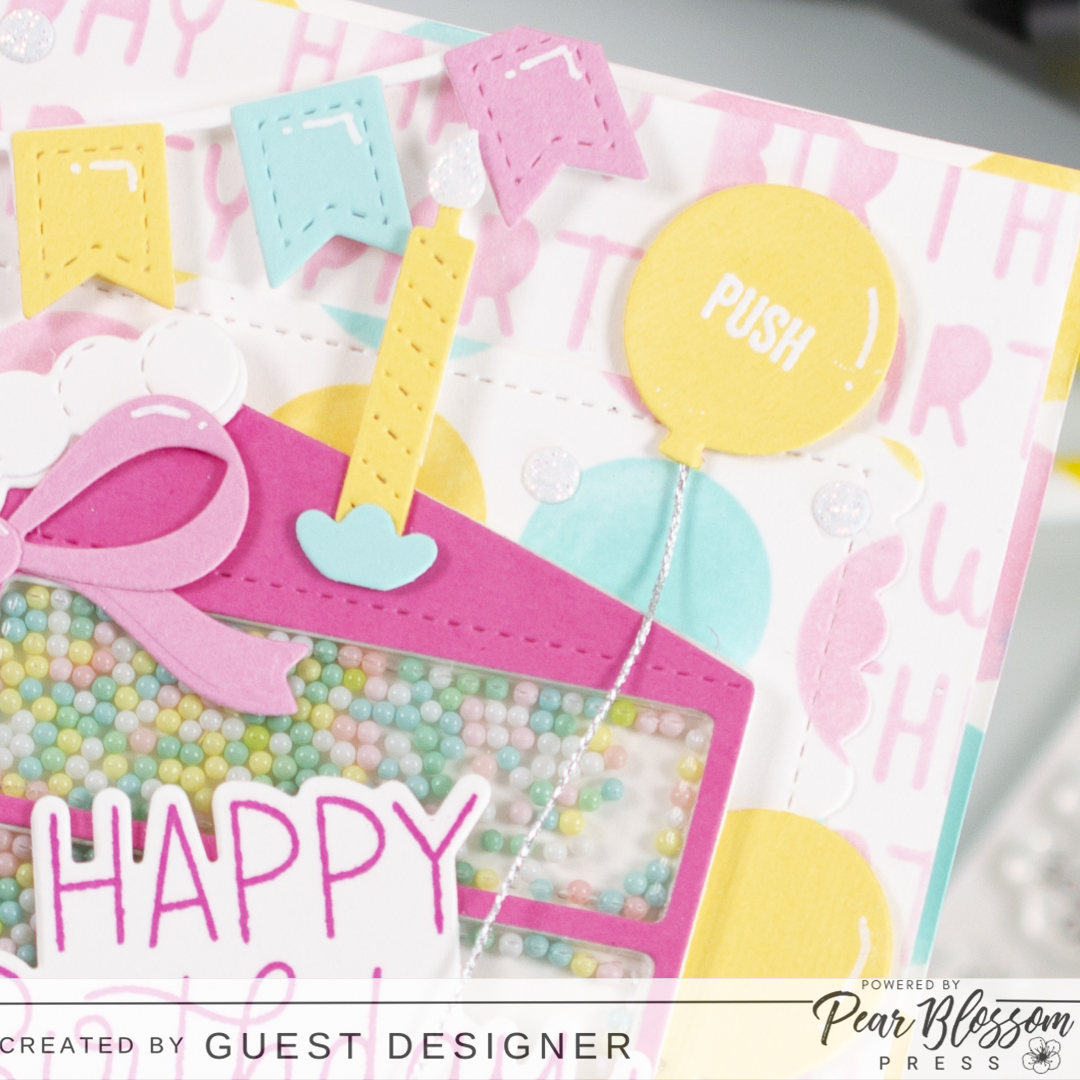
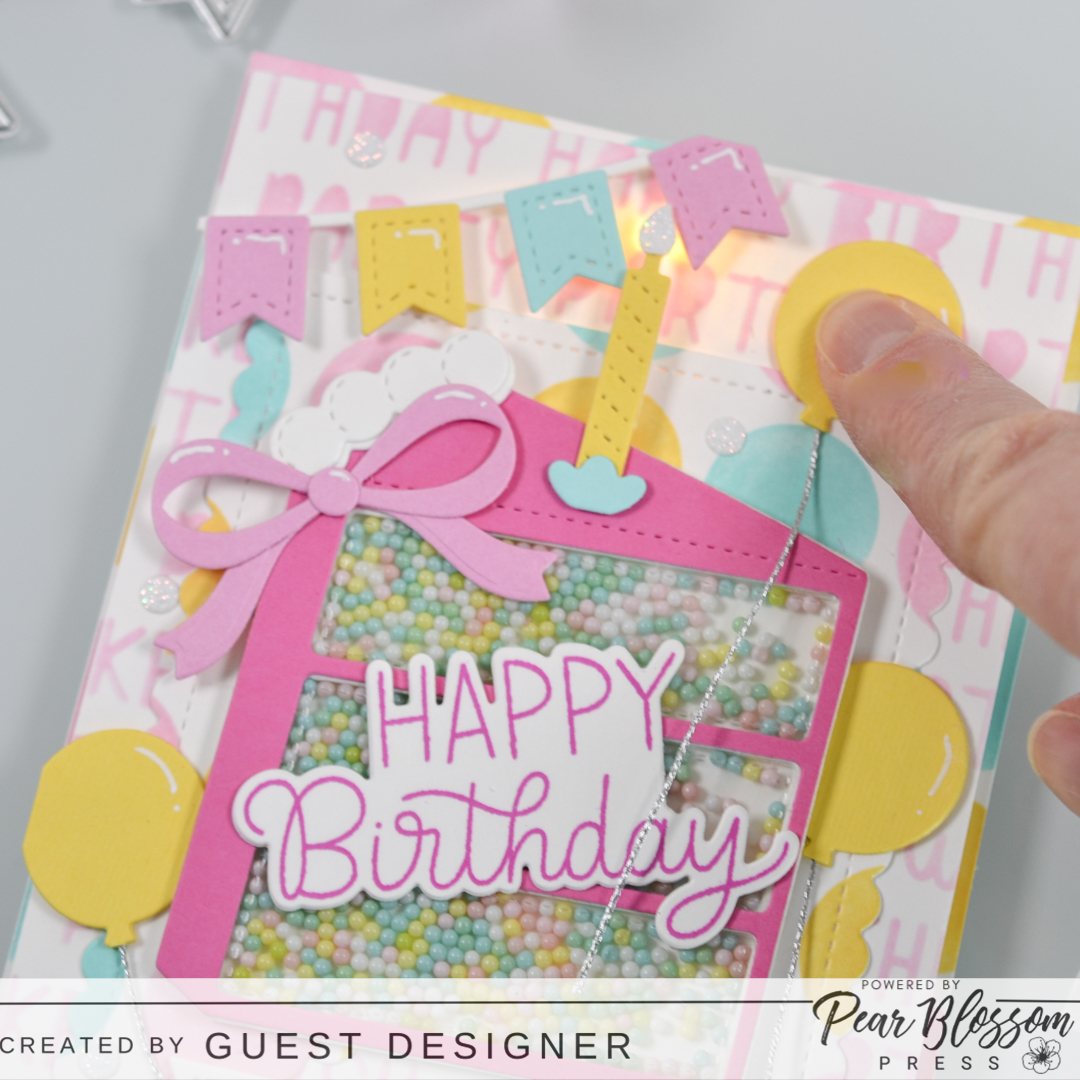
Finally I was ready to assemble my card. I started by attaching the shaker to the background panel and then added the candle using a thin foam strip. With the candle in place, I knew exactly where the EZ Lights should be under the panel. With that decided, I needed to figure out where to add the push button element. I decided the top right corner would work best for my design and added a balloon with “Push” stamped and embossed in the center. Before adding any other details, I got to work on the EZ – Light mechanics. You can see in the picture below how easy it was to create.
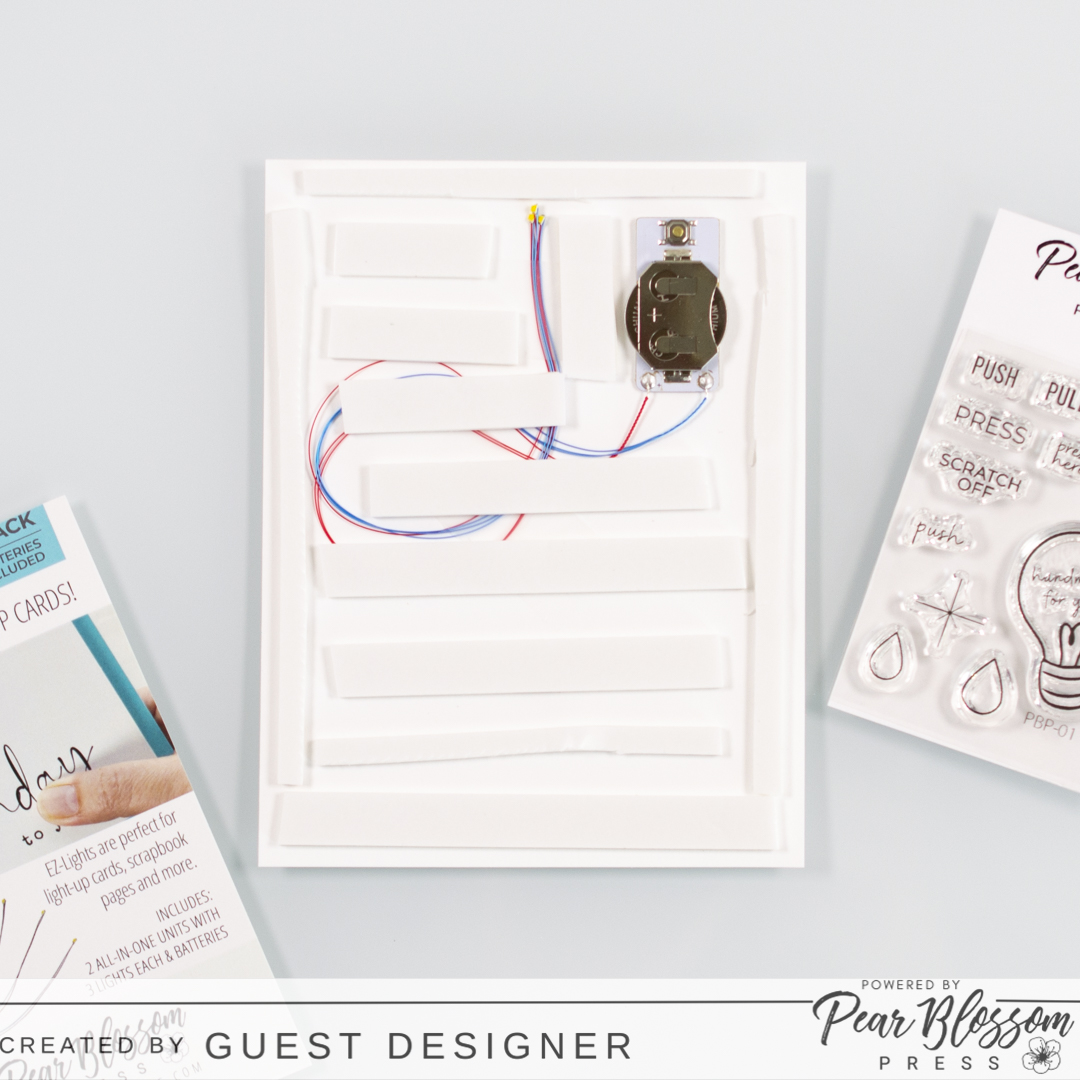
I started with a white cardstock panel the same size as my background panel, 4 x 5 ¼ inches, so they would line up perfectly. You can assemble this on the reverse side of your background panel too, but I found it easier for this card design to create a separate panel. Then I used regular scotch tape to secure the lights and wires in place. The Ez – Lights have three separate lights that you can use all together, or you can separate them on your design to have different areas light up. You can also snip off any you don’t want to use, but I decided to use all three under my one candle! Lastly, I attached foam tape across the panel, inserted the battery, and then placed my background panel right on top.
My last steps to creating this card was to add all the fun decorative details. I started by attaching the entire panel to the stenciled Circle Grid panel that we saved from step one. That panel was 4 ¼ x 5 ½ inches, so it created a thin border at the base of the main background panel. Then I added a couple more balloons to balance out the design, I decorated the cake slice with frosting and a bow, I added a fun fishtail streamer and some glitter confetti pieces, and of course I added the sentiments. I used a combination of liquid adhesive and foam squares to attach all of these decorative elements to my card design and finished with metallic silver balloon strings and a few white gel pen highlights.
Thank you so much for stopping by to read all about my fun double interactive birthday card! I had a blast creating it, and I hope you’re inspired to create your own light-up card. Happy crafting, and I’ll see you again later this month!
*Note: This post contains some affiliate links to companies that I love and support. If used, I earn a small commission, at no extra cost to you, to help support the inspiration I provide. Thank you so much for your support.❤️
