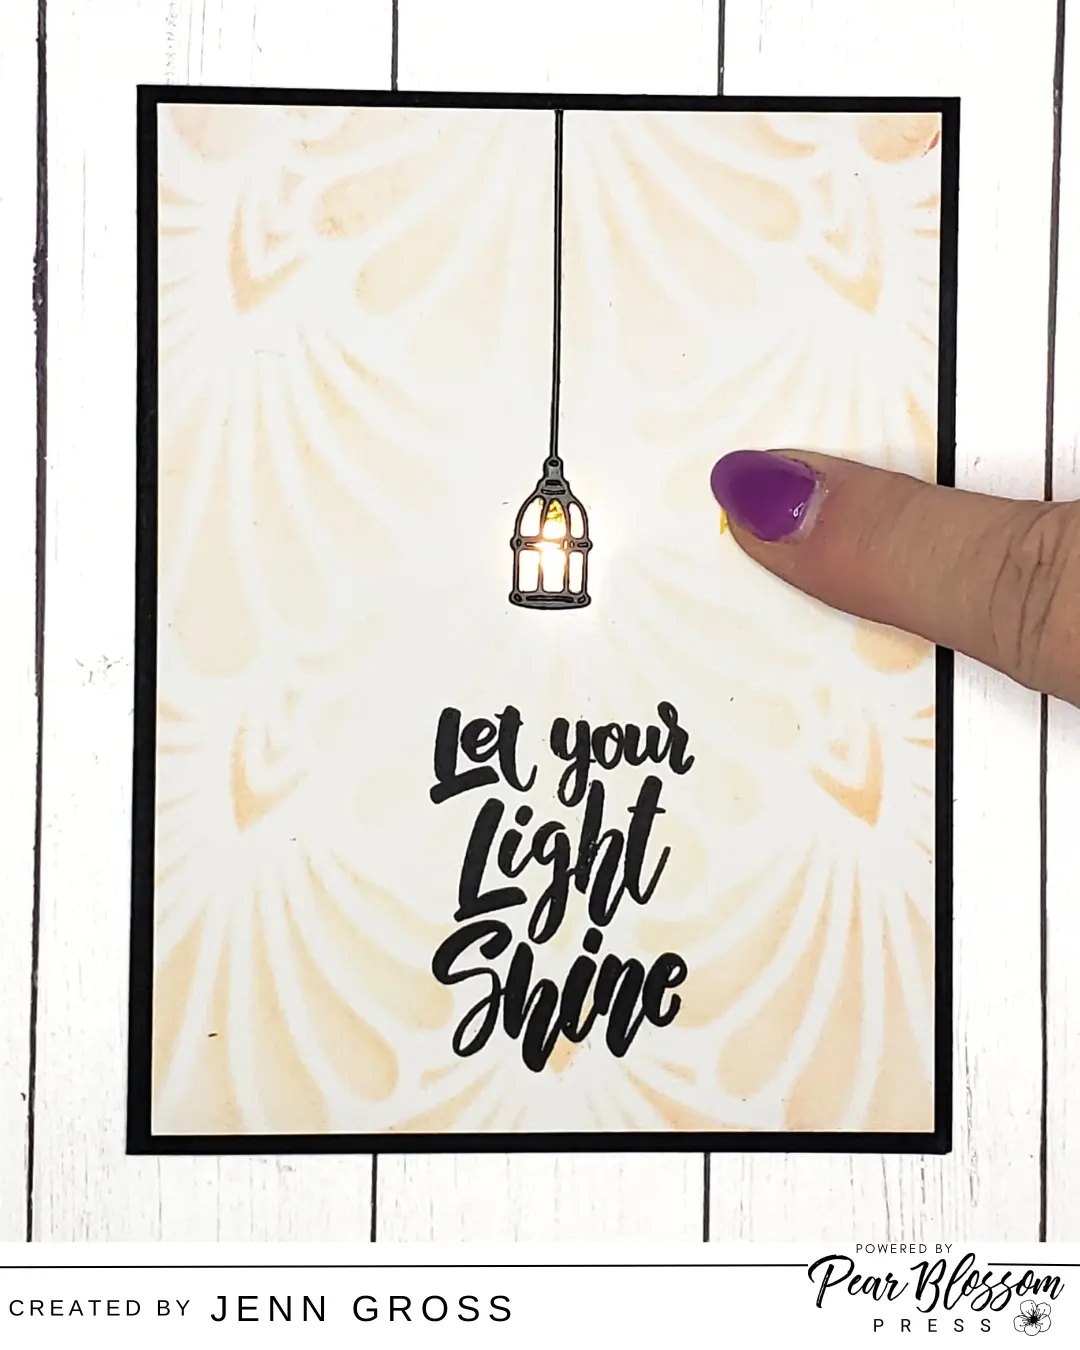
Hello crafty friends, Jenn here you can follow me on social media @journeycoachjenn. Today I have this clean and simple light-up card featuring the One-Light by Pear Blossom Press. I also hacve a zero waiste stenciling techniques to share in the step tutorial below!

Supply List – Pear Blossom Press
One-Light
Gold Vellum
PB Press Stamp and Die set
The World’s Best Foam Tape
Additional Supplies
Deco Fan Stencil from A Colorful Life Designs (use code JennGFan10 at check out)
Industrial Light die from Gummiapan
Bearly Arts Craft Glue
Scout Die Cutting Machine
Low Tack Adhesive Tape
Sentiment Stamps from your stash
Versafine Clair ink
Non-photo blue pencil
Let’s make this CAS light up card!

A – I achieved this subtle background by reusing a previously inked Deco Fan stencil from another project. I positioned and secured the inked stencil on piece of clean white cardstock and used a baby wipt to clean it off. Using the baby wipe disperses the leftover ink and makes a softer stenciled background for this 4″ x 5 1/4″ card front
B – I stamped a sentiment from my stash “Let your light shine” with Versafine black ink on the lower middle area of the card front
C & D – I die cut the Industrial Light die (from Gummiapan) using black cardstock for the light fixture and gold vellum for the light bulb. Glue the parts together

E, F, & G – To position the hole for the one light, die cut an additional Industrial light fixture. Use this to find the placement for the light hole and mark it. I use a non-photo blue pencil to mark the placement

H & I – I created a mini candle die jig with a piece of cardstock to assist with placement of the smallest candle light die from the PB Press Stamp and Dies set. Once positioned over the blue mark, use a low tack adhesive tape (like Mint Tape) to keep the small die in place when running it through the die cutting machine
J & K – Once the candle light hole is cut, turn over the card front to find the best placement for the One-Light. Use the blue pencil to mark the placement of the One Light and the button location. Stamp the “press here” sentiment on the card front where the button will be. Use a small piece of double sided tape in the middle of the One-Light silver battery holder and press into position on the backside of the card front

L & M – Glue the die cut Industrial Light die cut in place and press the button to test the light
N & O – Use The World’s Best Foam Tape to frame out the One-Light and back of the card front as shown in (N). Remove the release paper from the foam tape and attach the card front to a Black A2 card base. Try the light!

Thank you, I am so glad you took time to stop by and check out today’s Pear Blossom Press Let Your Light Shine – CAS industrial light-up card – featuring the One-Light. I hope you are inspired to light up your next project. Be sure to visit my blog for additional details and the step tutorial, See you next on the 10th of the month with a new light up project.
Until then, keep it light!
Jenn Gross
Note – Affiliate links are provided when available, If you purchase products from these links, I will receive a small commission from the company. This is at no additional charge to you. I appreciate and thank you for your support. Find additional affiliate links at https://hype.co/@journeycoachjenn
