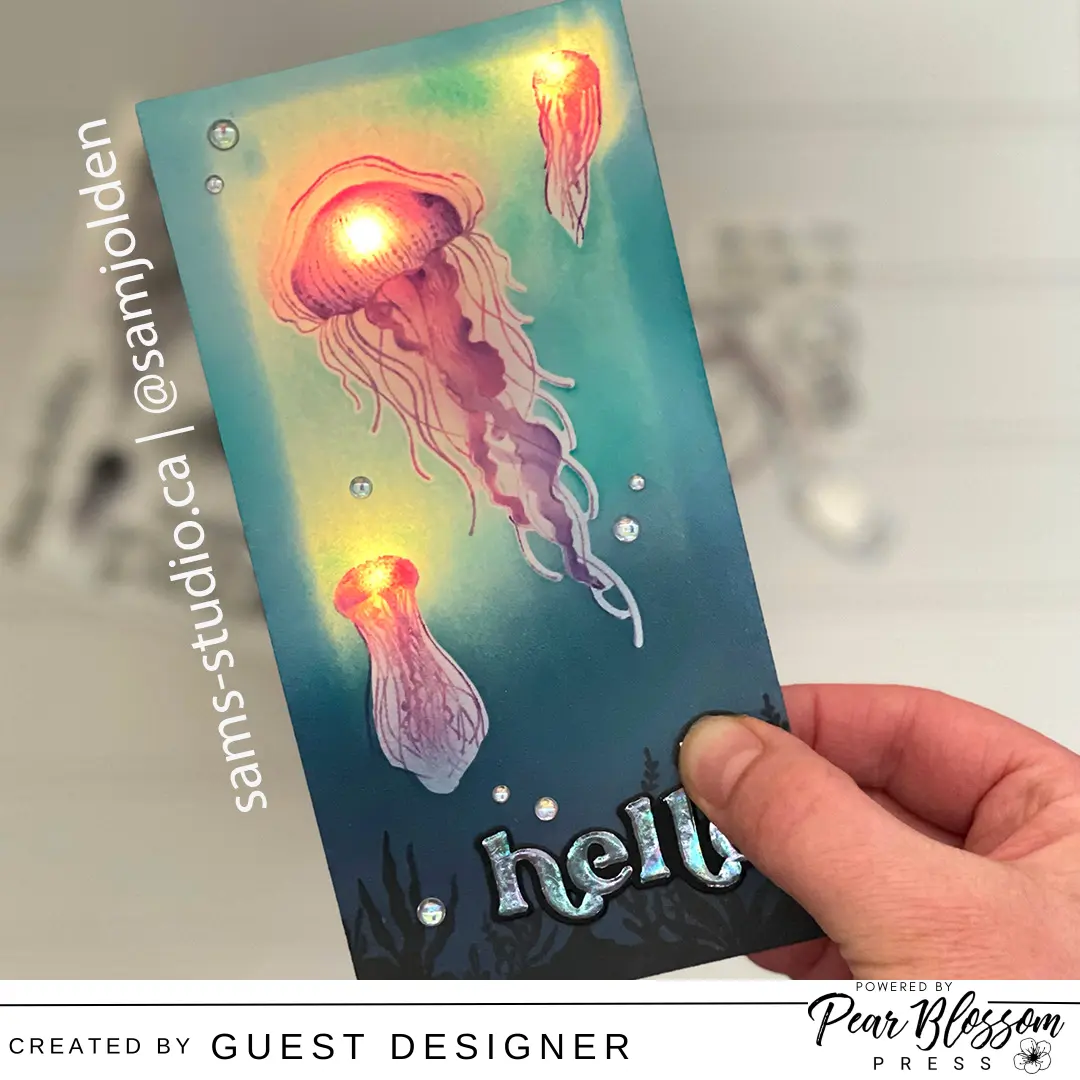
Sam here. Super excited to guest design with Pear Blossom and play around with some of their EZ lights. The inspiration for this card comes from the gorgeous luminescence that jellyfish seem to have and I’ve also wanted use this Jellyfish stamp and stencil set forever.

Supplies:
Trinity Stamps Jelly Fish Stamp and Stencil
Trinity Stamps Sea Life Silhouettes
Pear Blossom Press Stamp and Die
Distress Inks
Variety of favourite pink and purple inks

Get the Look:
- On a mini slim size cardstock. Layout and stamp the jellyfish using a partial stamping technique. I was very loose at adding pink and purple to the stamp, not worrying where it overlapped and dabbing any harsh lines with a stencil brush. This gives a really fun mottle blended colour outline that works well with stencilling.
- On a second mini slim panel re-stamp the jellyfish. Save this piece we will use it later to help line up the lights.
- Using the stencil blend over the same pinks and purples. Lighter colours work really well to give the effect of translucency on the jellyfish.
- For the tropical water background, cut out and mask the jellyfish. Then layer distress inks overtop. Keep the light colours closer to the body of the jellyfish and darker colours near the bottom of the panel. When happy with colour remove mask and then using ink remaining on blue water brushes lightly go over the tentacles of the jellyfish to help them look like they are submersed in the water.
- Along the bottom of the card in solid black ink stamp the silhouette seaweed and a small jellyfish.
- Using the Press stamp in ink with versa mark and emboss with white over the the small jellyfish.
- I struggled with whether to add a sentiment. In the end I pulled from my stash a hello that was covered with iridescent foil.
- To build the light element; take the second slim line panel with just the stamped jellyfish and use the image as a guide as to where to place the lights. Tape the wires in position. Place the button with installed battery aligned underneath the ‘press’ on the top panel. (See image)
- Because I wanted a soft glow for my jellyfish I doubled up on the foam tape around the card and raised the push button my adding single layer of foam tape beneath it.
- Before permanently adhering the top panel to the bottom light panel, quickly overlay the 2 panels and test that everything lines up and lights up. Finally attach to panel.

Hope you enjoyed learning a fun way to make light up cards. The lights definitely turn a card into something extra special. Happy papercrafting : )
