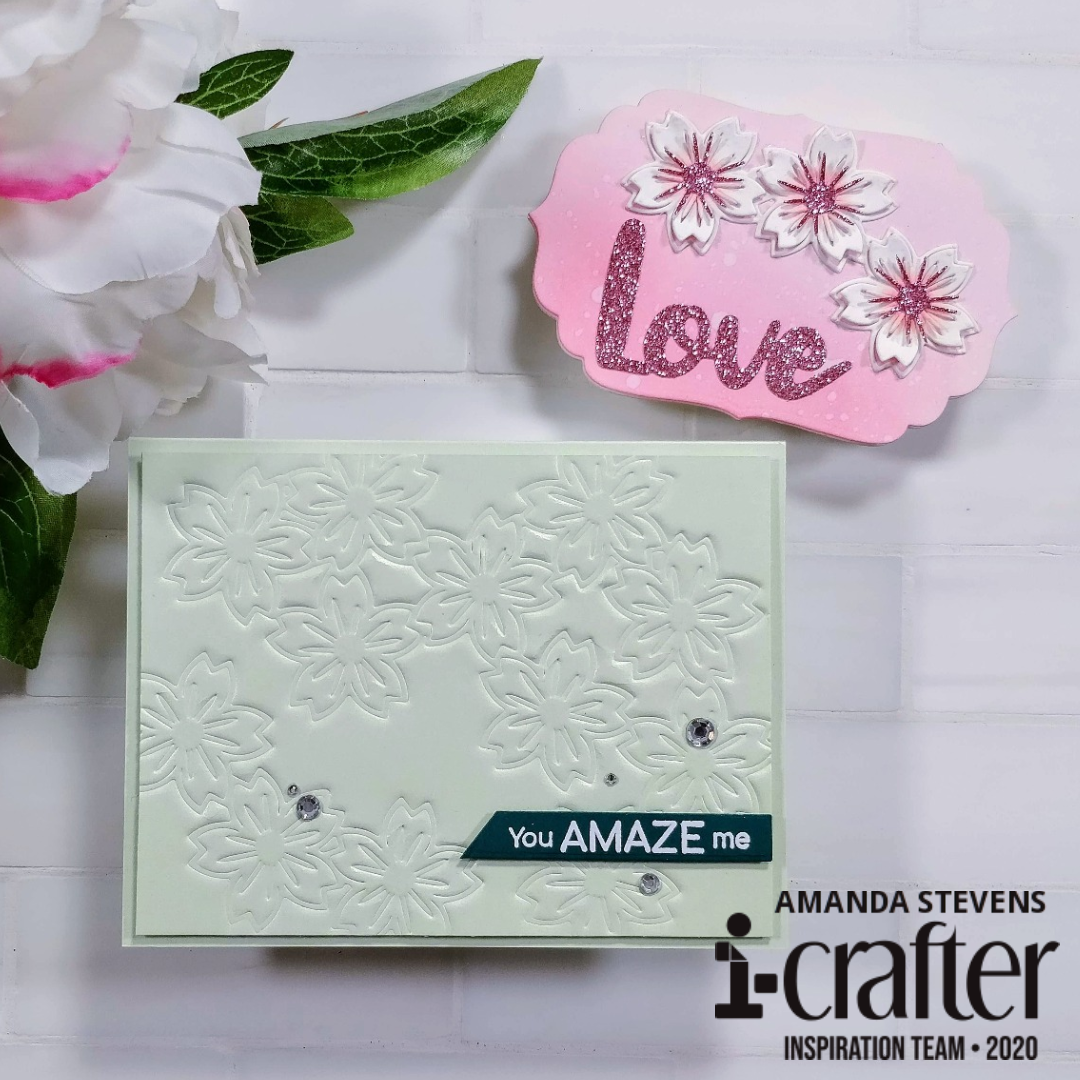
Hey crafty friends, I’m wrapping up the individual posts for the cards I made in my last video. Today, I want to focus on the die cutting techniques I used for the pair featuring Cherry Blossom Burst dies from i-crafter.
Dry embossing with dies is a neat way to add texture to a card front. I lined up several of the Cherry Blossom Burst dies on a pearl green panel and ran it through my die cutting machine using a squishy silicone pad in my sandwich. By placing the paper between the squishy pad and the dies, they will emboss the paper, rather than cut through it. My silicone pad came with a special top plate to use in place of the second cut pad. I also had to remove both tabs on the base plate of my machine to account for the thickness of the dies. It’s a good idea to test your sandwich with scrap paper.
To finish the card, I trimmed the panel down and popped it up with foam tape onto a pearl green panel. An embossed sentiment strip and a few flat-backed gems dress it up.
The second card featuring the Cherry Blossom Burst dies uses them as decoration. The real technique I wanted to demonstrate is how to create shaped cards using dies. I cut a pair of label shapes and scored a line 3/8″ from one edge. Applying glue only to the thin flap next to the score line, I glued the two labels together. The glued edge becomes the hinge for the card. You’ll want the scored piece to be the back layer, so the top is unmarred.
To finish this little card, I ink blended the top and added cherry blossoms with lightly inked centers, as well as pink glitter centers cut separately and layered on. I also added a glittery sentiment. I love how fast and easy it is to add dimension to the cherry blossom die cut pieces. You just put the cutout on a foam pad and rub the stamens and petals with a ball-tipped stylus. They pop up like magic! And the outer edges allow you to easily glue the whole thing to your card front.
If you didn’t get a chance to see the video, you can see it here…
Thanks for stopping by today! You can find the sister article to this on the i-crafter blog. Head on over to see all of the fun dies featured this month, as well as a sneak peek of the ones we’ll be playing with in March! Look for the next inspiration hop on the first!
This site uses affiliate links whenever possible (at no additional cost to you), but only for products I actually use and love.


One thought on “More Die Cutting Techniques with i-crafter”