Valentine’s Day is almost here, and what better way to say “I love you” than with a card that lights up? This isn’t your average card — we’re talking about a DIY light-up greeting card that will add some sparkle to your sweet sentiments. Whether you’re trying to impress a significant other, surprise a friend, or just want to show off your crafty side, this card is guaranteed to brighten anyone’s day. Ready to make your Valentine’s Day glow? Let’s get started!
For the beautiful soft rainbow background I am using Over the Rainbow A2 background Die from Crafty Meraki cut from Color Cascade Pattern Paper pack.After running the die through the machine, I saved the “negative” — the leftover piece — to use as the background. Next I cut out a piece of vellum and adhered the Rainbow background to it; adding some white pearl splatter for added fun. Next, I colored up the cupids with copics from the Crazy Cupid Love Stamp set. Aren’t they cute?


Moving on to the most important part of this card – the lights! I used the Halo Light by Pear Blossom Press for this card. These lights are as easy as 1-2-3 to assemble.
- Snap the Halo Light from the rest of the unit (there may be multiple lights in the packaging)
- Insert the battery +ve side up (included in the pack)
- Press down the button to make the lights glow


Once your Halo Light is assembled, place it underneath the Rainbow + Vellum panel and adjust it until you’re happy with the position before securing it in place. I decided that right in the center was a good place as it cast a gentle glow from underneath the clouds and the rainbows.
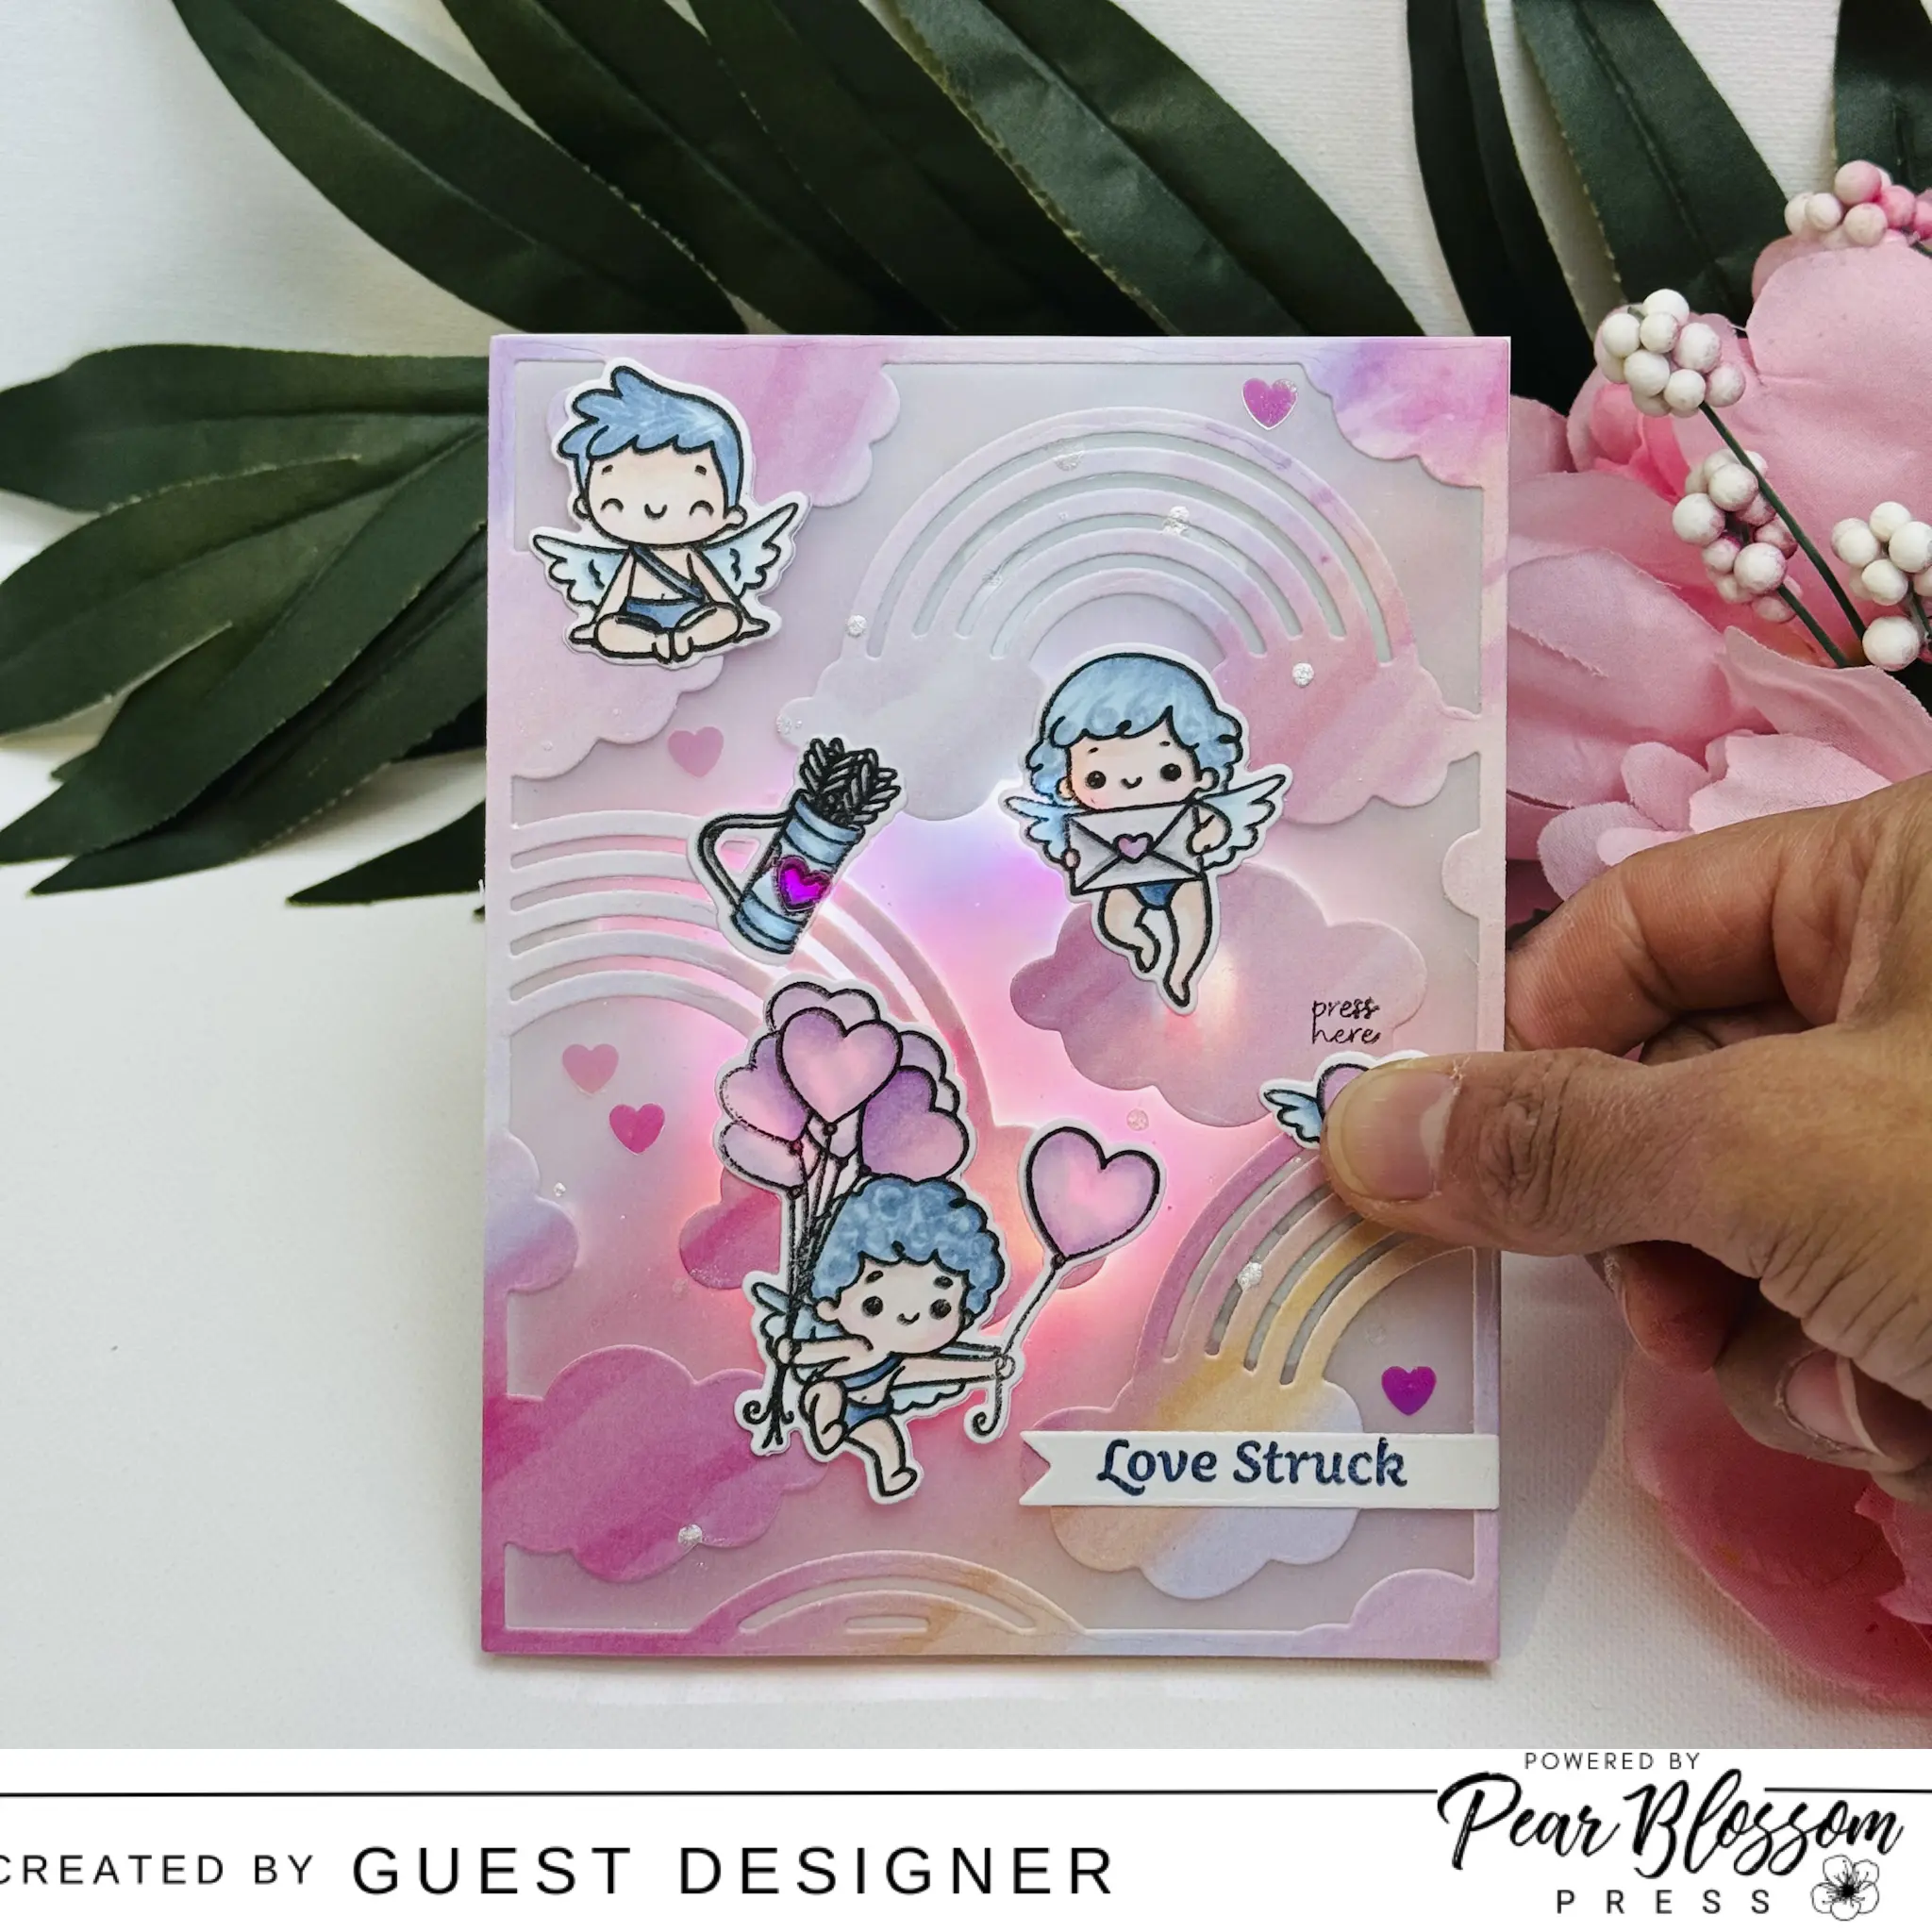
Now working with an A2 card base I first adhered the Halo Light down with strong double sided tape. Next, glue the “negative” piece of the Rainbow panel over the light. Make sure the lights are visible through the die-cut openings. Then I added foam squares so that the Rainbow + Vellum panel could be adhered to over the Halo Light. Before adhering, mark out where the light-up button is so that the recipient knows where to press down to activate the lights. I used the little stamp from PBP to mark it.

And finally I adhered the Rainbow panel and the cute cupids over the clouds and the rainbows including a small sentiment and some heart-shaped confetti sequins to finish the card. I hope this tutorial inspires you to light up your own Valentine’s Day with Halo Lights from PBP. Have fun crafting and spreading love!
Sweta
@Table_in_the_Attic
