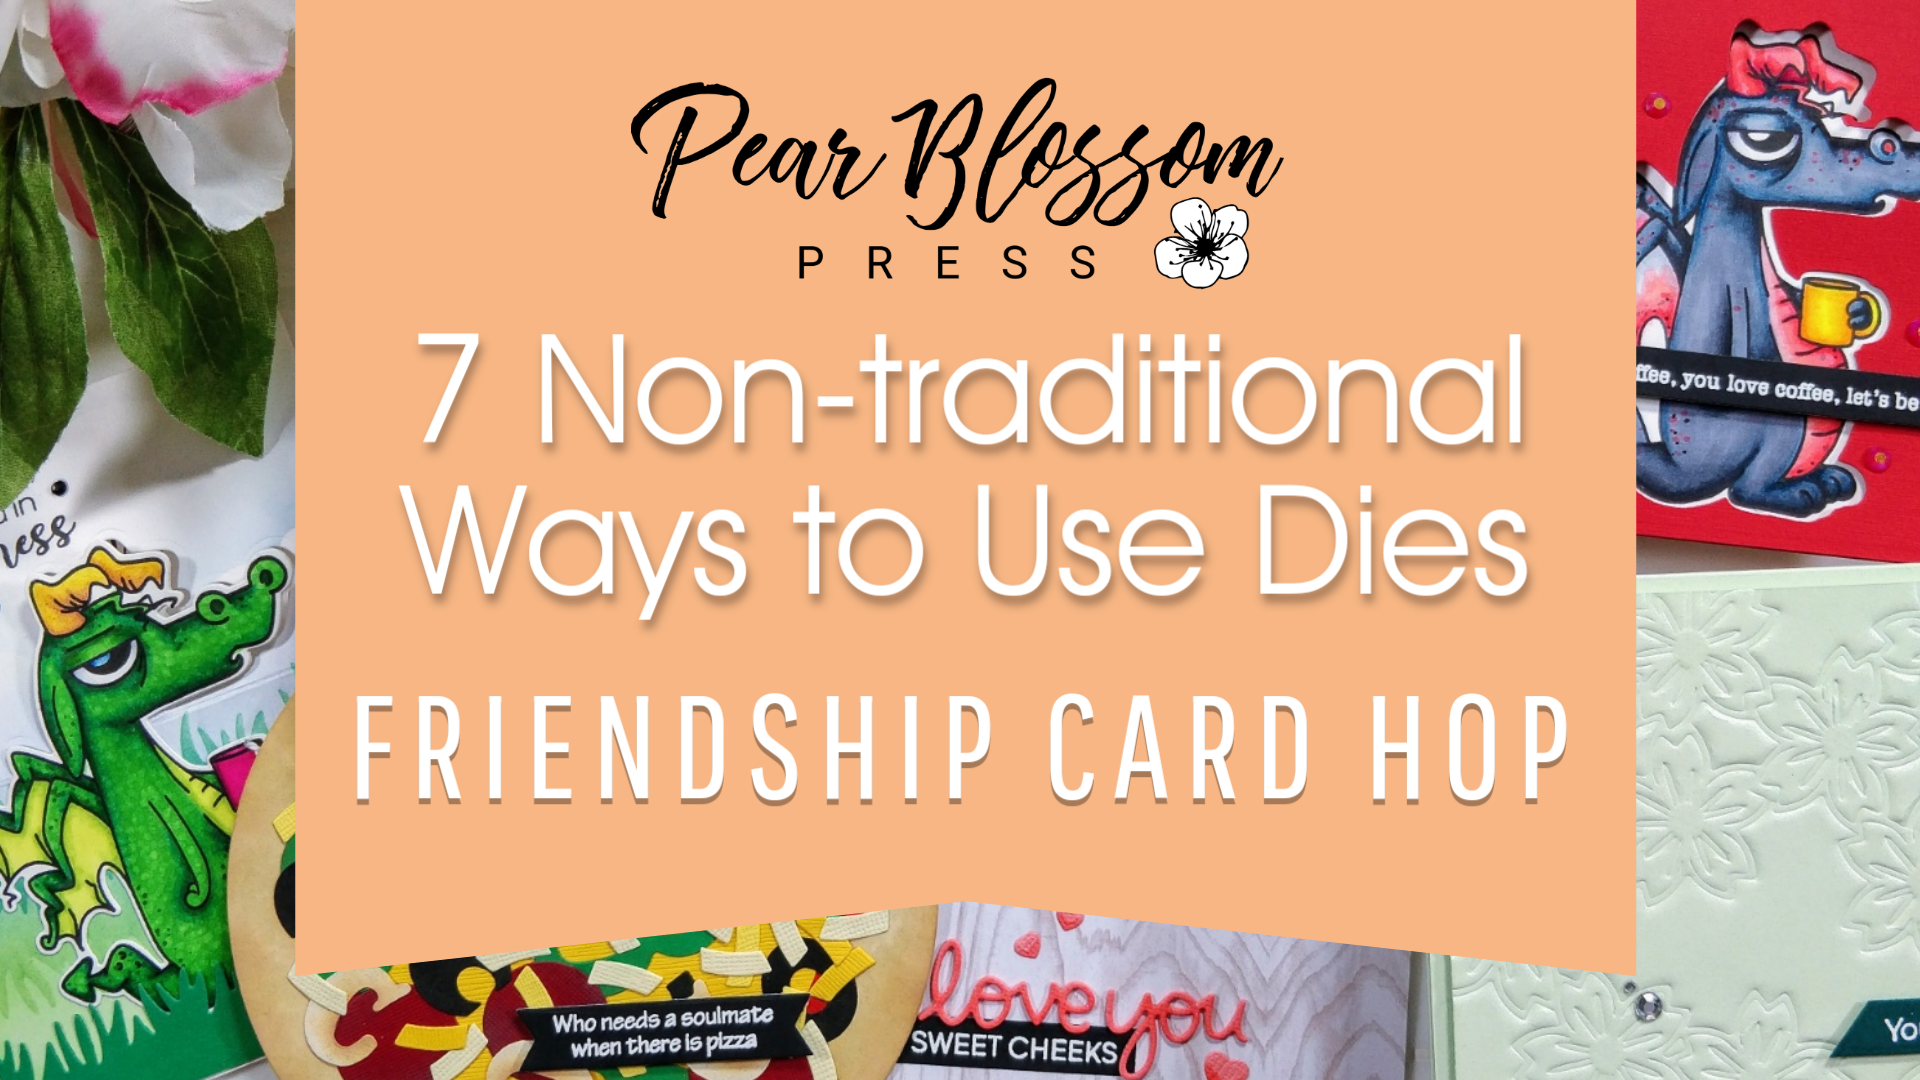
7 Unexpected Ways to Use Dies & A Friendship Hop

It’s time for Courtney’s Friendship Card Hop, and I thought it would be fun to share some techniques to stretch your supplies and use your dies in unexpected ways. I mean, what kind of friend would I be if I didn’t help you make the most of what you’ve got, right? So I made a bunch of cards with these techniques and a video too

Before we get too far, I want to give you the hop lineup so you can hop along. There are lots of fantastic designers and some really fun cards. I’m sure you’ll find lots of inspiration, and hopefully, find some crafty new friends! 

[row]

[column size=”1/2″ stack=”sm”]COURTNEY KREEBER 
LEEANN MCKINNEY 
RENEE MORAN 
NATALIE WALSH 
BORYANA YANKOVA 
MARIE BINGAMAN
DANA JOY 
AMANDA BARTHOLOMEW 
KAREN PAGE
[/column]

[column size=”1/2″ stack=”sm”]TERESA RUSSELL
AMANDA STEVENS – you are here
ANNE FIENE – next stop
ALLISON KULKA
MICHELE MARGARET
ANNA CELDRAN MAHTANI
TRACY SCHULTZ
MARIA NYCE
RACH BHARGAV

[/column]

[/row]

 
Since I made so many cards in the video, I’ll briefly describe each technique and give you a list of the products I used for the cards. I’ll give the cards their own blog articles with more pictures and details, and link here as I post those. 
 
Okay, let’s talk technique!
 

1. Shaped Cards

Use your dies to cut out shaped card bases. Simply score a line ¼” – ½” from the edge of one die cut piece. Apply glue to the narrow edge and layer a second die cut piece on top. The narrow edge will act as a hinge and allow your card to open. My first example uses a pair of tags, decorated with cherry blossoms and a sentiment
Create a Shaped Card Cherry Blossom i-crafter
My second example is a pizza-shaped easel card. I stacked three circles to create the card base, as seen in the video
 

2. Turn Shapes into Something Else

To decorate my pizza card, I used an assortment of dies in my stash that resembled pizza toppings. You can find the list of supplies I used here.
Pizza Card Easel Card The Rabbit Hole Designs
 
I also turned a pair of hearts into Swiss cheese for my third card. You’ll find more pictures and all of the supplies here.
Cheese Heart Heffy Doodle Hello Squeakheart
 

3. Create a Mini Scene

Stamp, or build a scene with dies, on a larger die cut element, instead of a whole card front. It is faster and easier, since you are working on a smaller area, and it creates a great focal point for your card. My sample features floral garden and love bugs on a die cut heart. I added a sentiment below to finish the card. I’ll post more about this card tomorrow. 
Mini Scene on Die Cut i-crafter
 

4. Dry Emboss a Background

Use your dies to emboss backgrounds, rather than cutting them out. You’ll need a silicone mat and it might take some practice to get the correct sandwich/pressure for your die cutting machine. My sample features the same cherry blossom dies that I used for the first card, and a sentiment from this set
Dry Emboss with Dies Cherry Blossom i-crafter
 

5. Create Your Own Stencils

I love border dies because I know I can get double duty out of them! I make my own cloud, grass, and wave stencils, using dies. This trick doesn’t only apply to borders, you can cut any shape out and use the positive and negative as a stencil. Tiny stars and hearts make great backgrounds. One thing to consider if you are using dies with stitched edges is that the stitching creates little holes. You may want to cover the holes with washi tape so ink doesn’t go through. (Ask me how I know 😉 )
 

6. Partial Cuts for Easel Cards

For this technique, line your die up on your card front. Then cover the top half of the panel with your top cutting plate, so that when you run it through your die cutting machine, only the top portion of the panel gets cut out. As shown in the video, score a line on either side of the cut area and fold the front in half. The partially die cut area should pop up, while the rest of the top folds down. Decorate and add a thick embellishment inside the card, to catch the front of the card when it’s popped up. (I realize that sentence doesn’t make much sense if you didn’t see the video. I’m going to have to suggest you watch it to see what I mean.) My sample card uses this funny dragon stamp and die set. You’ll see more about it very soon. 
Caffeinated Easel Card The Rabbit Hole Designs Caffeinated Dragon Easel Card The Rabbit Hole Designs
 

7. Create a Window

Instead of using coordinating dies to cut out your image, you can cut a window from the front of your card, and stamp the image inside. This is a fun way to decorate both the inside and the outside of your card at the same time. You can always back the window with acetate and create a shaker card too. My sample uses the same dragon and die as the previous card. Isn’t it fun?
Caffeinated Dragon Window Card The Rabbit Hole Designs Caffeinated Dragon Window Card The Rabbit Hole Designs
I hope you’ll give some of these techniques a try. If you have any other tips on how to stretch your supplies, I’d love to hear them! Don’t forget to hop along with us for the Friendship Card Hop. Remember, the next stop is with ANNE FEINE. Thank you for swinging by today. I’ll be back tomorrow with more details on the card I created with a mini scene. 
 
This site uses affiliate links whenever possible (at no additional cost to you), but only for products I actually use and love. 


18 thoughts on “7 Unexpected Ways to Use Dies & A Friendship Hop

  1. Your video is really excellent. I LOVE these ideas, and will definitely try them out. I can’t believe that I didn’t think of them myself 🙂 GREAT ideas

  2. Such cute ideas! Love the 🍕 pizza!

  3. You’re so great at this kind of stuff!!! I appreciate that! Can’t wait to watch the video to! <3

  4. Wow these are great tips! Now I can see why I would want the Caffeinated dies. Thank you so much.

  5. Thanks for the creative ideas. I ❤️ them all and will try to make some of those cards!

  6. Fabulous cards and techniques! I haven’t done an easel card in forever, so you have inspired me to do one when I have time to play later this week! Loved the card with the mice too!!!

  7. gorgeous cards, Amanda.

  8. Lots and lots of good ideas and examples here. All clearly described, great projects as always Amanda. -Renee’

  9. great ideas with great cards to show them. I love the way you explained them all. TFS.

  10. OMG…..Amanda Stevens has my name listed on her blog!!!! EEEEEEEEEEEEEE!!!!!! LOL All fan-girling aside, what a fantastic bunch of ideas for us to get more use out of what can be an expensive item! You ROCK! 🙂

  11. Great ideas! Great examples!

  12. Loved how you explained how to make each card. They are all beautiful. Lovely ideas
    (rachssewcrafty)

  13. WOW, these are amazing. Great ideas thank you so much for all of them 🙂

  14. You blow me away with your creativity!! Wow!! I can’t wait to watch your video 💕

  15. So cool! What an awesome post! I loved all of this information. Thanks Amanda!

  16. you’re so cute. I didn’t get in on this, because i had a helluva health week last week. So, I’m releasing my video late, in communion with all y’all. You will discover that Great Minds think alike. lol.

  17. Very interesting ideas, several I had not heard of before now! Will have to give that last one a try. Thanks for sharing!

Leave a Reply