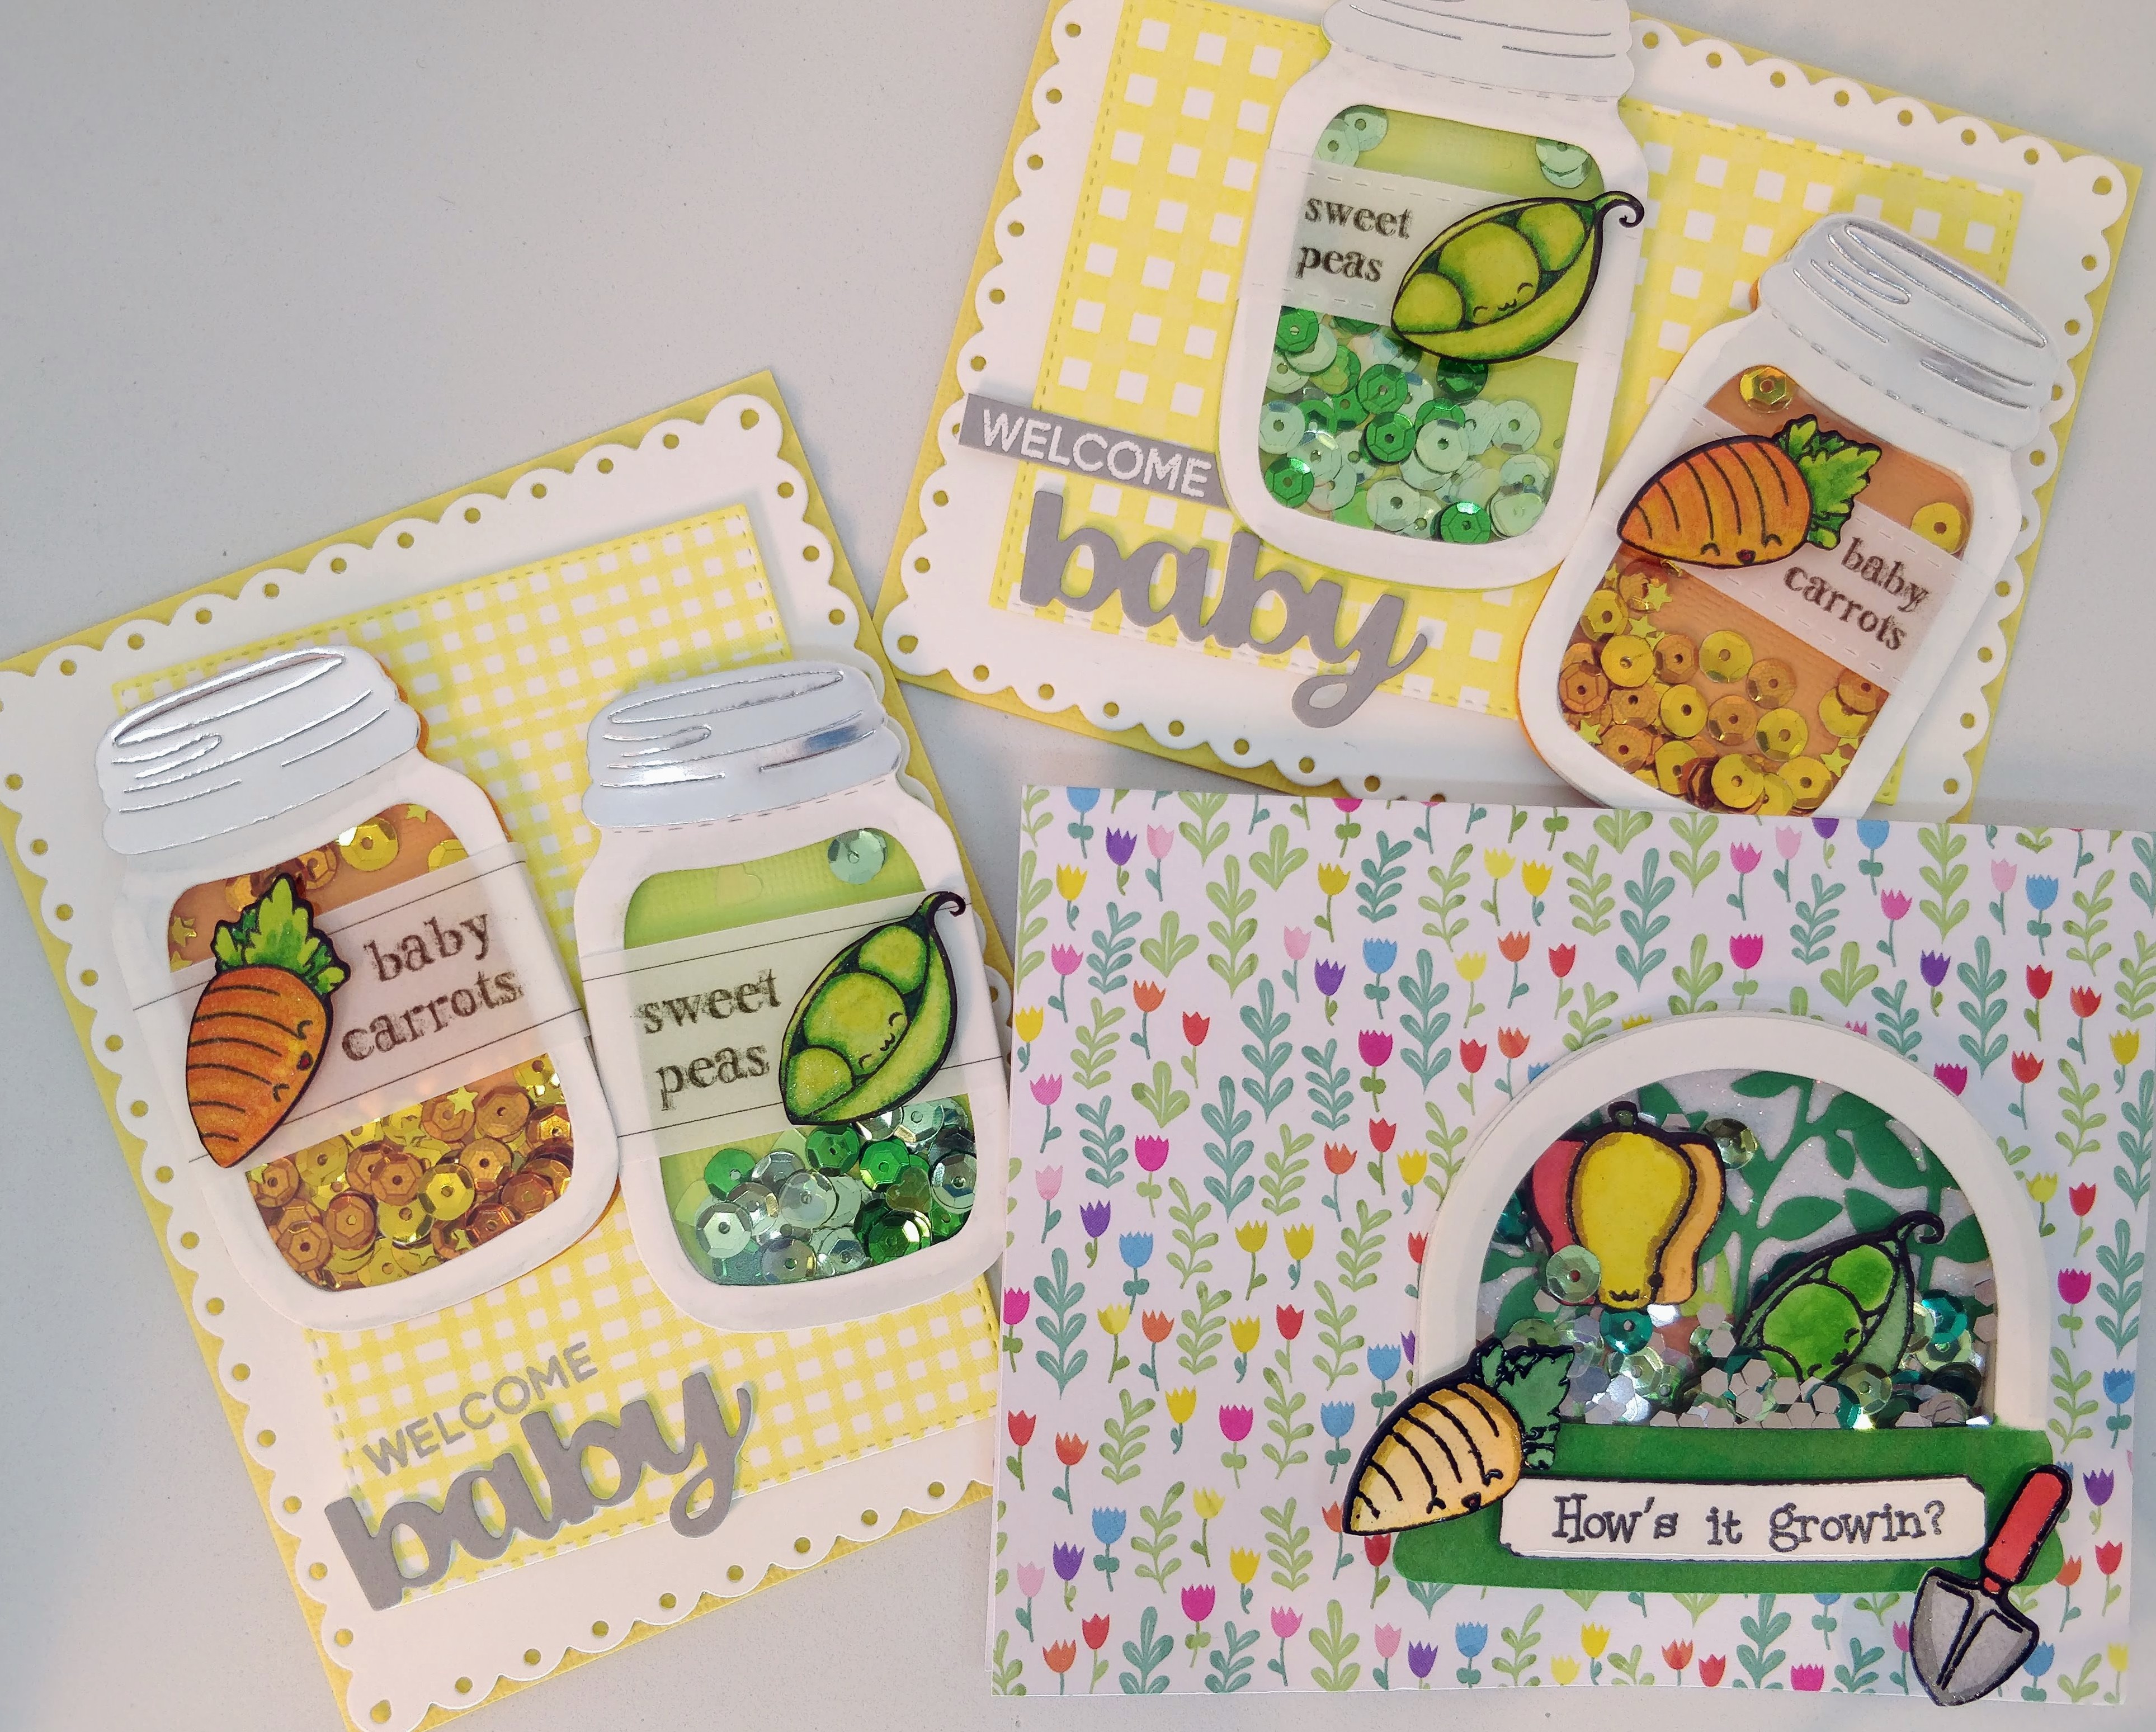
If you’re joining us from the Get Kids Crafty! May blog hop, you know the theme is gardening. Thanks for hopping along with us; Kelly and I are excited to share our creations with you! We have been busy making shaker cards this week. I’ve made several recently and, Kelly was so inspired, she wanted to make a shaker card of her own. This is her first attempt and it turned out great! She used the Ready, Set, Snow add on dies from Lawn Fawn to cut out her snow globe frame and dirt mound. She also added a die cut layer of grass and some leaves to her shaker background. She stamped and embossed her focal images from Happy Planting and colored them in. She used the Scan N’ Cut to cut them out and added Wink of Stella for some shimmer. Her sentiment was cut with a die in the Ready, Set, Snow set. Then she assembled the whole thing with liquid glue and a double layer of foam tape. She used a variety of sequins as filler. Once her shaker was assembled, she glued it to the front of a pre-made card base. What do you think? Pretty impressive for her first try, right?

I have baby shower coming up and I thought the adorable kawaii images in the Happy Planting set from Beth Duff Designs would also be perfect for baby food jar shakers. Since baby cards are always handy, I made several at the same time. I’ll just walk you through one…

I die cut four jars, two from white cardstock, one orange, and one green. I freehand drew and cut a window in the white jars and added acetate. I mounted foam tape behind the windows and added color coordinating sequins before sealing them to the orange and green jars. I die cut lids from silver cardstock and glued them on top. For a little added dimension, I used a grey marker to add shadows to my jars. To make the labels, I printed “sweet peas” and “baby carrots” onto vellum, using my computer and printer. (You could also do this with alphabet stamps.) I cut the vellum strips out and wrapped them around the jars, only adding adhesive to the back side of the jars. I stamped my peas and carrots, colored them, then fussy cut them with my Scan ‘N Cut. I outlined the edges with a black marker, added a little Wink of Stella to jazz them up some more, and popped them onto my jars with foam tape.

With the jars done, it was time to make the actual cards. For each card, I cut and folded yellow cardstock into an A2 sized card base. I die cut the largest Fancy Scalloped Rectangle out of white cardstock. I stamped my own plaid background with Boutique Borders and Squeezed Lemonade Distress Oxide ink, then I cut it down with a smaller stitched rectangle die. I die cut baby from grey cardstock three times and glued them together for a thicker piece. Before assembling the card, I stacked all of my pieces and decided on the placement for the welcome stamp. In some cases, I stamped directly onto my plaid background with Hickory Smoke Distress Oxide ink. For the others, I used white embossing powder on a strip of grey cardstock. Then it was time to assemble everything. Each layer is adhered with foam tape, except the jars and baby die cut; they are glued directly onto the plaid layer. Admittedly, these cards took a few hours to make but, since I made a set of four, I have a few extra and I think they really are adorable. Plus, Kelly and I got to spend a wonderful afternoon together in the craft room. What projects do you like to make with the kids in your life? Have you seen the other awesome projects the kids on the Get Kids Crafty! team have made this month?! (Links below video.)


LOVE THIS Amanda!! Awesome job!