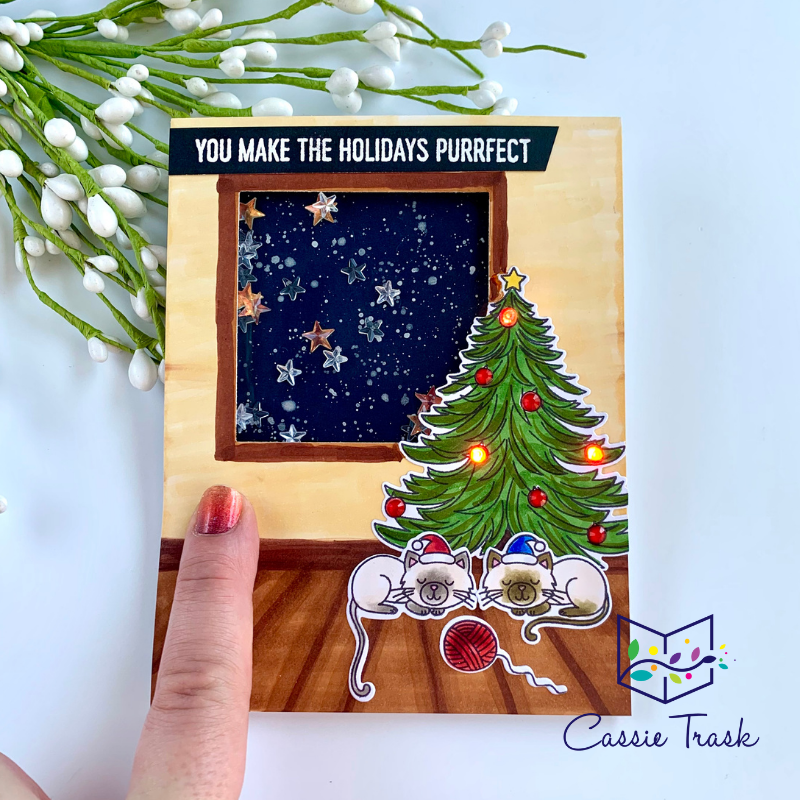

It was a little chilly today, which I meant I just had to get a jump on some Christmas cards! Hello everyone, it’s Cassie here. When I first starting designing my card for today, I certainly wasn’t thinking shaker. Once I got started, I just knew I had to not only add some lights, but it had to shake as well, lol. Turns out it’s really pretty easy to have both on a single card!
I stamped, colored and die cut out all of my images using the Meowy Christmas from MFT. I colored up a simple background using my Copics, and started creating the scene. I die cut a window and started playing with my EZ Light placement. Here’s how the back looks with my lights and my shaker area before I added the rest of the foam tape.

It’s certainly not pretty back there, but that’s one of the things I love about these lights. It doesn’t have to be pretty behind the scenes for those lights to work. . .LOVE! Here’s my completed scene:

And if you happen to be a visual person, like myself, here’s a video showing exactly how I did it over on YouTube.
Thanks for stopping by!
Cassie
*affiliate links are used whenever possible at no additional cost to you. Thanks for your support!


This is fantastic! I can’t wait to try your background technique too. Lol, I always draw my floorboards going in the opposite direction, and they never look right. I need to try it this way 😍😍😍