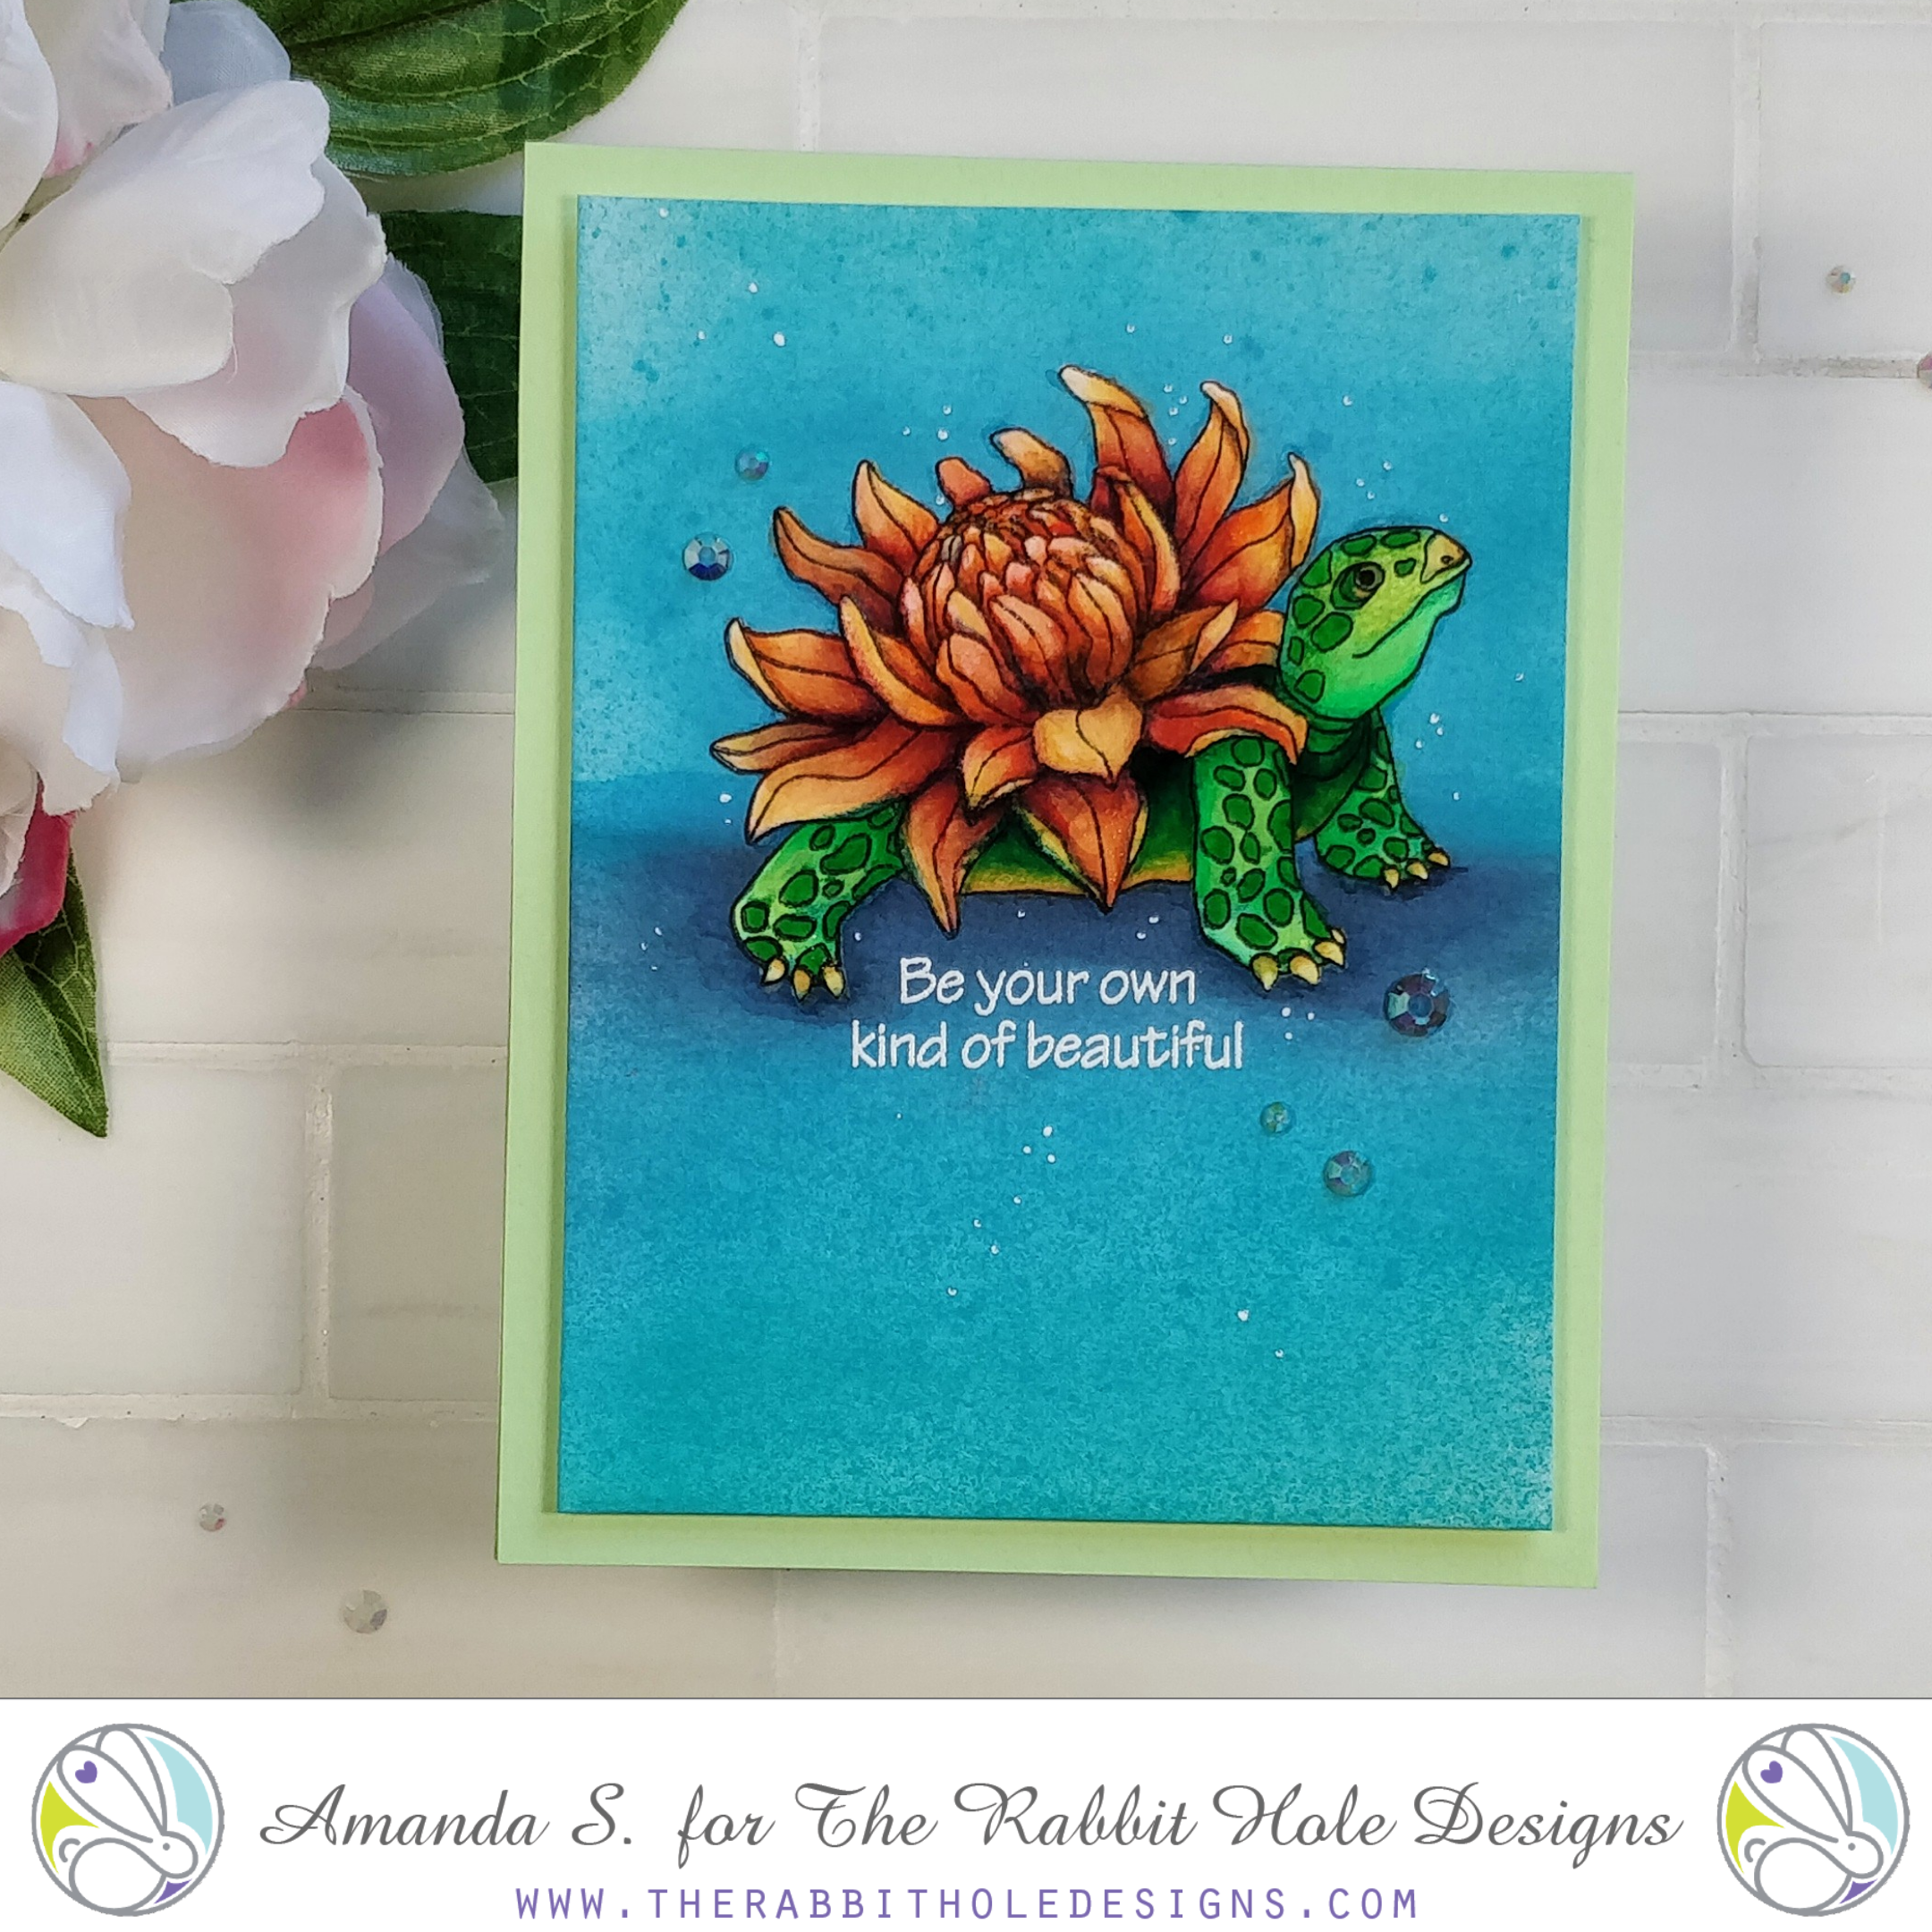
It’s time to show you the Turtle Botanical I told you about yesterday! Isn’t he cute?! I really love the new line of floral animals The Rabbit Hole Designs is launching. Not only because my niece is the illustrator, but because they are unique and gorgeous! I decided to keep this card simple, and focus on coloring. I also remembered to take step-by-step photos so you can see the difference each step makes.
To create this card, I lightly stamped the turtle with my favorite black ink on watercolor paper, and coated the image with masking fluid. The key to working with masking fluid is to paint on a fairly thick coat, and let it dry thoroughly before working on the background. If your coat is too thin, it’ll be hard to remove. You’ll know it’s dry when it becomes transparent, and is only mildly tacky to the touch. You can see the difference here…


Once the masking fluid was dry, I spritzed the panel with several shades of Distress Oxide sprays. That gave me a lot of texture for my background. I let the spray dry, then blended on several shades of Distress Oxide inks with my Cotton Tail blending brushes.


To soften the background a little more, I painted the entire panel with clear water. Then I used several shades of blue Karin markers to darken up the shadows under the turtle. After the background was dry, I used an eraser to remove the masking fluid from the turtle. I should have mentioned it earlier, but you will want to leave your stamp in your Misti. If the masking fluid pulls up any of the paper, you can easily restamp it. (We’re also going to stamp it again at the end.)


To paint the turtle, I scribbled more Karins in the wells of my ceramic palette and added a drop of water. For darker areas, I went direct to paper with my markers. To keep the highlights and shadows in each pedal, I painted them separately, skipping around and allowing them to dry before painting the adjacent pedals.


I worked on the flower first, then the body. After I was finished painting, I let the panel dry completely. Then, I used colored pencils to deepen up the shading in the nooks and crannies. This is a trick I learned from Kathy Racoosin. To darken up the outlines, and help the turtle pop, I stamped the image again with more black ink.


To finish the card, I embossed a sentiment under the turtle with white powder. After trimming it down, I mounted it onto a green card base with foam. I added a few white dots with a gel pen, and I glued on several iridescent gems. A touch of shimmer pen on the highlights of the pedals adds sparkle.

What do you think? I really love the way he turned out! Would you like to see more inspiration using the Botanical Turtle? Hop along with us!
The Rabbit Hole Designs
Amanda – you are here
Von Marie – next stop
Lauren
Tangii
Michelle
Kelly
Jammie
GIVEAWAYS:

Beautiful Amanda! I need to try the masking fluid. I love your techniques!