Hi Friends, Becky Roberts from Inking Idaho (www.inkingidaho.com), here with a few Christmas cards ideas using my new Add to Cart Collection.
This first card uses the Add To Cart 3D Shopping Cart. It is full of Christmas presents and tied up with a bright red festive bow! The presents and tree are from the Shopping Cart Holiday and Presents Add On and the shopping bag is from the Shopping Bags Die Set. I stuffed a festive piece of red and white stripe tissue paper in the bag.
The embossed background on the card is with the Plaid Company Embossing Folder.
For my second card, I’ve used the Plaid Company Embossing Folder again for the background and stacked presents on top of presents from the Shopping Cart Holiday and Presents Add On. This is a fun way to use that die set without the shopping cart. This would be great for birthday presents, wedding presents, and any occasion you would need a gift for.
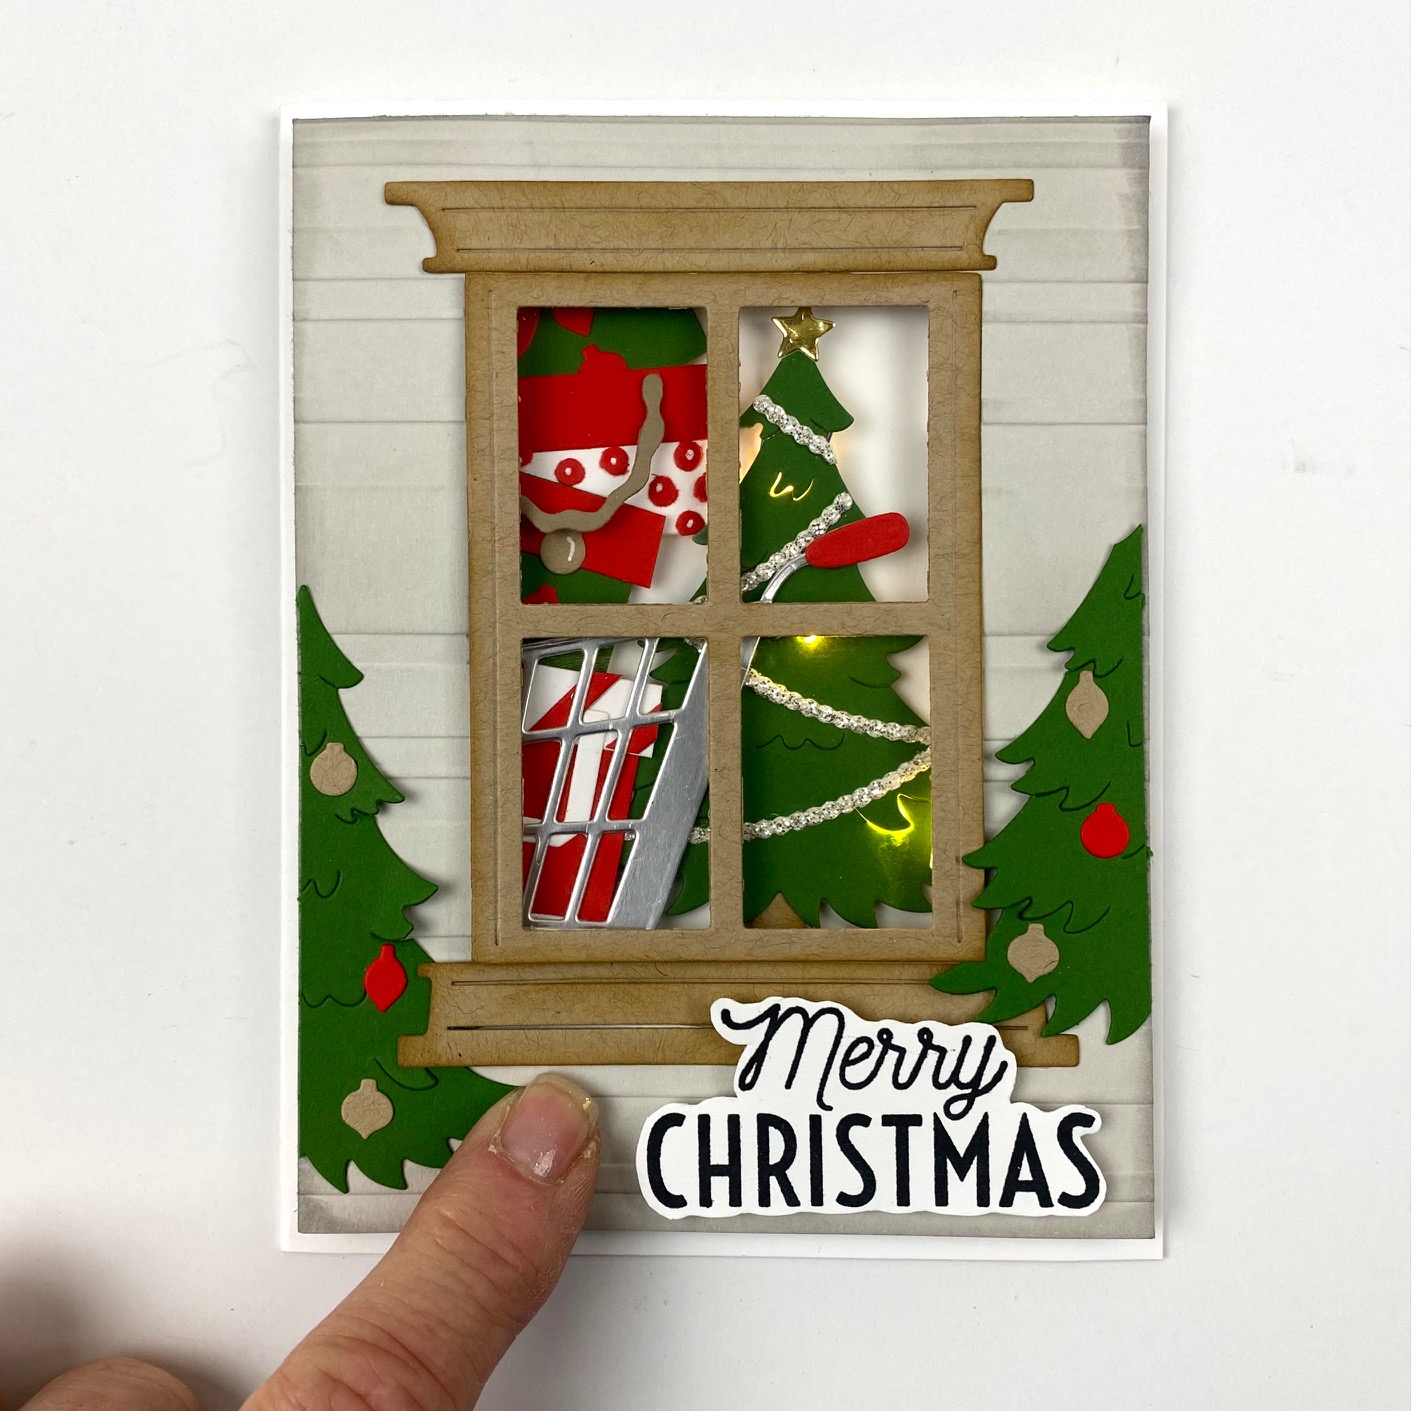
This is another way to use the Add To Cart set. I put the shopping cart full of presents in front of the Christmas tree, and then put them both behind the window.
The window is from the Window View Die Set, (I’m currently not finding it on the Spellbinders website, I hope it hasn’t gone away!)
Then to make it extra fun, I used an EZ-Lights to light the tree. They are super easy to use. Each one has three lights, and a fairly low profile battery that you can easily hide by mounting the card on foam squares.
To use:
- Decide where you want the lights and mark with a pencil.
- Poke a hole, or in this case, slide under the tree bough, and insert the light.
- Secure it on the back with a piece of Scotch tape, or washi tape.
- Turn it over to look at it and make sure everything is in place, and no adjustments are needed. If it all looks good, gently fold the excess wire behind the tree and secure with tape. The back is pretty nasty looking, but when you adhere it to the card, no one will even know.
- I made sure all of my wires were coming directly down the tree trunk so I could hide them with my window.
I adhered the battery pack with double stick tape. I cut off all pieces of my die cuts that would be hanging outside the card and then covered it all up with the window piece. I embossed the grey cardstock with the Beach Towel Embossing Folder, to look like house siding, and popped it up on foam squares.
I’ve never done anything like this before and let me tell you, these EZ-Lights are COOL!!! Definitely head over to the Pear Blossom Press Shop and check them out!
I hope that helped you with some additional ideas on how to use the Add to Cart Collection, as well as the super cool EZ-Lights from Pear Blossom Press!
For additional inspiration, please follow me on Instagram @inkingidaho.
A great big thanks to Becky Roberts, from Inking Idaho, for guest designing for us today! We hope to have her back soon, with more fun light-up cards to share. If you are not already following Becky on Instagram, you will definitely want to! Please make sure to use her links above, if you’d like to purchase any of the items used today. Some are affiliate links, and that helps to support her hobby. Don’t worry, there is no additional cost to you; it’s just an awesome way to thank her for the inspiration.


