Hello my crafty friend! Today, I’m sharing a pair of coffee themed cards featuring stacked sentiments, that I created with a die cut alphabet. I love the look of sentiments that are 3-4 layers thick, but when you are creating your own, and want to overlap the letters, stacking them can be tricky. You want a smooth transition from one letter to the next, without any big bulges. I have two different ways to help. (Both techniques work with any dies you want to overlap and stack up, but I’m demonstrating with the Heather Lowercase Alphabet from i-crafter.)
For the first option, you will want to spell out the word and glue the letters of the first layer together where they overlap. Use reverse tweezers and a grid to keep your letters straight. Continue with the second layer on top, all the way across the word. Stack a third layer on top, and a fourth if you like. Keep in mind that where the letters overlap, you will have twice as many layers as the rest of the word, so the result will be a little wavy, but still flow nicely, as you see below…
[one_half] [/one_half]
[one_half last] [/one_half]
For the second technique, you’ll want to start the same way, laying out the word and gluing the letters together where they overlap (this will be the top layer). Next, stack and glue the rest of the individual letters together (2-3 layers each). Snip off the areas where the letters will overlap, and glue to the back of the word that you formed at the beginning. The result is an even smoother transition between letters than the first technique.
[one_half][/one_half]
[one_half last] [/one_half]
[one_half] [/one_half]
[one_half last] [/one_half]
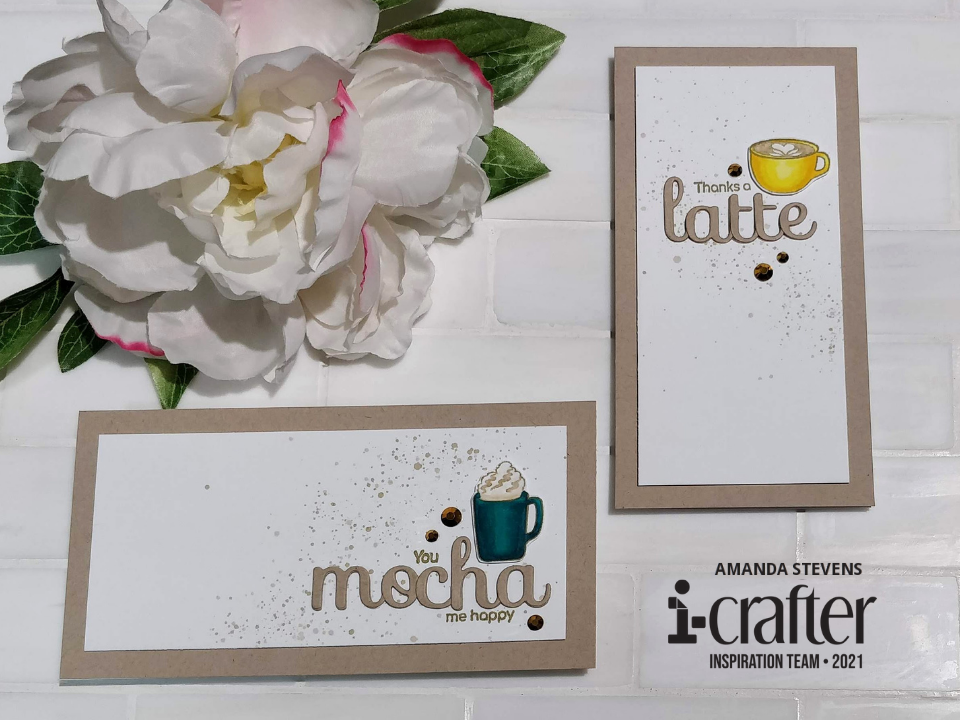
Now let’s put those stacked sentiments onto some clean and simple cards! I splattered light brown ink onto 2 5/8″ x 5 5/8″ white panels. Before gluing the die cut words in place, I stamped subsentiments above and/or below in the same brown ink. The panels were popped up onto kraft mini-slimline card bases, measuring 3 1/4″ x 6 1/4″ (so they fit into #7 coin envelopes). I stamped two coffee mugs from the Latte Coffee Sentiments Stamp Set and colored them with Copic markers. After fussy cutting them, I popped them up onto the cards with more foam tape. A few gold gems finish the cards. Can you tell which technique I used on which card?
[one_half] [/one_half]
[one_half last] [/one_half]
[one_half] [/one_half]
[one_half last] [/one_half]
Thanks so much for stopping by today. I love the way these cards turned out and I hope I’ve inspired you to give them a try! If you do, be sure to enter them in i-crafter’s Anything Goes Challenge this month on Facebook or Instagram! I hope my die cut stacking tricks come in handy too. I’ll be back soon with more fun cards to share.
This site uses affiliate links whenever possible (at no additional cost to you), but only for products I actually use and love.

Great stacking tip. Thanks! You Mocha me wanna try that (sorry tee hee)❣