Looking for an interesting way to build a scene on your handmade cards? How about using large die cuts for the base? The idea is to create an inverse window, where you still only see part of the scene, but instead of it being sunk behind a frame, it pops out at you.
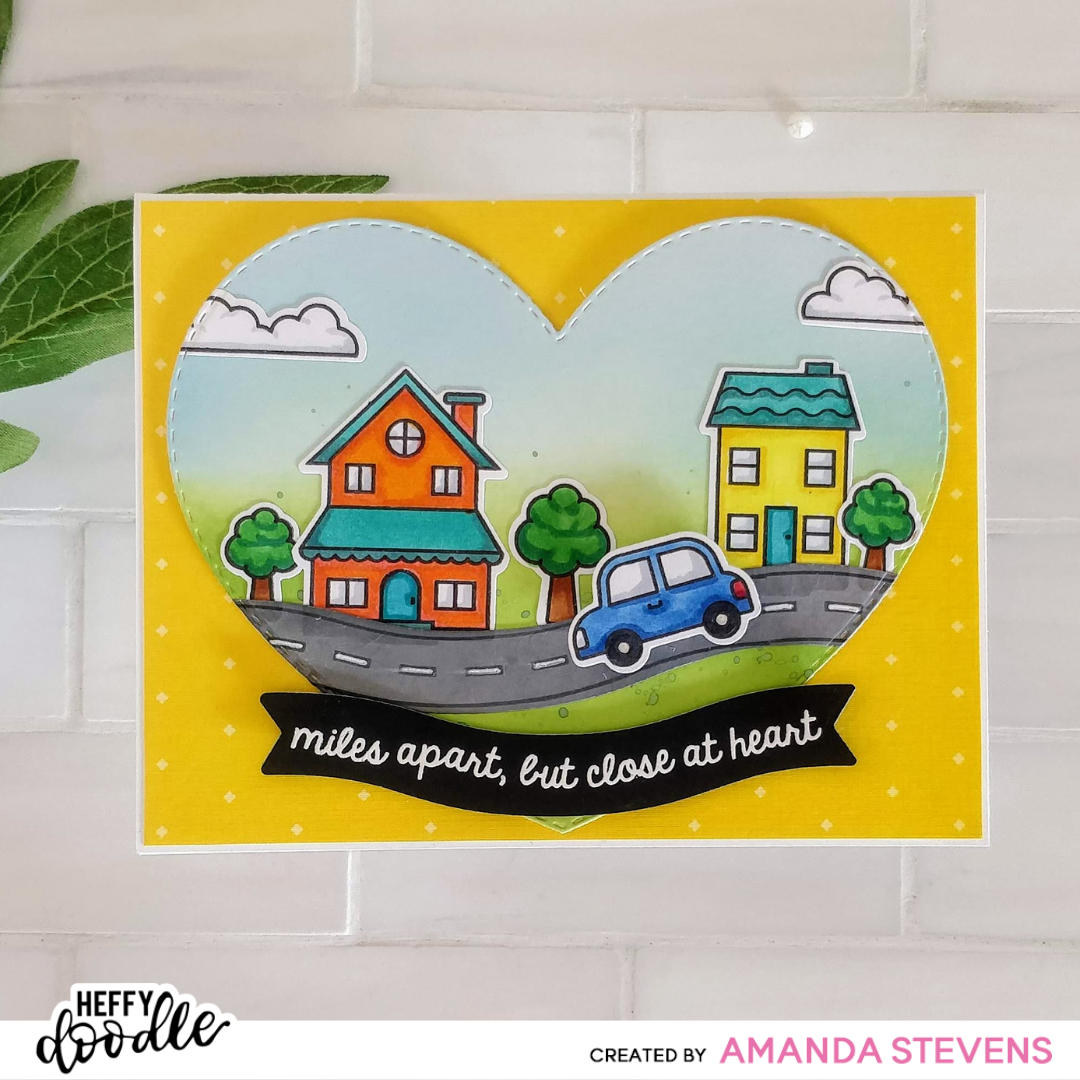
On today’s card, I created a fun a little neighborhood scene, then I die cut it with a large heart, to make it more engaging. Plus, the heart shape reinforces the sentiment. Let me walk you through the steps…

First, I blended blue and green ink onto a white panel, splattering a bit of concentrated green ink across the bottom. I wanted to create a soft sky and ground, but I was not worried about a defined line for the horizon. This was mostly to add color to the background of the scene.
Next, I stamped and Copic colored houses, trees, clouds, and a car from Heffy Doodle’s Home Sweet Home set. (Notice the images are stamped in black? With all of my no-line coloring lately, it’s been a while since my black pad had any love, so I pulled her out and let her play.) For the road, I needed to extend the length, so I stamped it twice, and instead of coloring it with Copics, I quickly blended on grey ink. To get the white lines in the center back, I drew them in with a white gel pen. Then, I die cut all of the images with the coordinating dies. Extending the road was easy, I just partially die cut it, then shifted the die and cut the rest.
With all of the pieces ready, I glued them to the ink blended panel, except the car. Then, I die cut the panel with the largest of my nesting heart dies. To pull the card together, I glued a yellow pattern paper panel to an A2 card base, leaving a narrow border. Then, I popped the heart up with thin foam tape. I adhered the car with a piece of double thick foam tape for extra height. And to create the sentiment banner, I used the same die that cut out the road, and cut it from black Perfect Sentiment Cardstock. Using the V shaped dies in this set, I cut the ends into flagtails. I chose a stamp from the Close at Heart set and curved it to fit the banner. Then, I embossed it with white powder. A little more foam tape holds it in place.

What do you think? I encourage you to shop your stash and see if you have any large dies that would work for this technique. Circles, squares, tags, even oversized flowers, or cupcakes can be great options, depending on the scene you want to create. I hope you’ll give this a try. Please tag me if you do! I’m @pearblossompress on most social media platforms. I’d love to see what you create, and to cheer you on.
Thanks so much for stopping by today. I’ll be back in a few days with another fun project to share. See you then!
This site uses affiliate links whenever possible (at no additional cost to you), but only for products that I actually use and love.
