Hello everyone! It’s Samantha Pfrimmer here from @sammakescards with you on the Pear Blossom Press Blog today. I am so excited to share a cute interactive card I made pairing products from Colorado Craft Company with the amazing Candle Light.

SUPPLIES
- Candle Light
- World’s Best Foam Tape
- PB Press Stamp and Die Bundle
- Colorado Craft Company Eat More Cake Clear Stamp
- Colorado Craft Company Bake Me Happy Clear Stamp
- Colorado Craft Company Gift & Tag Clear Stamp
- Colorado Craft Company Sweetest By Far Clear Stamp
- Waffle Flower A2 Piercing Layers Die
- Gina K Designs Masking Magic Sheets
- Altenew Dusty Pink Fresh Dye Ink
CARD INSTRUCTIONS
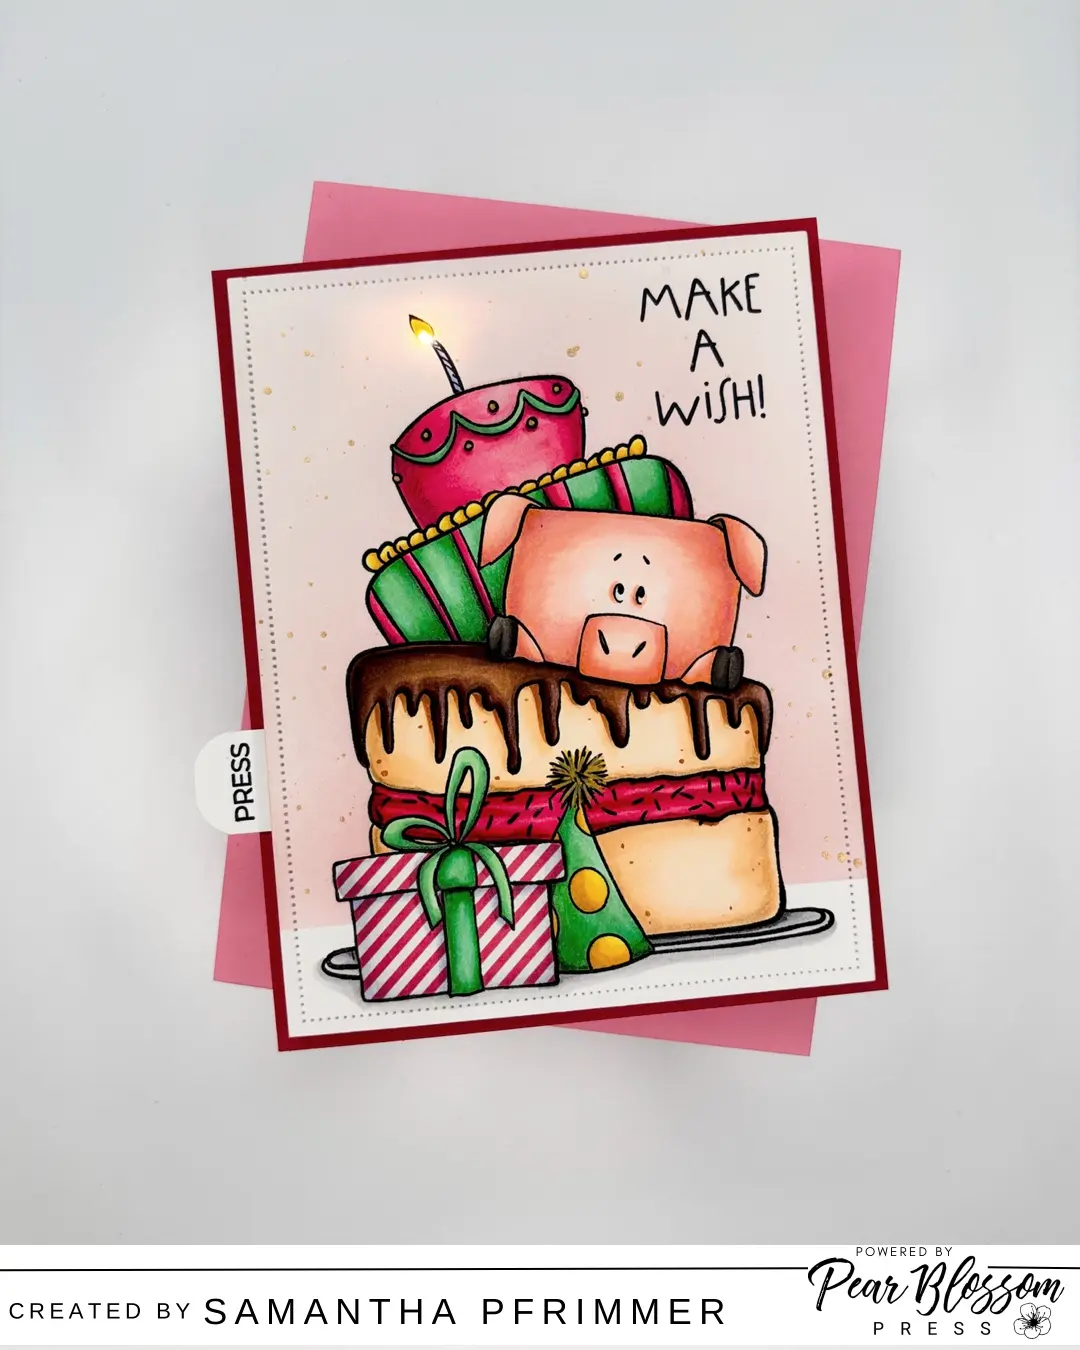
To begin this card, I selected all of the stamped images I wanted to use for my birthday scene using stamps from the Colorado Craft Company Kris Lauren collection sets noted above. Next, I stamped each image onto Gina K Masking Magic masking paper before fussy-cutting them out.
Note: I always stamp and cut all of my masks first as I can then use the masks to lay out my final design.
Once my design was laid out, I stamped each image onto OLO Blending Cardstock that was cut into an A2-sized panel. I stamped the foreground images first, applied my masks, and then stamped, the next layer of images, until the entire scene was completed and masked off. I then used more masking tape to mask off the bottom portion of my panel represent the table to hold my cake, before ink-blending around the scene using Altenew’s Dusty Pink Fresh Dye Ink. I finished my scene with a little gold metallic watercolor splatter, before removing my masks and starting work on the coloring.
I colored all of the images using Copic Marker with a little Prismacolor pencil to enhance my shadows. Once, my coloring was done, I grabbed the smallest teardrop die from the PB Press Stamp and Die Bundle and die cut the area where my candle flame image was found. For the final detail, I grabbed the A2 sized frame from the Waffle Flower A2 Piercing Layers Die and added a decorative edge to my colored panel.

CANDLE LIGHT ASSEMBLY
To assemble my light, I grabbed a white A2 sized card panel and lined it up with my stamped and colored panel. Using a pencil, I made a small mark on the back panel where my die-cut candlelight area was from the front to help determine where to place my Candle Light.
I next cut a strip of cardstock ¾” of an inch thick and 1.5” long, rounded the corners with a punch, and then stamped PRESS on it using the PB Press Stamp and Die Bundle. Using double sided tape, I taped my light and battery pack in place and added my PRESS-stamped tab. Next, I added the World’s Best Foam Tape as shown above and then applied my top card panel. Once complete, I then mounted the finished card panel only a dark pink cardstock panel measuring 4.5”x 5.75”. I went with the larger size as my scene needed the extra real estate. I then glued everything to a card base, also measuring 4.5”x 5.75” when folded, before handing the card off to my daughter who had fun blowing out the candle light.
Thanks for reading!

