As promised, I’m back with another sweet Christmas card today, featuring more new stamps from The Rabbit Hole Designs. This one is a clean and simple slimline, that focuses on coloring. If you like to color, you’ll want to give this one a try!
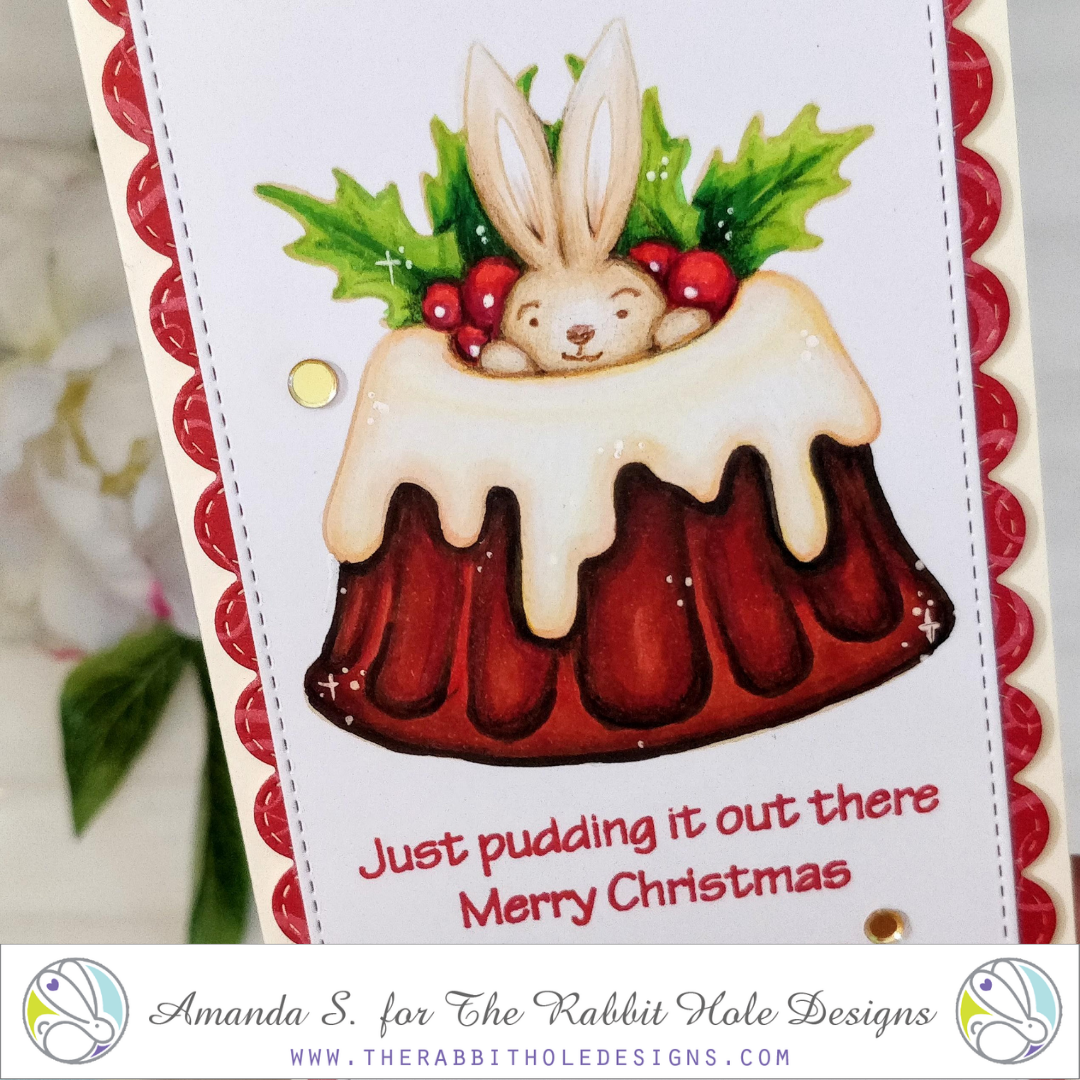
To start, I stamped the pudding from the new Christmas Sweets stamp set onto a white panel of Copic friendly cardstock. Because I wanted to tuck some of the holly clusters in the center of the pudding, but behind the bunny, I had to do some creative masking. Before stamping the image in Warm Glow ink, I wiped off the outlines of the frosting closest to the bunny’s ears. Then, I stamped the pudding image onto masking paper and trimmed around the bunny. With the mask in place, I stamped the holly clusters. The beauty of stamping in a light color for no-line coloring, is that your ink lines can be colored over if you want to alter the image a little, or clean up any masking errors.
Once my pudding was stamped, I took it to the couch to color with Copic markers while watching TV. Traditionally, figgy pudding is very dark, and often has a creamy frosting on top. I used rich reds and browns for the pudding, and very light browns for the frosting (leaving lots of white space). To differentiate the bunny, I added a little warm grey to his coloring. After I was happy with the Copic coloring, I deepened up the shadows with colored pencils. Especially, around the bunny. For a bit of “magic,” I added white gel pen dots and crosses. This image was a lot of fun to color, so I really took my time with it.

To pull the card together, I trimmed the panel down with a stitched slimline die and stamped the punny sentiment in red ink. After cutting a scalloped slimline rectangle from red pattern paper, I glued the colored panel on top. Then, I popped them up with foam tape, onto a cream slimline card base (8½” x 3½”). Normally, I don’t use white and cream panels together, but I chose cream for the card base, along with champagne colored sequins, to help the frosting pop. For a little more sparkle, I colored the frosting with a shimmer pen, avoiding the white gel pen dots. (See my post from Monday for gel pen tips and tricks.)

What do you think? Isn’t it sweet? And the sentiment cracks me up. I love a card that is not only pretty, but also makes me chuckle. Ready for more inspiration with the new Christmas Sweets stamp set? Hop along with us!
The Rabbit Hole Designs
Amanda – you are here
Joy – next stop
Lauren
Tangii
GIVEAWAYS:
To celebrate the new release, The Rabbit Hole Designs is giving away two savings vouchers; one to a lucky Instagram Follower and one to a lucky Facebook Fan Page follower. Winners will be chosen at random from the comments left on the Instagram post, and comments left on the Fan Page post. So make sure to head on over to Instagram and look for the giveaway post @therabbitholedesignsllc and look for the post on The Rabbit Hole Designs Fan Page. Comment by 11:59 p.m. PDT on July 1, 2021 to enter. Winners will be announced on The Rabbit Hole Designs blog July 2nd.
Thanks so much for stopping by today. Tomorrow, I’m keeping the Holiday theme going, and sharing an adorable pop-up card. Friday, we have an awesome collaboration and special guest designer scheduled! Plus, I’ve got a few other cards to share this week too. You don’t want to miss any of the fun, so be sure to come back each day. I plan to go LIVE on YouTube again this weekend; I hope you will join me! (If you are not familiar with my channel, click here, then subscribe, and turn on notifications so you don’t miss out.) Oh, and since Sunday is the 4th of July, we’ll be cancelling Crafternoon. But we’ll be back on the 11th. See you there!
This site uses affiliate links whenever possible (at no additional cost to you), but only for products I actually use and love.
