Hi crafty friends! Tiffany here, @ink.therapy.designs, and I am so excited to be a guest on the Pear Blossom Press blog! I’ve always loved interactive, light up cards, but was intimidated to try them because I thought I needed an engineering degree, LOL. When I tried EZ lights, a whole new world of cardmaking opened up for me. The lights are true to their name – so easy to use!
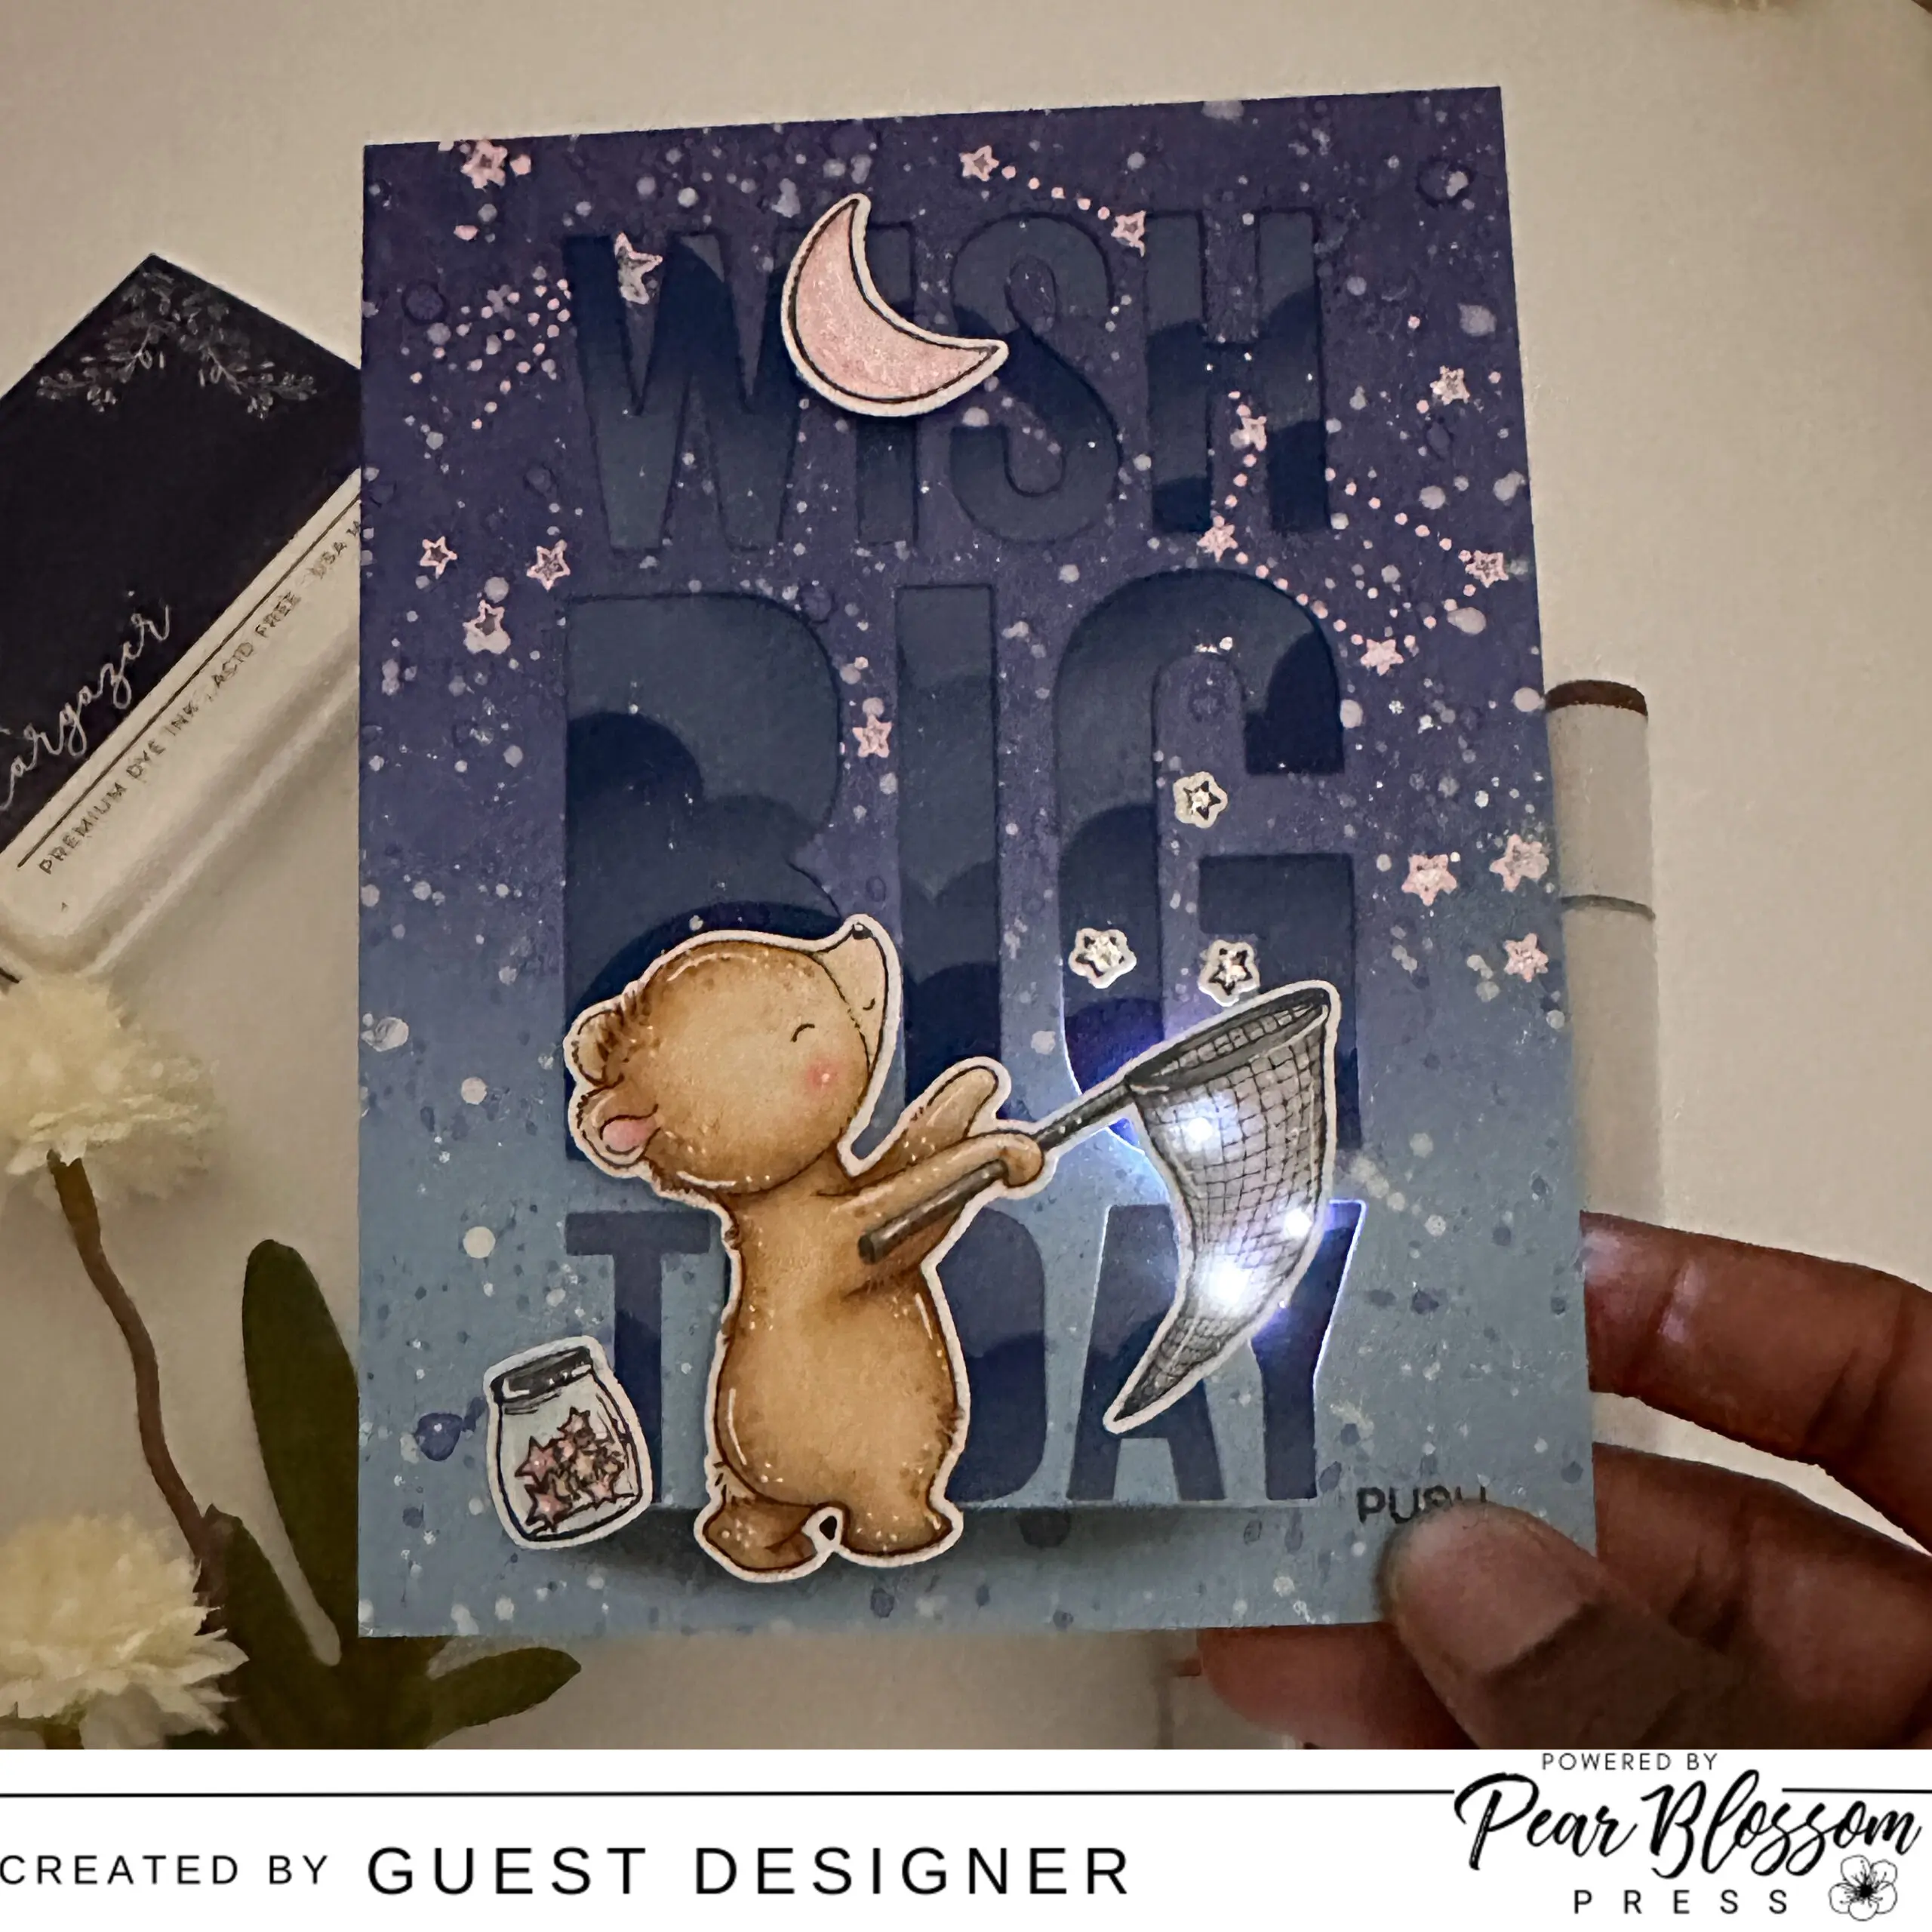
Today, I am using the Twinkle Light for the first time. It is a little hard to capture in photographs because the lights twinkle randomly, but it is such a fun addition to any card design. The Twinkle Light pairs perfectly with the My Favorite Things, SY Twinkle Twinkle stamp set and coordinating die-namics so I used them to create a birthday card.


Supplies used
- Twinkle Light – Pear Blossom Press
- World’s Greatest Foam Tape – Pear Blossom Press
- SY Twinkle Twinkle – MFT Stamps
- SY Twinkle Twinkle Die-namics – MFT Stamps
- Wish Big Today Die-namics – MFT Stamps
- Rolling Cards Stencil – MFT Stamps
- Interactive Labels – MFT Stamps
- Raindrop cardstock – Spellbinders
- Cosmic Sky cardstock – Spellbinders
- Stargazer dye ink – Pinkfresh Studio
- Liquid Pixie Dust – Ink on 3
Card instructions
- From an A2 panel of Raindrop cardstock, die cut the Wish Big Today Die-namics from the middle of the panel.
- Using the Twinkle Twinkle stamp set, stamp several stars on the panel with Versamark ink and heat emboss with white embossing powder.
- Ink blend Stargazer dye ink from the top of the panel down, in an ombre fashion. Carefully wipe the excess ink from the heat embossed images. The ink actually stained the white heat embossing leaving it looking light pink. Instead of starting over, I leaned into it by making blue and pink the main color combo for the whole card.
- Splatter the panel with diluted Stargazer ink, clean water, and white acrylic paint.
- Using masking tape and Black Soot distress oxide ink, make a ‘ground’ for the bear to stand on.
- On an A2 panel of Cosmic Sky cardstock, ink blend clouds using the Rolling Clouds stencil and Kitsch Flamingo distress oxide ink.

7. Adhere the two panels together with liquid glue.
8. With the Interactive Labels stamp, stamp ‘push’ in the lower right.
9. Stamp several images from Twinkle Twinkle in copic-friendly, black ink and color with a variety of Copic markers.

10. Line up where you want the bear with his star-catching net on the card front. Once lined up, use a sharp tool to pierce three holes through the net and the background panel. These holes will help the lights shine through.
11. Add small pieces of vellum behind the bear’s net to soften the lights a little.

12. Flip the background over and adhere the Twinkle Light. I used scor-tape to adhere the battery unit and position the wires in the correct place. Make sure the lights are facing upward through the openings you created in step 10.
13. Add the World’s Best Foam Tape all over the back. It is the perfect height for the EZ lights, and it is so easy to remove the tape backing.


14. Adhere the background to an A2 card base.
15. Add the colored images to the card front.
16. Add liquid pixie dust to all of the stars and splatter for a little more sparkle.


That’s it! Test the light to make sure it works well, and smile! Hope you enjoyed the card and are inspired to try something similar. To see more of my work, I’d love to connect with you on Instagram or subscribe to my blog. See you next week with more inspiration! Happy crafting!
**Affiliate disclosure: Where possible, the links above are affiliate links. Affiliate links allow me to earn a small commission when products are purchased through those links. This is at no cost to you. If you choose to use these links, thank you so much! It helps support my blog and bring you new content.**
