I know, I know, it’s not even Fat Tuesday yet, and I’m posting Easter cards. Well, I’ve had Easter on the brain ever since I saw the images from Heartcraft Paper’s new release! They are really cute and I just couldn’t wait to play with them. (You’ll find links below to more fun projects from the design team using these digi-stamps and a chance to win some too!)
Judging by how fast 2018 flew by, Easter will be here before you know it (April 21, you’re welcome 😉 ) and the truth is, I saw a card from Barbara Anders on Pinterest that totally inspired me! I believe the technical term is “scraplifted” actually, because the card was so cute, I practically copied it. Please check out her original card and show her some love too!
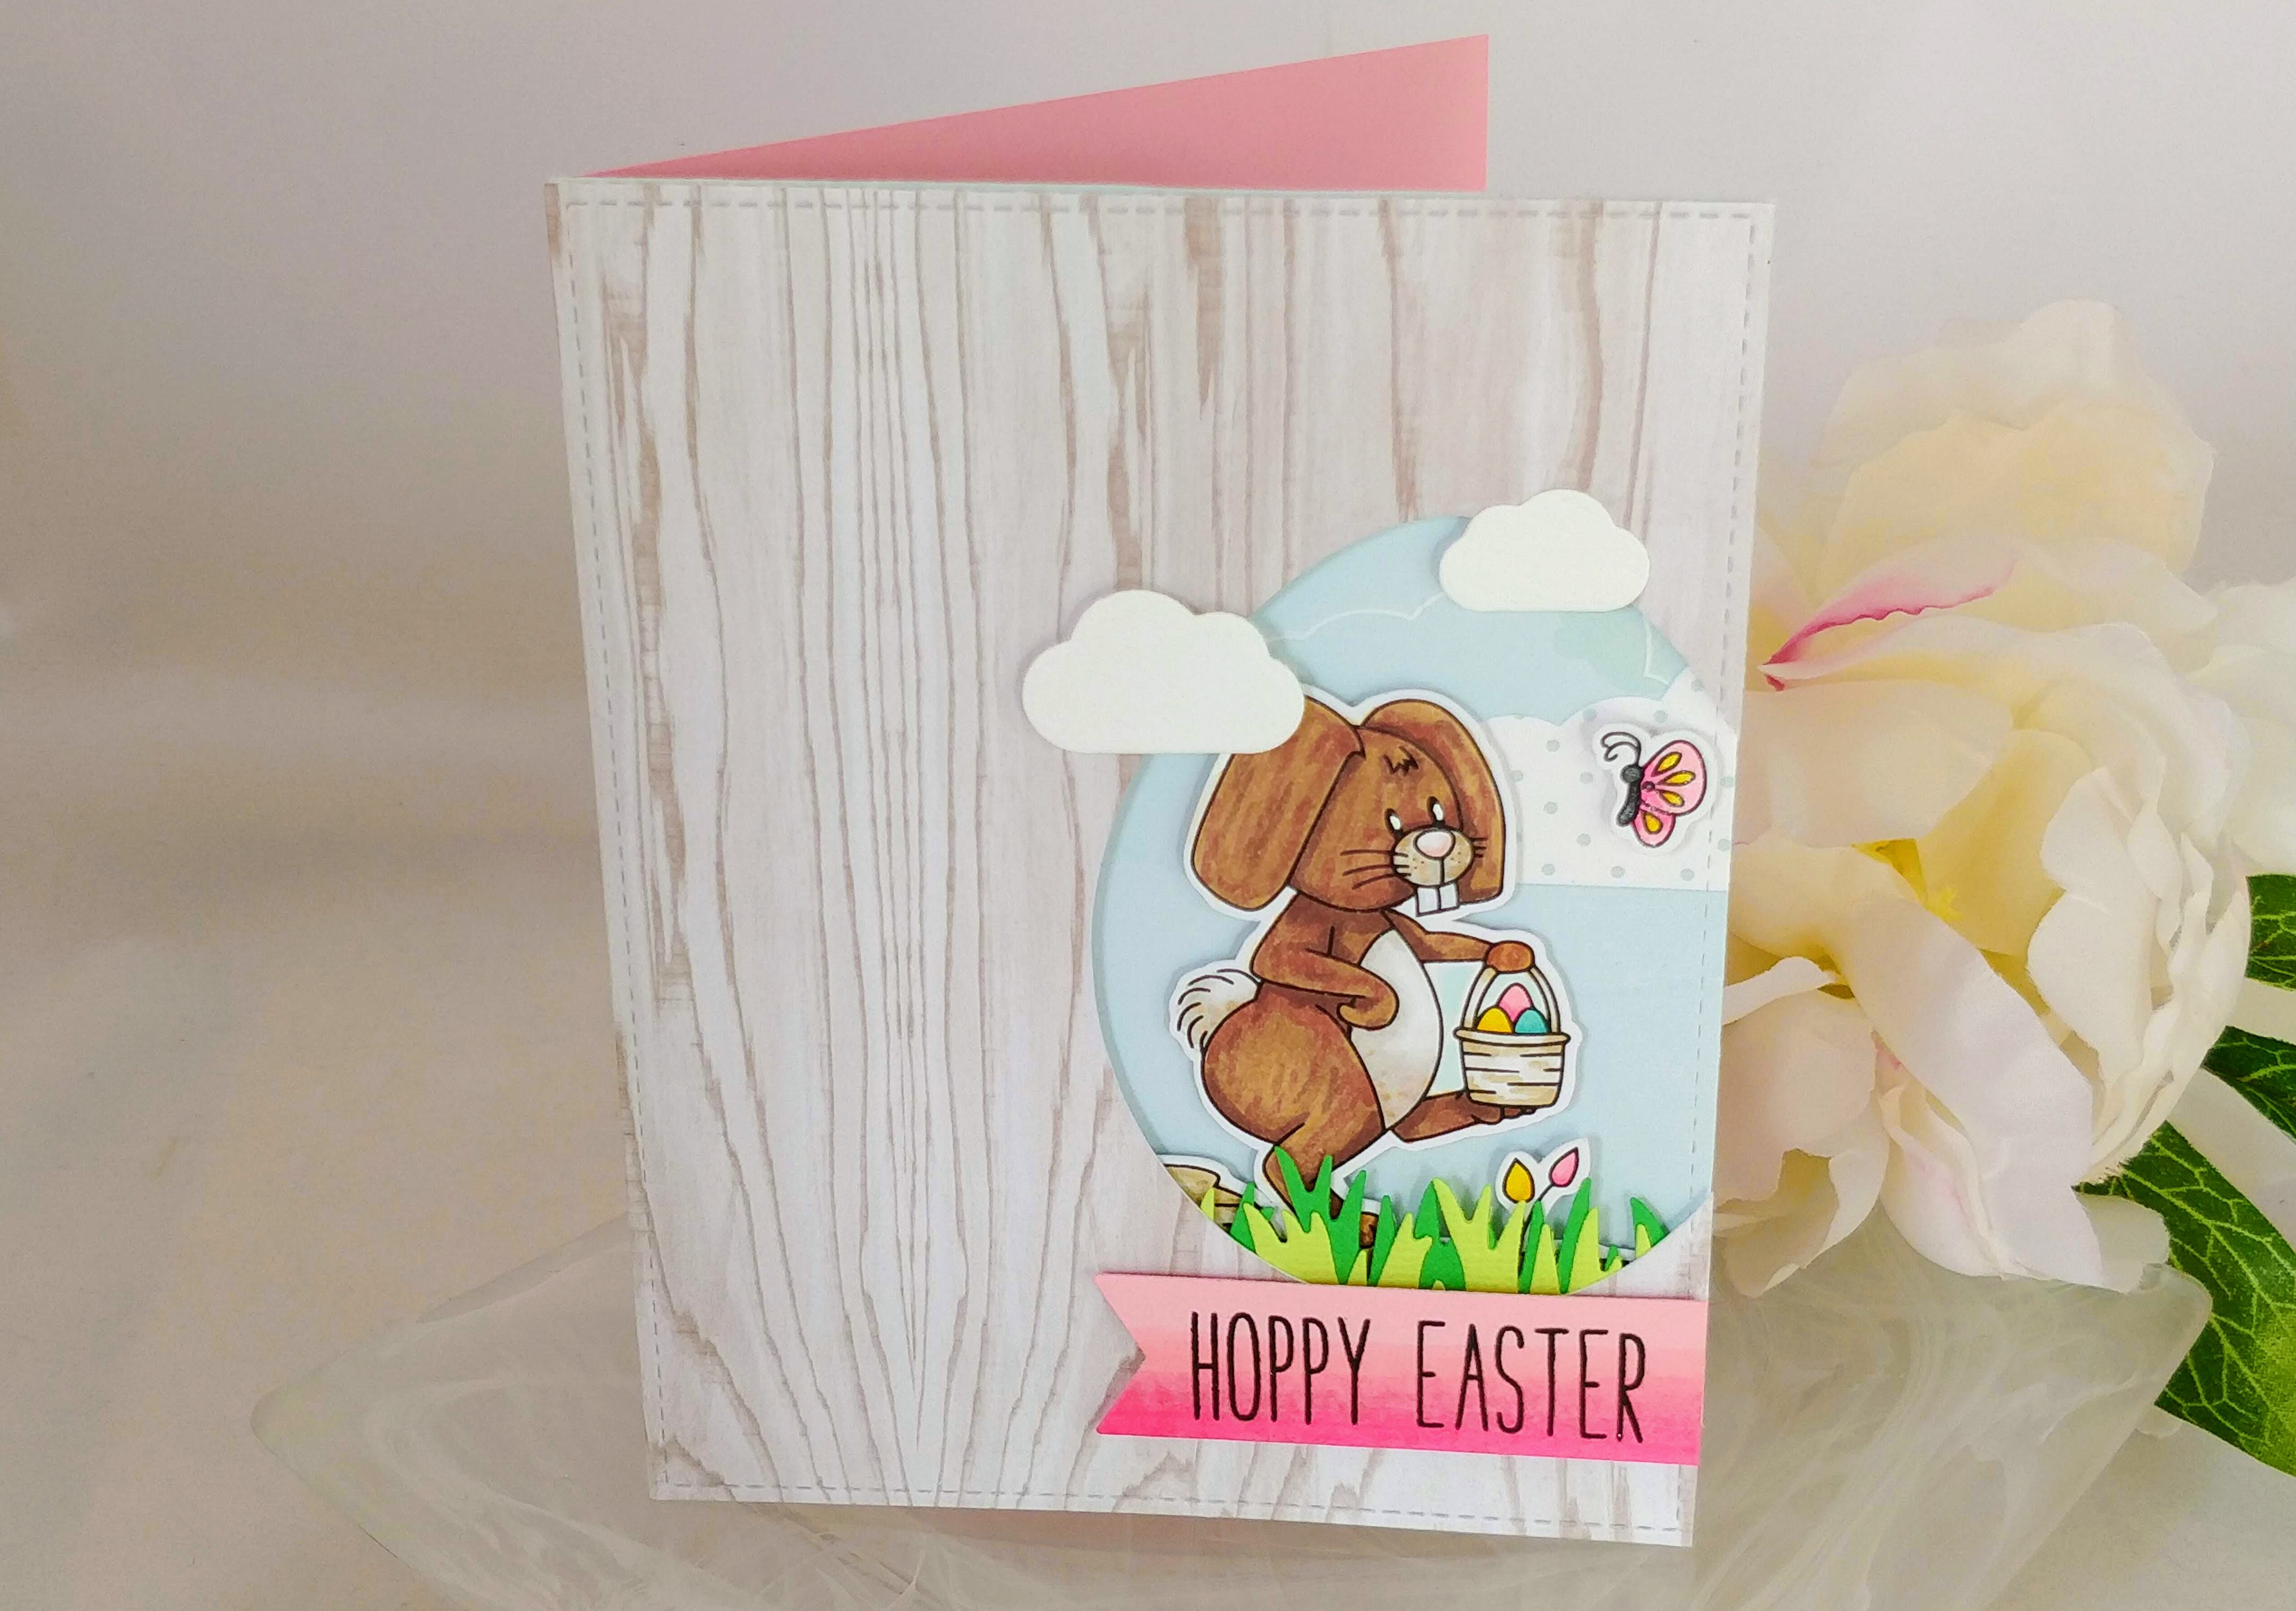
When I saw Barbara’s offset window and how most of the scene was created behind the top panel, I thought it might be fun to try with different shaped windows. Then like dominoes falling, an egg shaped window came to mind, with this adorable Easter Bunny digi-stamp from Heartcraft Paper hopping across the scene, and an Easter card began to form. You can watch it come together here…
To start, I printed out my image onto cardstock and colored it with Copic markers, then cut it out with my ScanNCut. I decided to give the image a white border. However, there is a big area of negative space between his arm and basket. In order to fill that in a little, but still preserve the white border, I only colored part of it in with a light marker that matched my sky background. I like the effect. What do you think? Would you have colored all the way to the edges of his body and basket?
I wanted to create a pink sentiment banner to run along the bottom of the scene, but instead of just using a solid color, I used a few pink markers in slightly darker shades to create an ombre effect. I then spelled out my sentiment with an alphabet set and stamped it, first in black ink, then again in Versamark, so I could heat emboss it with clear powder. After that, I cut it out with my largest fishtail banner die.
For the other pieces of my card, I pulled out a stitched rectangle die to cut the edges of the top and back panels of my card front. I didn’t have a large egg shaped die, but luckily there is one preset into my ScanNCut’s memory, so I cut that out of my top panel. I cut strips of grass from two shades of green cardstock. I also cut out two clouds to layer on top of the scene.
To assemble my card, I used thin fun foam to back the bunny layer. I offset the grass layers and glued them together, then I added another layer of the thin foam between the bunny and the grass. I glued the grass flat to the back of the egg window.Then I backed the rest of the egg layer with a single layer of foam tape and adhered it to the background layer. (The thin foam I use is from my local Dollar store and is about half the thickness of my foam tape, so by sandwiching the bunny between layers of it, it will stick up from the back of the card, but still be recessed into the window.) The butterfly was separated from the bunny by the ScanNCut so I popped him into place with foam tape. Then I added the clouds and banner with, you guessed it, more foam tape!
To finish my card, I glued the card front to a pink card base. I added a little shimmer to the butterfly, eggs, and tulips and I added a little sparkle to the bunny’s eyes with a white paint pen. Unlike Barbara’s card, I didn’t add a bow at the top. Since I used a pattern paper for the front of my card, I didn’t think it was necessary. What do you think? Would you have added the bow?
Ready for more inspiration? The Heartcraft Paper design team have been cookin’ up some good stuff for the new release! Check out the links below to see. And be sure to upload your project for this month’s challenge; you could win digi-stamps from the new release!
Amanda Stevens << You Are Here
Tania Cordie << Next Stop in the Hop!
This site uses affiliate links when possible, but only for products I use and love.

This is Amazing! Looveeeee this card!