Hello everyone! It’s Samantha Pfrimmer here with you on the Pear Blossom Press Blog today. I am so excited to share a beautiful interactive card I made pairing products from Altenew’s latest Secret Garden Retreat with the Pear Blossom Press One-Light.

SUPPLIES
- One Light
- World’s Best Foam Tape
- PB Press Stamp and Die Bundle
- Altenew Ornamental Lantern Layering Die Set
- Altenew Zero-Waste: Wildflower Meadow Die
- The Stamp Market Rounded Rectangle Frames
- The Stamp Market Nested Rounded Rectangle Dies
- Your Paper Insider Specialty Paper
CARD INSTRUCTIONS
To begin this card, I first selected all of the colored cardstock I would be using for my project and I die cut all of my elements using my selected die sets. I decided to choose rich purples and specialty shimmer and glitter papers from Your Paper Insider so that the One-Light could enhance the sparkle. I first die-cut all of my elements from the Ornamental Lantern Layering Die and The Zero Waste: Wildflower Meadow die before working on assembly.
*Please note: Both of these Altenew Dies are currently unavailable for purchase and are only available to attendees of the 2025 Secret Garden Retreat
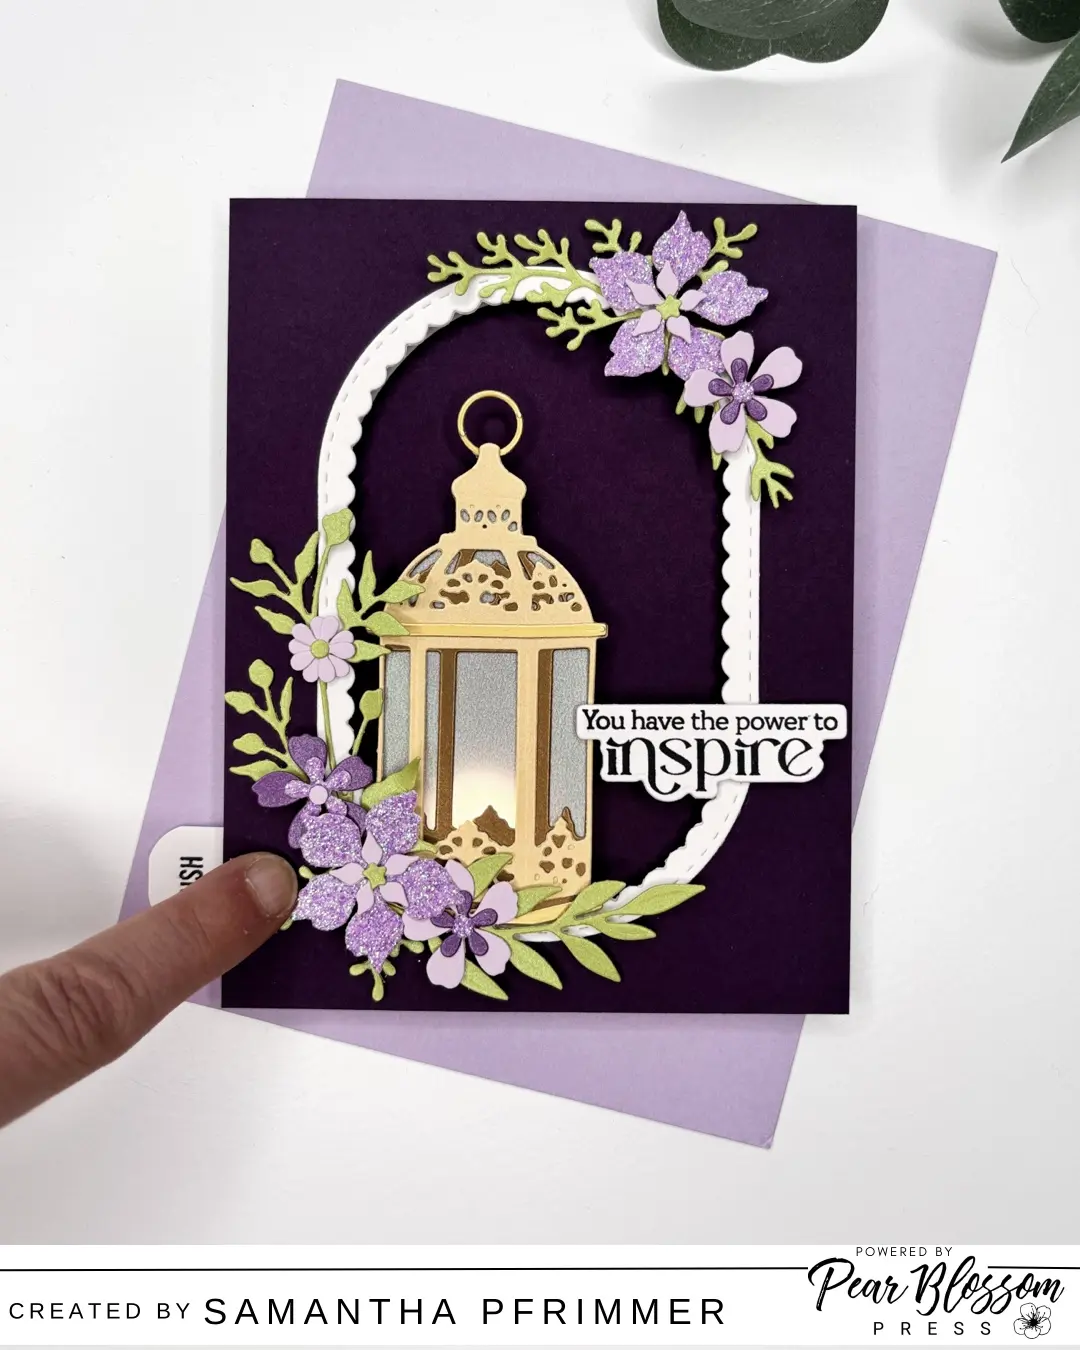
Next, I created my background panels cut using the Stamp Market Nested Rounded Rectangle Dies and the Rounded Rectangle Frames. I first used one of the Nested dies to cut out the center of an A2 panel of dark purple cardstock. I then adhered the inner oval onto the center of an A2 panel of white cardstock, before adhering a white scallop frame around the opening of my remaining dark purple panel. Now it was time for assembly.

To start, I glued my lantern together adding vellum to the back to look like opaque glass. I then arranged my One Light and my lantern with my frame laying in place, marking on the white base panel where I wanted my battery and button to be placed. I next cut a strip of cardstock ¾” of an inch thick and 1.5” long, rounded the corners with a punch, and then stamped Push on it using the PB Press Stamp Set. Using double sided tape, I taped my light and battery pack in place and added my Push-stamped tab. Next, I added the World’s Best Foam Tape as shown and then applied my top dark purple panel. Once the base was complete, I added on my lantern and all of my florals using both thick and thin foam squares for dimension.
All that was left was to stamp out my sentiment and attach it to the panel before attaching the finished panel to an A2 folding card base.
My card was now complete and ready to brighten someone’s day.
Thanks for reading!

