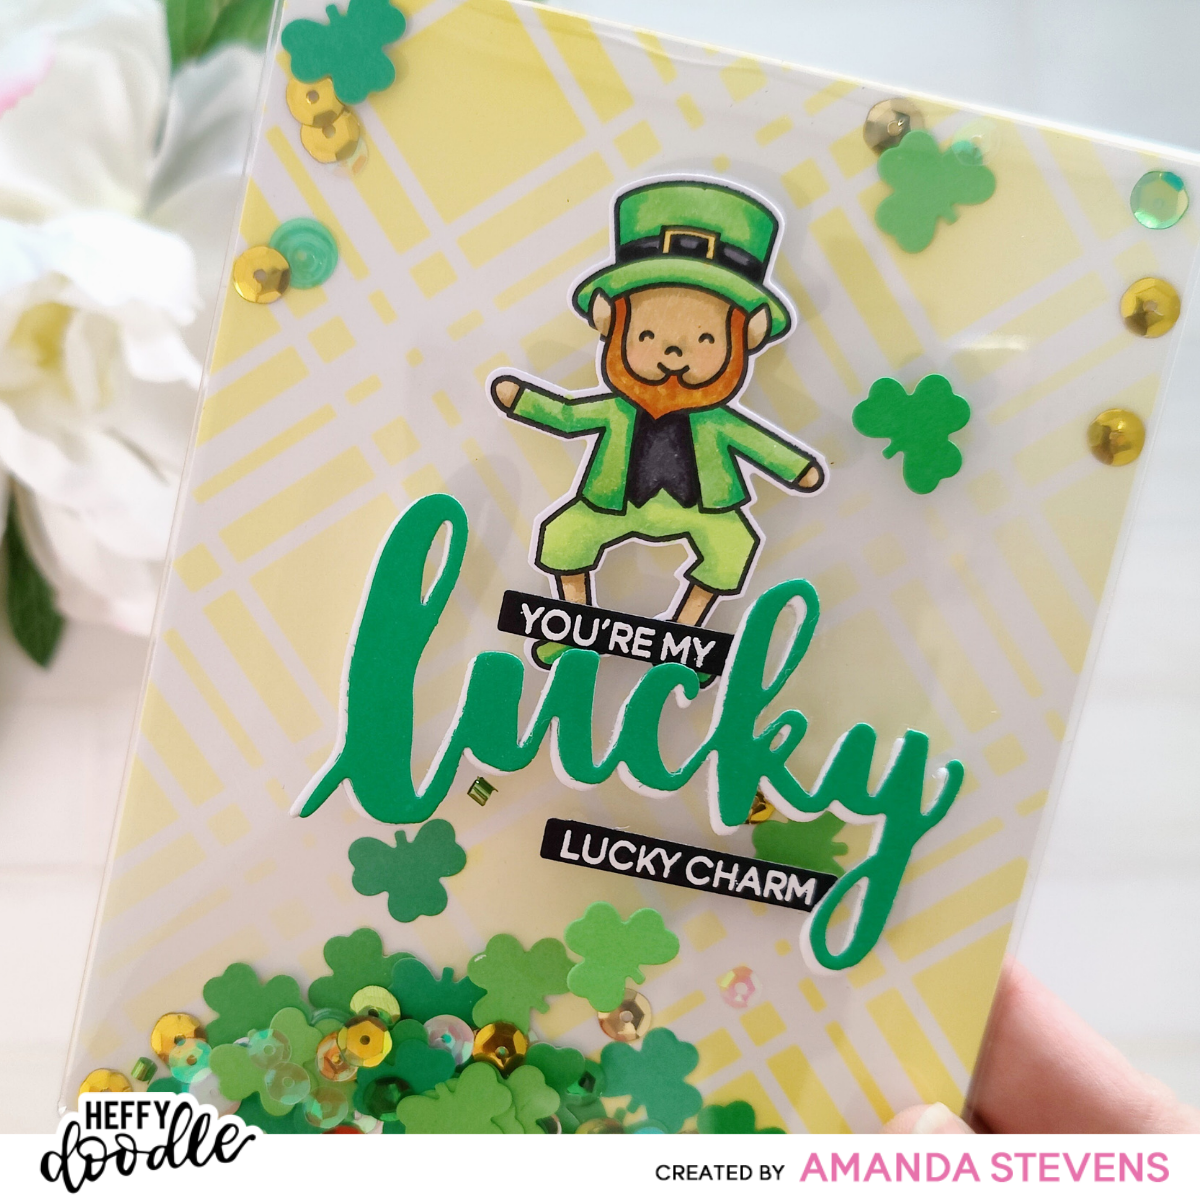
It’s the first Tuesday of the month, and that means it’s time for a new Heffy Doodlers Challenge! This month, the theme is Shake Your Shamrock, and I made a fun infinity shaker with a lucky little leprechaun to kick the challenge off. Isn’t it neat?
[row]
[column size=”7/10″ stack=”sm”]
[/column]
[column size=”3/10″ stack=”sm”][/column]
[/row]
Want to see how it came together? Don’t worry, I used an Infinity Shaker Cover, so it was easy as pie. Before we start, grab these supplies and meet me in the craft room…
Supply List
Infinity Shaker Covers
Perfect Sentiment Cardstock
Lucky Friends Stamp Set
Lucky Friends Dies
Lucky Die
More Strips of Ease Dies
Clover Frames Die Set
Highlander Stencil
First things first, let’s create the background for our infinity shaker. I blended yellow ink through the Highlander Stencil, onto a white panel. I used a heavier hand in the upper left and lower right corners for more interest. Then, I trimmed the panel down to 4 1/4″ x 5 1/2″ (A2 size). After folding the tabs back on an Infinity Shaker Cover, I wrapped it around my panel and attached three sides. I die cut a shamrock in the Clover Frames Die Set several times each from three shades of green paper, and poured them into the shaker pocket, along with a variety of green and gold sequins. Then, I sealed the top of the shaker and attached it to an A2 card base.
[row]
[column size=”1/2″ stack=”sm”] [/column]
[column size=”1/2″ stack=”sm”] [/column]
[/row]
So why are the Infinity Shaker Covers so great? Well, they are already cut and scored at the perfect size for A2 cards, and the corners are clipped. They have adhesive on all four tabs, making assembly quick and easy. The acetate is nice and heavy, so it naturally bows out in the center, giving your shaker bits room to move, but unlike traditional shaker cards, these require no foam tape. Plus, they have a protective film on top of the acetate, to keep it from getting scratched before use. Of course, you can use any acetate to make your own infinity shaker cards, but I wanted to give you the lowdown on these pre-made covers in case you weren’t familiar.
Now back to the card. Once the shaker is attached to the card base, it’s ready to decorate. I die cut the word LUCKY several times from white cardstock, and again from green to stack up a thick sentiment. Then, I heat embossed the sub-sentiment onto black Perfect Sentiment Cardstock. (If you like the look of white embossing on black stock, try this stuff. It’s fantastic!) After cutting it down with a small strip die, the sentiment was ready. Next, I needed my cute little leprechaun to pull everything together. I stamped him with black ink and colored him with Copic Markers. (You can see the colors below.) Then, I cut him out with the coordinating die.
[row]
[column size=”1/2″ stack=”sm”] [/column]
[column size=”1/2″ stack=”sm”] [/column]
[/row]
You can see I had a blob of ink drip onto his shoe, but not to worry, I hid that under the sentiment when I glued it onto the card. Since I was gluing to plastic, I needed to use an adhesive that would stick. I used Gina K Connect Glue and it worked like a charm! What do you think?
[row]
[column size=”1/2″ stack=”sm”] [/column]
[column size=”1/2″ stack=”sm”] [/column]
[/row]
Ready to Shake Your Shamrock and play along with us? It’s easy! Just create a card using Heffy Doodle products (mostly) and post it in the Heffy Doodlers group on Facebook. You’ll see the current challenge album pinned to the top. Every project enters you for a chance to win a £35.00 shopping spree at heffydoodle.com! Visit the blog for all of the details. I can’t wait to see what you’ll create!
 Thanks so much for stopping by today! Before you head off, check out the other interactive card I’m sharing today. It’s a really cool tunnel card! I’ll be back soon with more fun cards to share. See you then…
This site uses affiliate links whenever possible (at no additional cost to you), but only for products I actually use and love.
