Happy Wednesday, crafty friends! Tiffany, @ink.therapy.designs, here with more inspiration for you. Today’s card uses a die set from Spellbinders, Camper Life, that I have had in my stash, but have never used. Shocker I know, LOL. If you’re ever feeling low on creative mojo or want to shop your stash more often, try this: pick one stamp or die set that you’ve never used before and pick one technique that you’ve been meaning to try like (interactive EZ-lights!). I think it helps kick start your mojo because you’re learning a new technique and problem solving along the way resulting in a feeling of accomplishment once you’re done. Those endorphins will have you wanting to try something new again and again. #winning
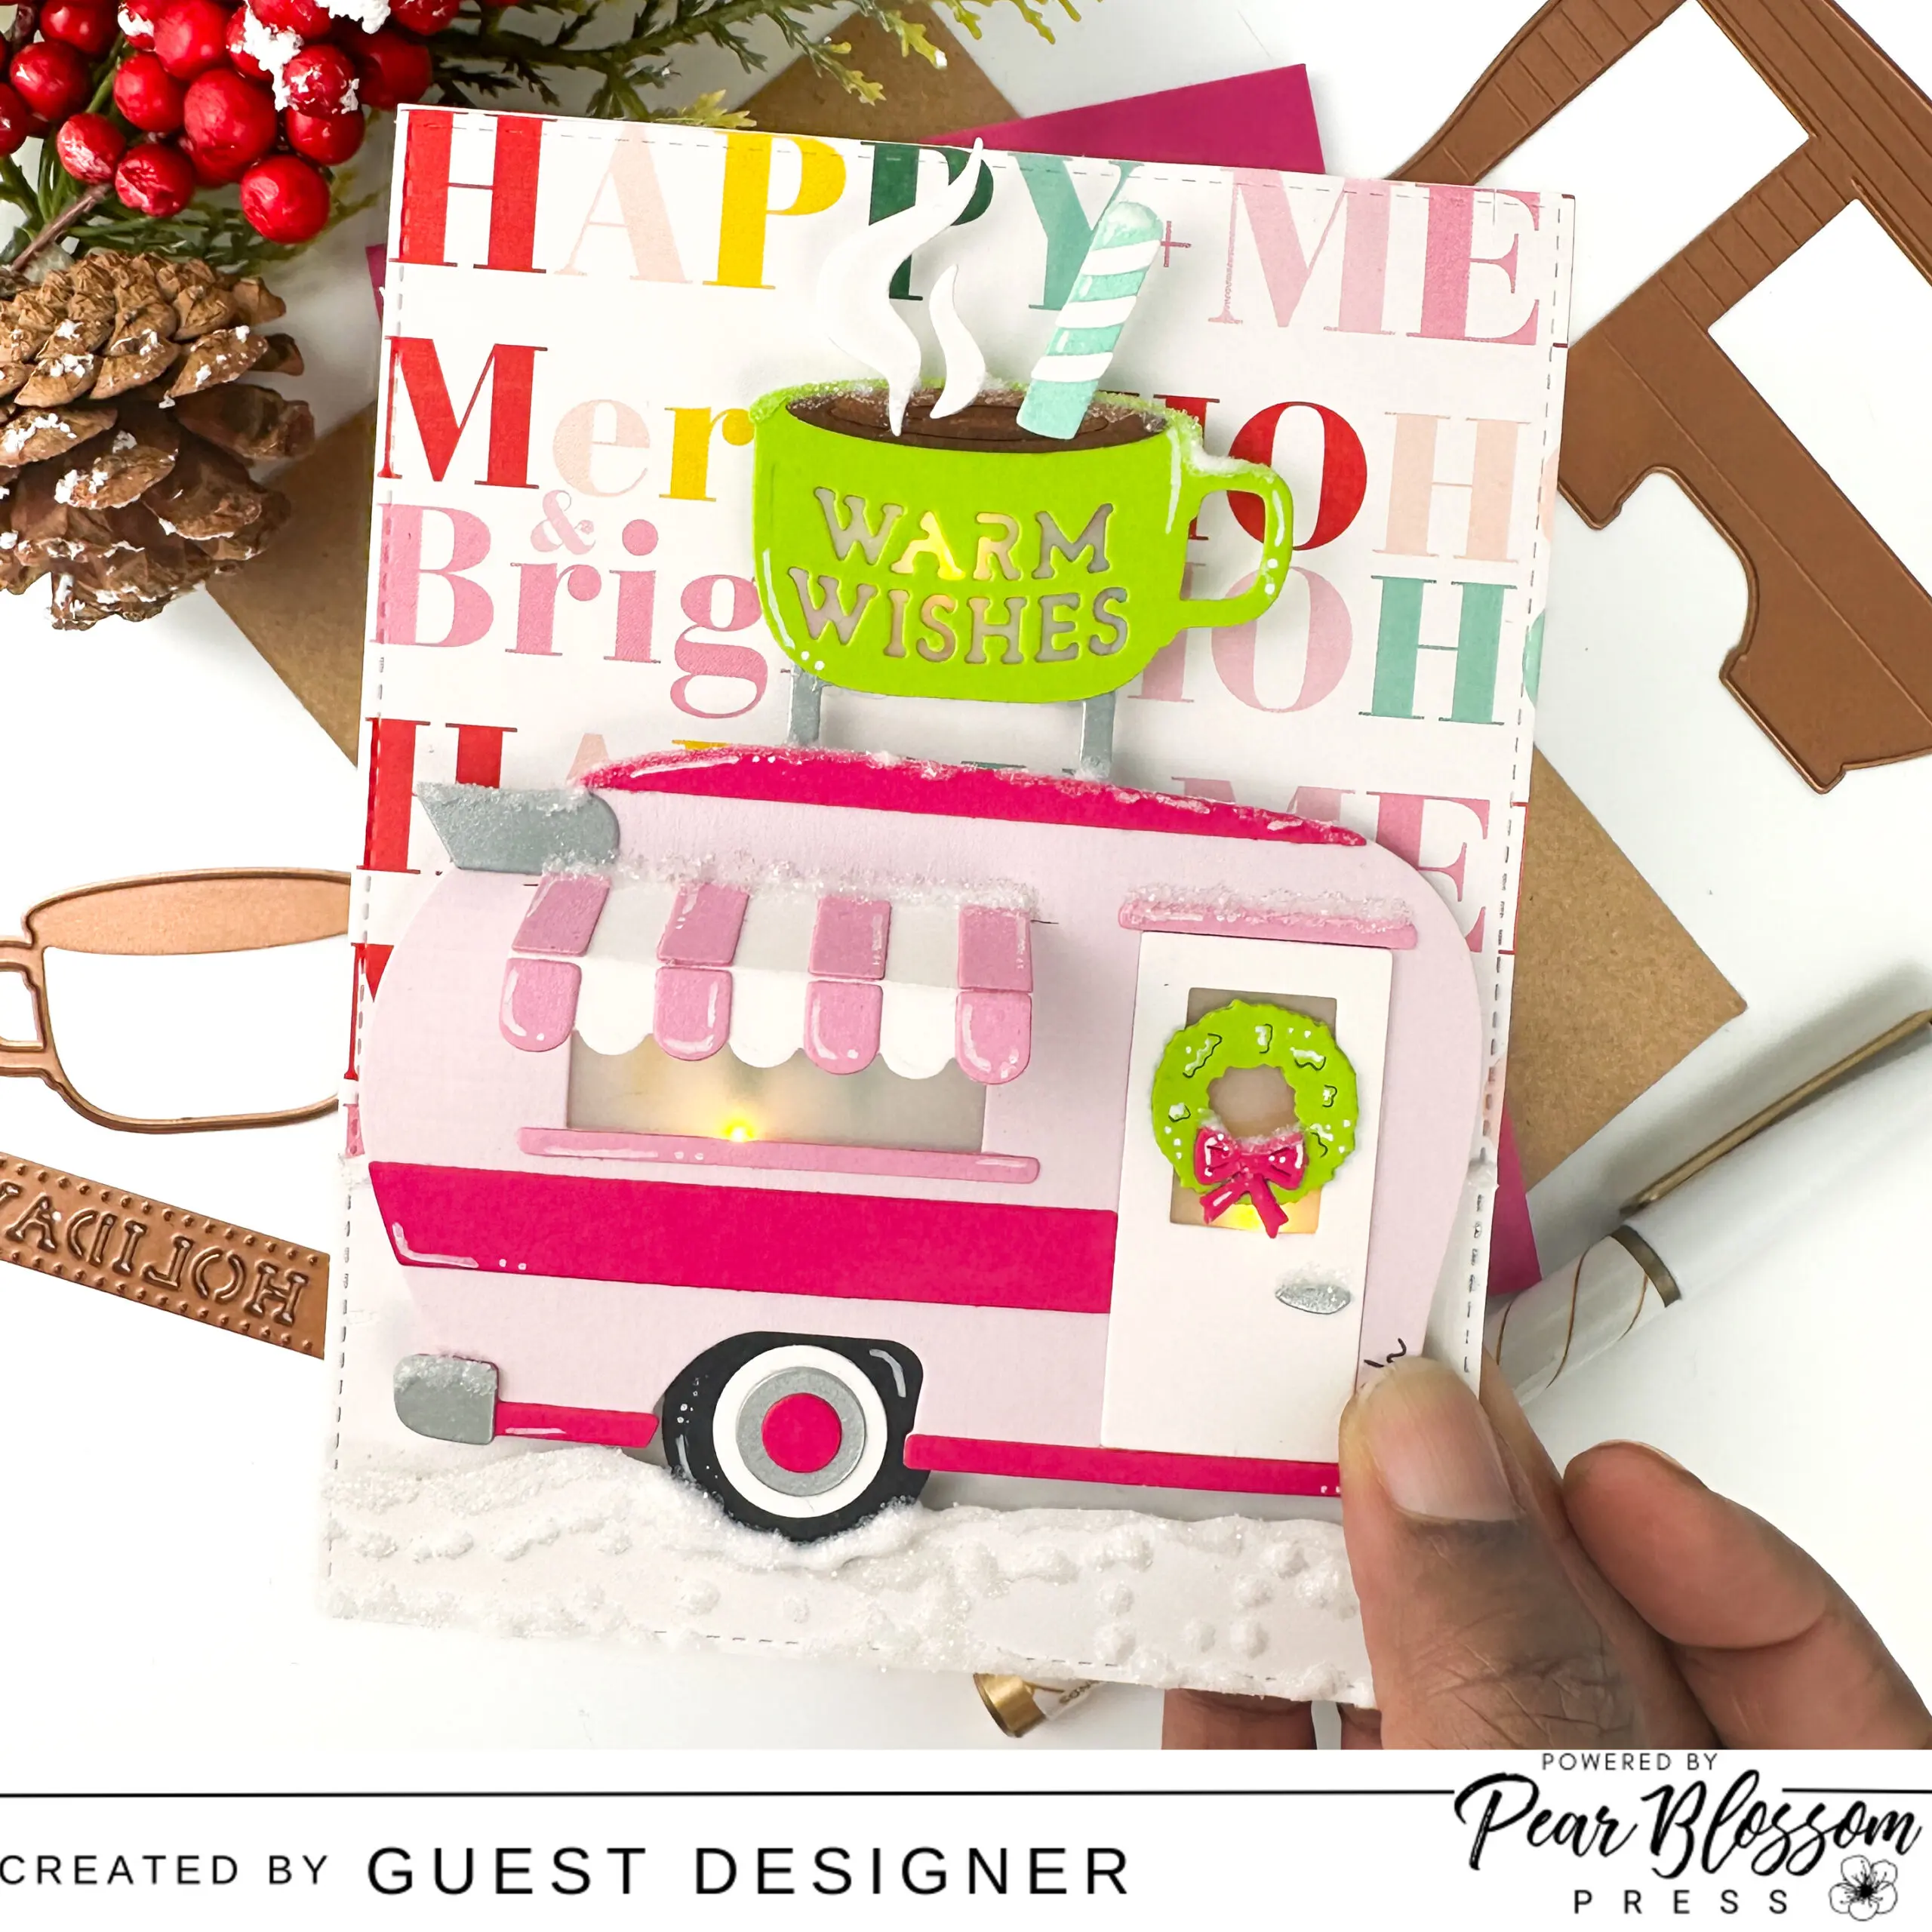
It’s never too early to get started on holiday cards, so I loved playing with this adorable camper and adding EZ-lights to make the design even more magical!


Supplies used
- EZ-Light – Pear Blossom Press
- World’s Greatest Foam Tape – Pear Blossom Press
- Stamp and Die Bundle – Pear Blossom Press
- Camper Life – Spellbinders
- Blueprints 25 Die-namics – MFT Stamps
- Distress Rock Candy Glitter – Ranger/Tim Holtz
Card instructions
- Die cut holiday-themed patterned paper using the largest die in MFT Stamps Blueprints 25 Die-namics. I used retired patterned paper in my stash from The Stamp Market, but any holiday-themed print will do.
- Die cut a panel of white cardstock using the same Blueprints 25 Die-namics die.
- Create “snow banks” from the white panel using the snow landscape die in Spellbinders Camper Life.
- Adhere the top snowbank with the World’s Greatest Foam Tape, and the back snow bank with liquid glue.
- Add a line of liquid glue on the snow banks and sprinkle Rock Candy glitter on top. Set the panel aside to dry.

6. Using Camper Life, die cut all of the pieces for the camper from various cardstock colors.

7. Assemble the camper and add vellum behind the door, the camper’s window, and the cocoa cup at the top of the camper.
8. Stamp the ‘push’ label on the far right of the camper using the Pear Blossom Press Stamp and Die Bundle.

9. Flip the camper over, and add an EZ-light using scor-tape. Carefully position the wires behind the camper and secure it with scor-tape. Make sure the lights are face up and no wires can be seen from the front of the camper. I added one of the three lights in multiple areas (behind the door, behind the open window, and behind the letters in the cocoa cup).
10. Add the World’s Greatest Foam Tape behind the camper once the lights are in place.


11. Adhere the completed camper to the card front.
12. Add lines of liquid glue where snow might accumulate and then add more Rock Candy glitter. I love the added texture and sparkle!

And voila! I hope you enjoyed today’s card and are inspired to try something similar. I love the warm and cozy vibes the lights give this cute camper – perfect for the holidays. A big thank you to the whole Pear Blossom team for allowing me to guest this month! To see more of my work, I’d love to connect with you on Instagram or please subscribe to my blog. Happy crafting!
**Affiliate disclosure: Where possible, the links above are affiliate links. Affiliate links allow me to earn a small commission when products are purchased through those links. This is at no cost to you. If you choose to use these links, thank you so much! It helps support my blog and bring you new content.**
