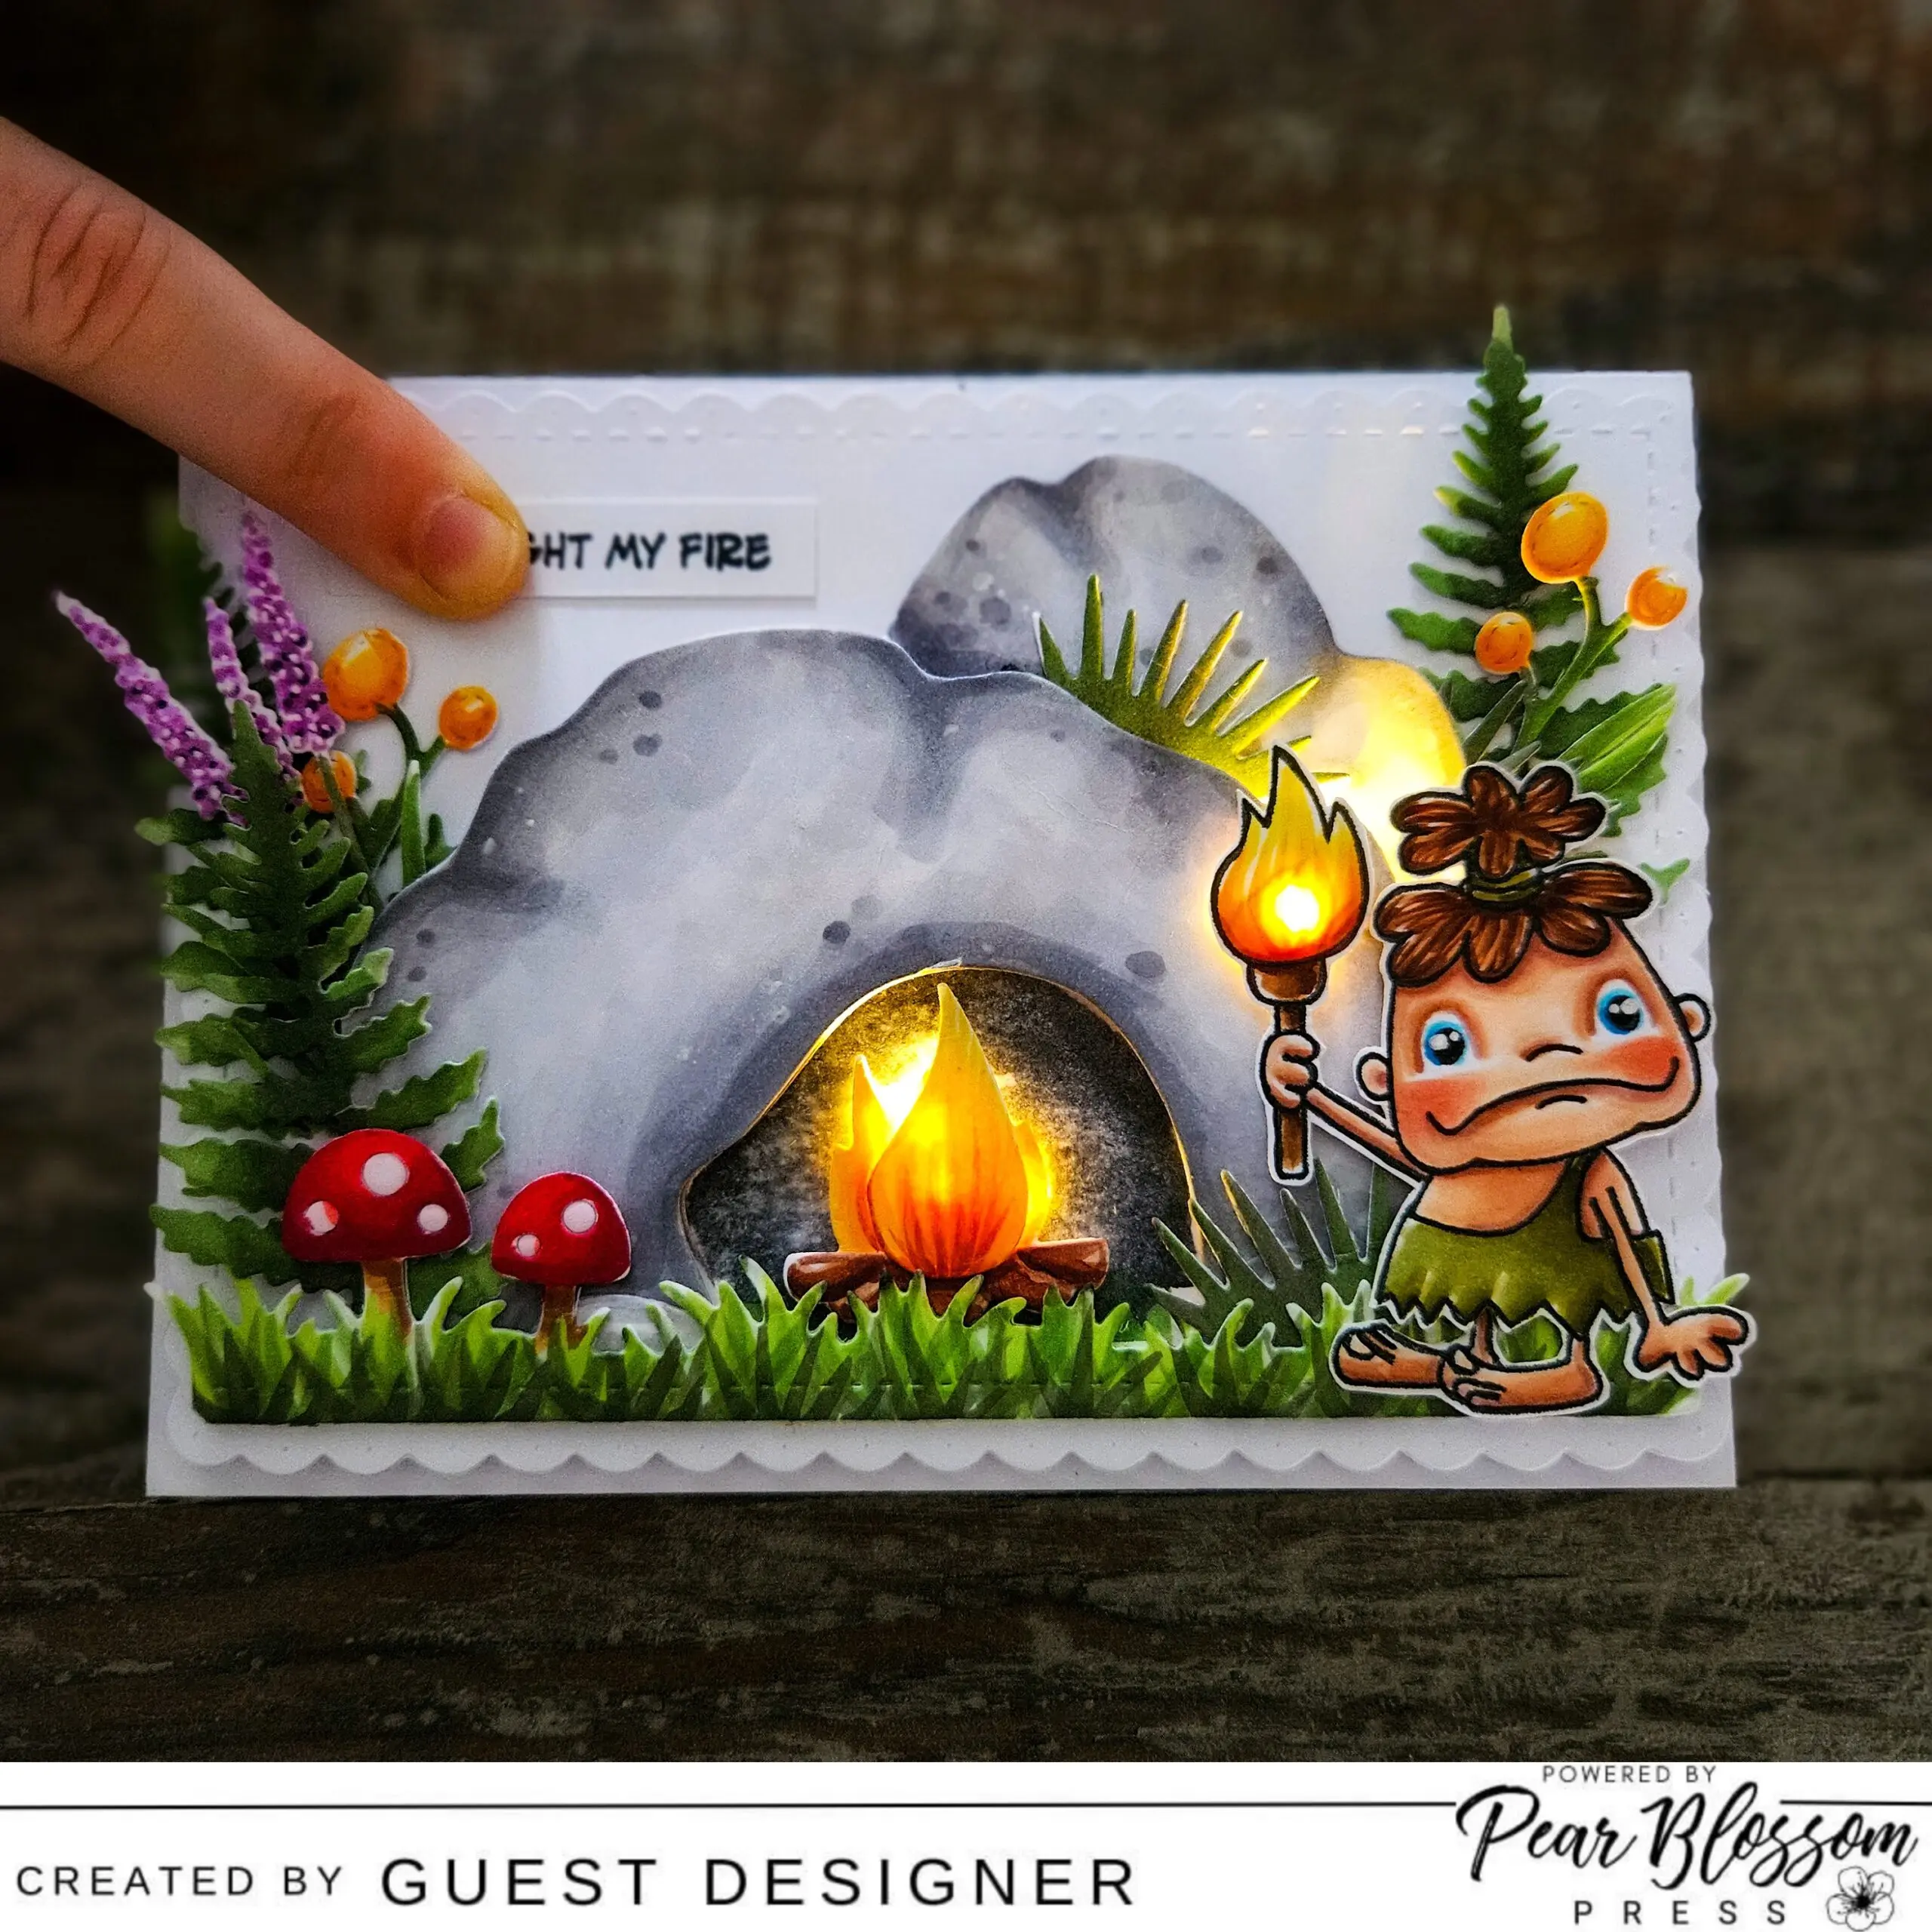
Hi crafty fellows, Sandra also known as addicted_to_creativity (www.instagram.com/addicted_to_creativity) on IG here again with you today to show you my 2nd project for this month!
It was so much fun designing this light up card and it should definitely put a smile on the recipient’s face.


Products used:
LLLC Light My Fire Clear Stamp Set
https://www.lalalandcrafts.com/Light-My-Fire-Clear-Stamp-Set_p_3948.html
LLLC Scalloped Rectangles Die
https://www.lalalandcrafts.com/Scalloped-Rectangles-Die_p_884.html
LLLC Snapdragons Die
https://www.lalalandcrafts.com/Snapdragons-Die_p_3703.html
LLLC Mushroom And Grass Border Die
https://www.lalalandcrafts.com/Mushroom-and-Grass-Border-Die-_p_1031.html
LLLC Grass Patches Die
https://www.lalalandcrafts.com/Grass-Patches-Die_p_1072.html
LLLC Stump With Twig Die
https://www.lalalandcrafts.com/Stump-with-Twig-Die_p_1029.html
LLLC Two Branches Die
https://www.lalalandcrafts.com/Two-Branches-Die_p_754.html
LLLC Fern Leaf Die
https://www.lalalandcrafts.com/Fern-Leaf-Die_p_3937.html
Stamp Anniething Cave Builder Die
https://stampanniething.com/products/cave-builder-die?_pos=2&_sid=8c5e0ecb8&_ss=r
PBP World´s Best Foam Tape Double Thick
https://pearblossompress.com/product/worlds-best-foam-tape-double-thick/
PBP EZ Lights 3 Units 5 Pack
https://pearblossompress.com/product/ez-lights-5-pack-to-make-light-up-cards/
Copic Markers used:
Skin: E000, 00, 04, 11, 13, 21, R20
Hair: E53, 55, 57, 59
Dress: YG91, 93, 95, 97
Flame: YR16, 18, Y04, 13, 35, 38
Wood: E21, 23, 25, 27
Rocks: N0, 1, 2, 3, 4, 5
Greenery: BG96, 99, YG23, 25, 61, 63, 67
Twigs: YR16, Y15, 35, 38
At first, I stamped the images I needed to build up my card. I die cut each image out , along with the other die cuts. Then, I colored everything in with Copic Markers. 
After that was finished, I decided on where to put my lights! I made marks where I wanted them and then placed them on the card base. I added foam tape (so the battery didn’t stick up farther than the rest of the card.) 
I then punched a hole in my front panel where I wanted to place the torch later and pulled out the light a little. 
I did the same to my cave die and checked on the light that should be seen through the punched hole. 
I then placed the cave die cut and made sure that the lights were in the right place. Once the one for behind the torch and the two other lights should be placed behind the bonfire. Then I added greenery to the cave and put the fussy cut images to the card. Finally, I placed the sentiment where you press the button for the lights. 

Thank you so much for stopping by today reading my blogpost and maybe you got a bit inspired!
Hugs, Sandra
