Hello my crafty pal! I’ve got something a little different for you today — not one, but six cards I made using backgrounds created with Aqua Pigments. These are liquid watercolors from Brutus Monroe and they come in a fantastic array of colors. I’ll show you what I did with them in this video…
I’m super excited to be guest designing again for Brutus Monroe! You can find the sister article to this one on their blog. Feel free to hop on over and gush a little 😉 😉
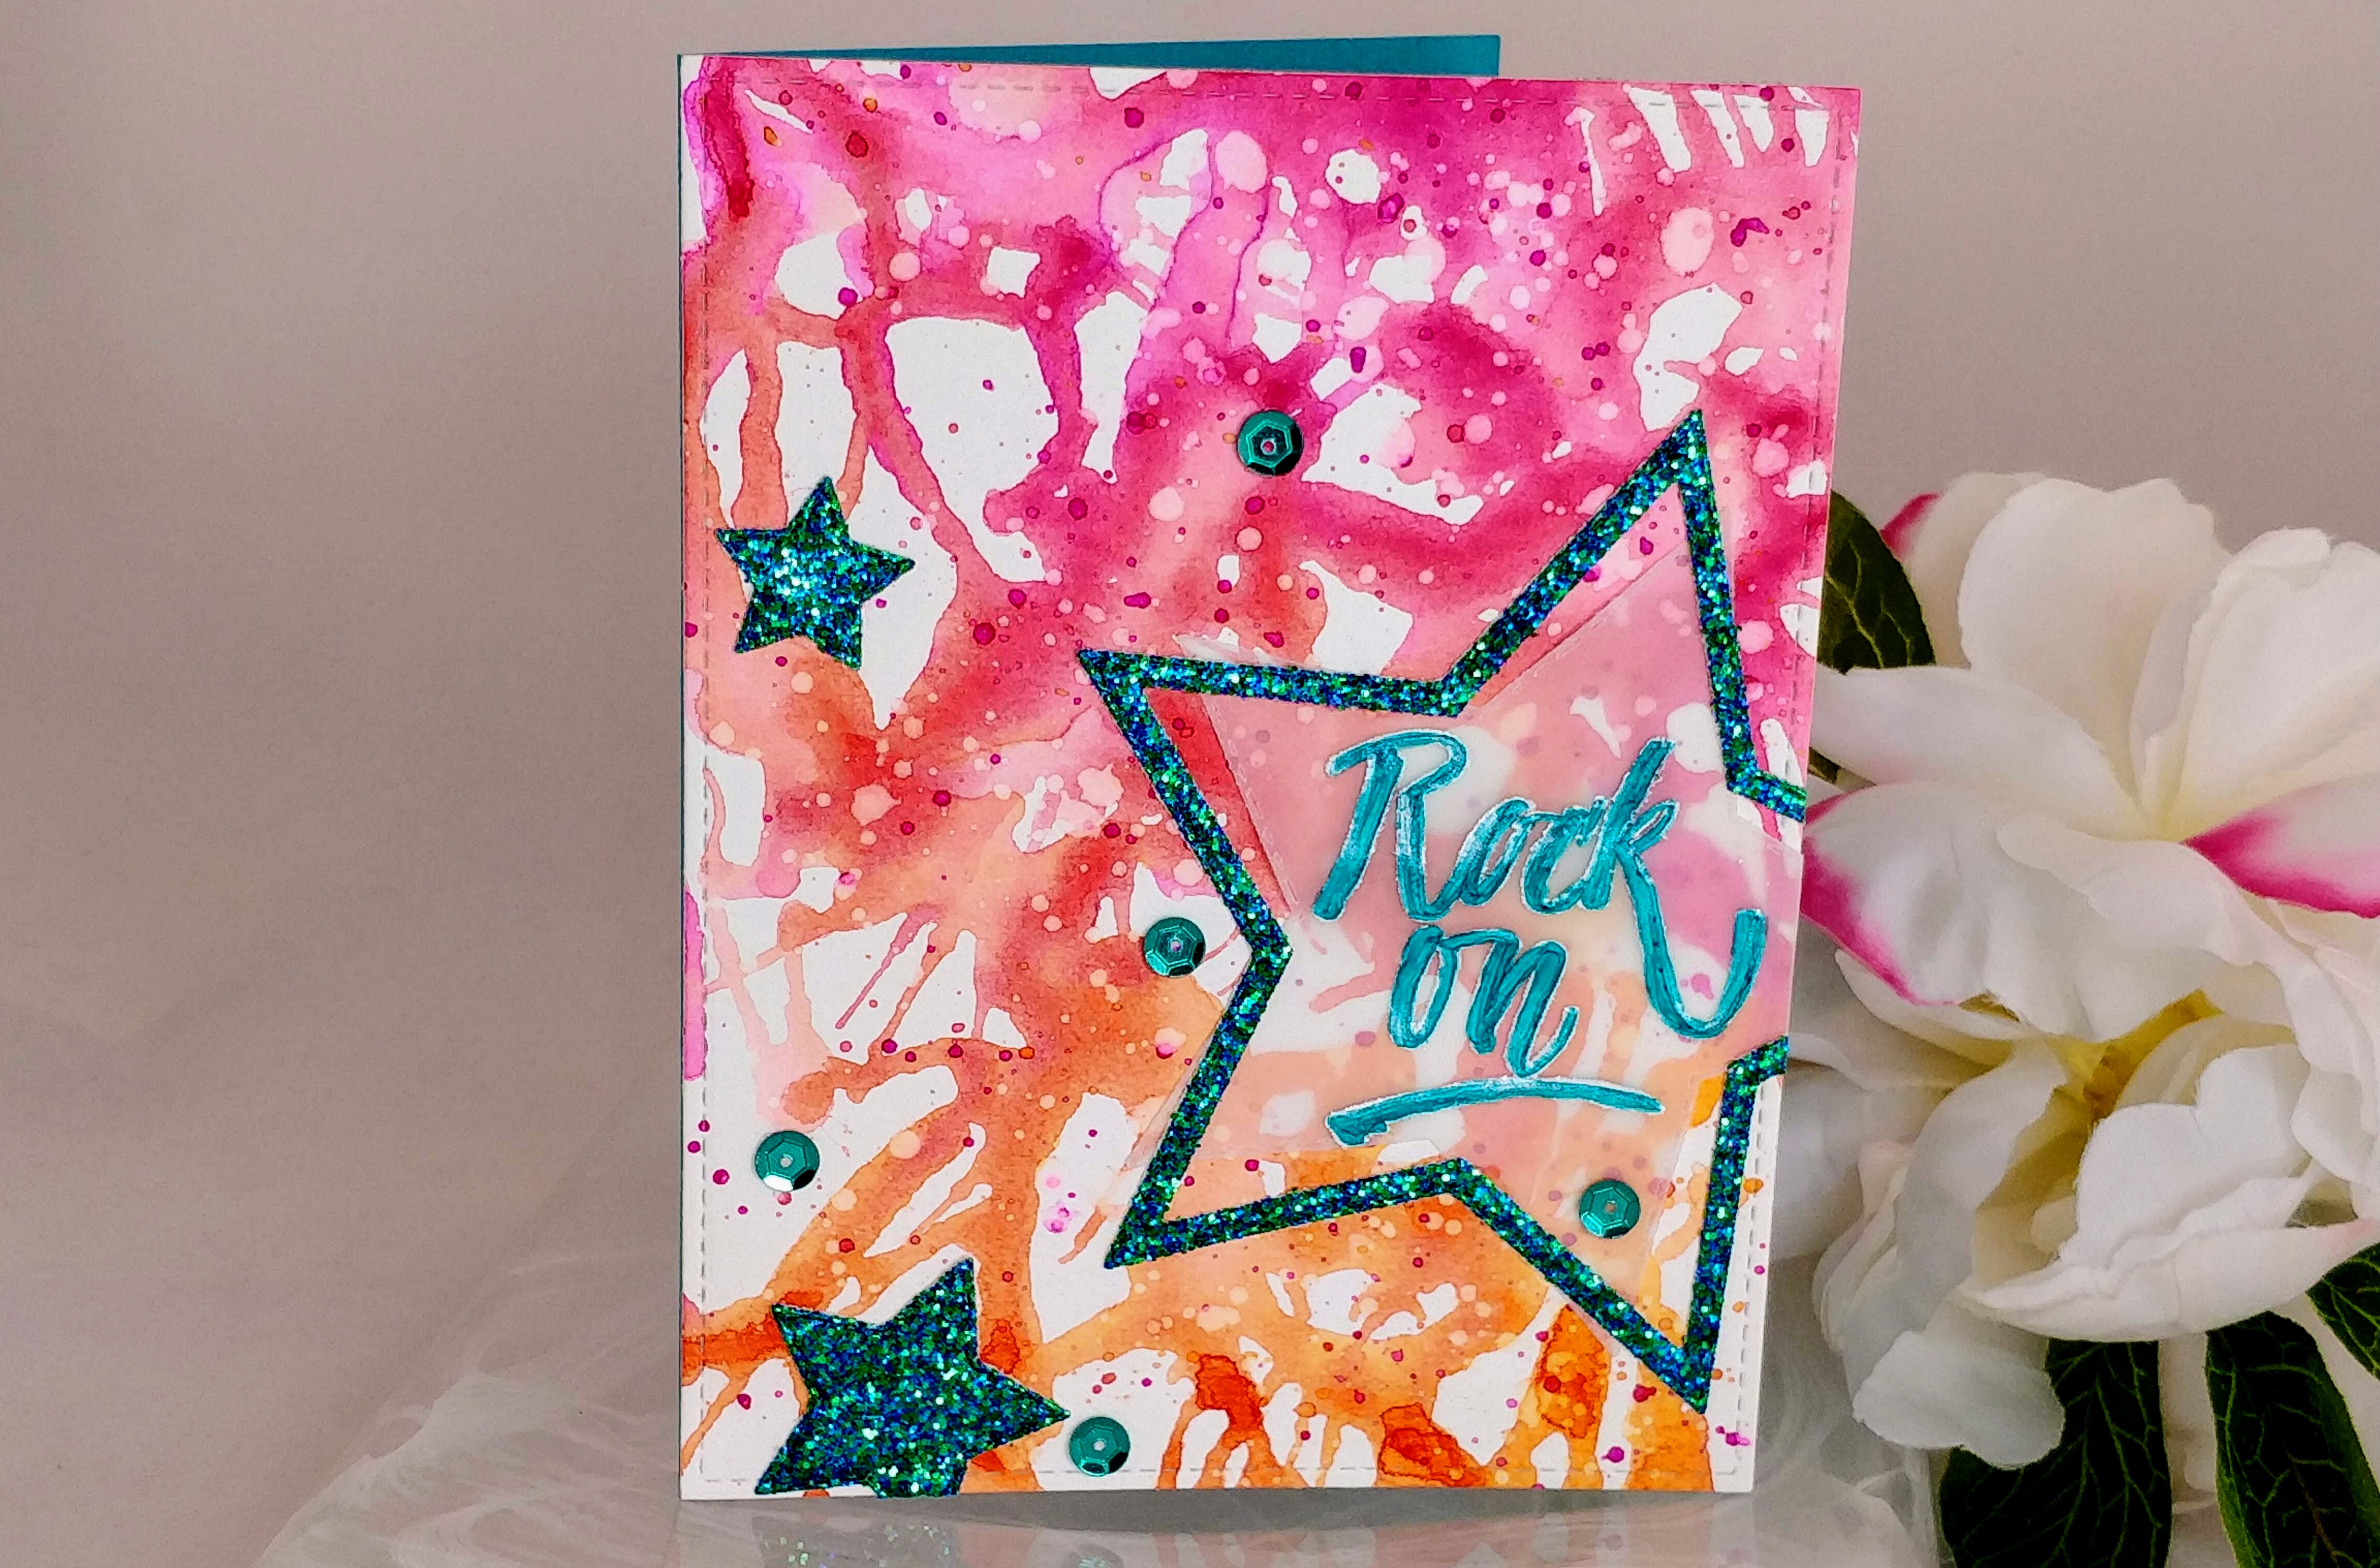
For these backgrounds, I started with Aqua Pigments in Orange, Coral, Magenta, and Fuschia. I worked on heavyweight watercolor paper and for three of the backgrounds, I used the Polka stencil. To drip the color onto my paper, I used a pipette, but if you don’t have one, you can use a dropper from one of the Aqua Pigment bottles. Just be sure to clean it before recapping your bottle. On the last stenciled background, I mixed the Aqua Pigments with light texture paste and applied it with a pallet knife. You could use a popsicle stick or an old gift card to apply it if you don’t have a pallet knife. I sprayed the textured background with a generous amount of Glimmer Mist to give it a nice sheen. I used a variety of paint brushes and a drinking straw for the remaining backgrounds.

To finish the Happy Birthday card, I cut the background out with a stitched rectangle die, glued it to a pink card base, and added a stacked die cut sentiment cut from teal glitter paper. Then I glued on a few teal sequins that came in a pack from the dollar store near me.

For the Follow Your Dreams card, I die cut the background with the same stitched rectangle die and glued it to a white card base. The sentiment came from the Brutus Monroe Rock On set; it’s the same set I used for the rest of the cards. I stamped and heat embossed the sentiment onto vellum and cut it out with a circle die. I used several more circle dies to cut out gold mirror cardstock, then glued them all to the card. I finished it with gold sequins.

The Rock On card was completed in much the same way, except I used nesting star dies and brought back the teal glitter paper and sequins again. I glued this card front to a teal card base.

I love how the Adventure is Calling card turned out, but I wish I had used a smooth coral cardstock to cut out the mountain range, instead of a textured one. It would have made stamping the sentiment easier and given me a better result. The background and outer edges of the mountain range were cut down with the same stitched rectangle die I used previously. I popped the mountains up from the background with foam tape for added dimension. The flat back sequins I used to finish the card are from Pretty Pink Posh.

I stamped and embossed Never Give Up directly onto the background, then trimmed it down to 4″ x 5.25.” I glued a thin piece of fun foam between the background and a bright pink card base to give this card a little dimension. I finished it with a few more Pretty Pink Posh sequins.


My last card has the texture paste background. I trimmed it and glued it to a pink card base. I used my ScanNCut to cut out a champagne glass from vellum. The cut file was a free one in Canvas Workspace called Foiled New Year’s Card. I used one of my light yellow Copic markers to add some “champagne” to my glass, then embossed Cheers on top. The gold sparkle embossing powder didn’t contrast as much as I wanted it to and is a little hard to read. I negated that by stamping it again inside my card with another little sentiment under it. My glass is popped up from the background with a layer of clear mounting tape. I colored several of the Pretty Pink Posh sequins with that light yellow marker and glued them above the glass to look like bubbles.
So what do you think of my backgrounds? Have you played with liquid watercolors? I want to see what you made! Tag me on Facebook or Instagram, or let me know in the comments below!
This site uses affiliate links whenever possible, but only for products I use and love.

Gorgeous cards! I love the pops of color you’ve chosen as well!
Aw, thanks!
I agree the colors are great!
Thank you!!!