Hello! This is Carol Hintermeier, and I’m so happy to be a guest designer for Pear Blossom Press today! You can see all of my creations over on my blog, “Crafting By Carol” and over on my Instagram @c.ann.h.
I love making handmade cards of many styles! I’ve been creating cards for over 15 years and still love it so much. Card making fills my time in between other things I enjoy—traveling, bike rides, walks, planting flowers, and my latest obsession of pickleball! I’ve lived in Texas all my life and enjoy life with my husband of 36 years, our sweet Maltese, Baxter and our two adult daughters that still live in the area.
That’s enough about me! Let’s get to the fun part!
*These are the supplies I used:
- Pear Blossom Press EZ-Light 2 pack
- PB Press Stamp & Die Bundle
- PB Press World’s Best Foam Tape
- Honey Bee Stamps Big Pickup Tailgate stamps
- Honey Bee Stamps Big Pickup Tailgate die set
- Honey Bee Stamps Loads of Love stamp set
- Honey Bee Stamps Loads of Love die set
- Copic markers: C05, C03, C01, C00, B04, B02, B01, BG0000, BG000, RV000, RV00, RV02, RV10, R29, V17, V15, V12
*Affiliate links have been used where applicable at no cost to you!


I’ve used the amazing EZ-Lights before and was very excited to have a reason to do so again. I looked through my stash of stamps and I found these Honey Bee Stamps Big Pickup sets that are perfect to make as a light-up card!

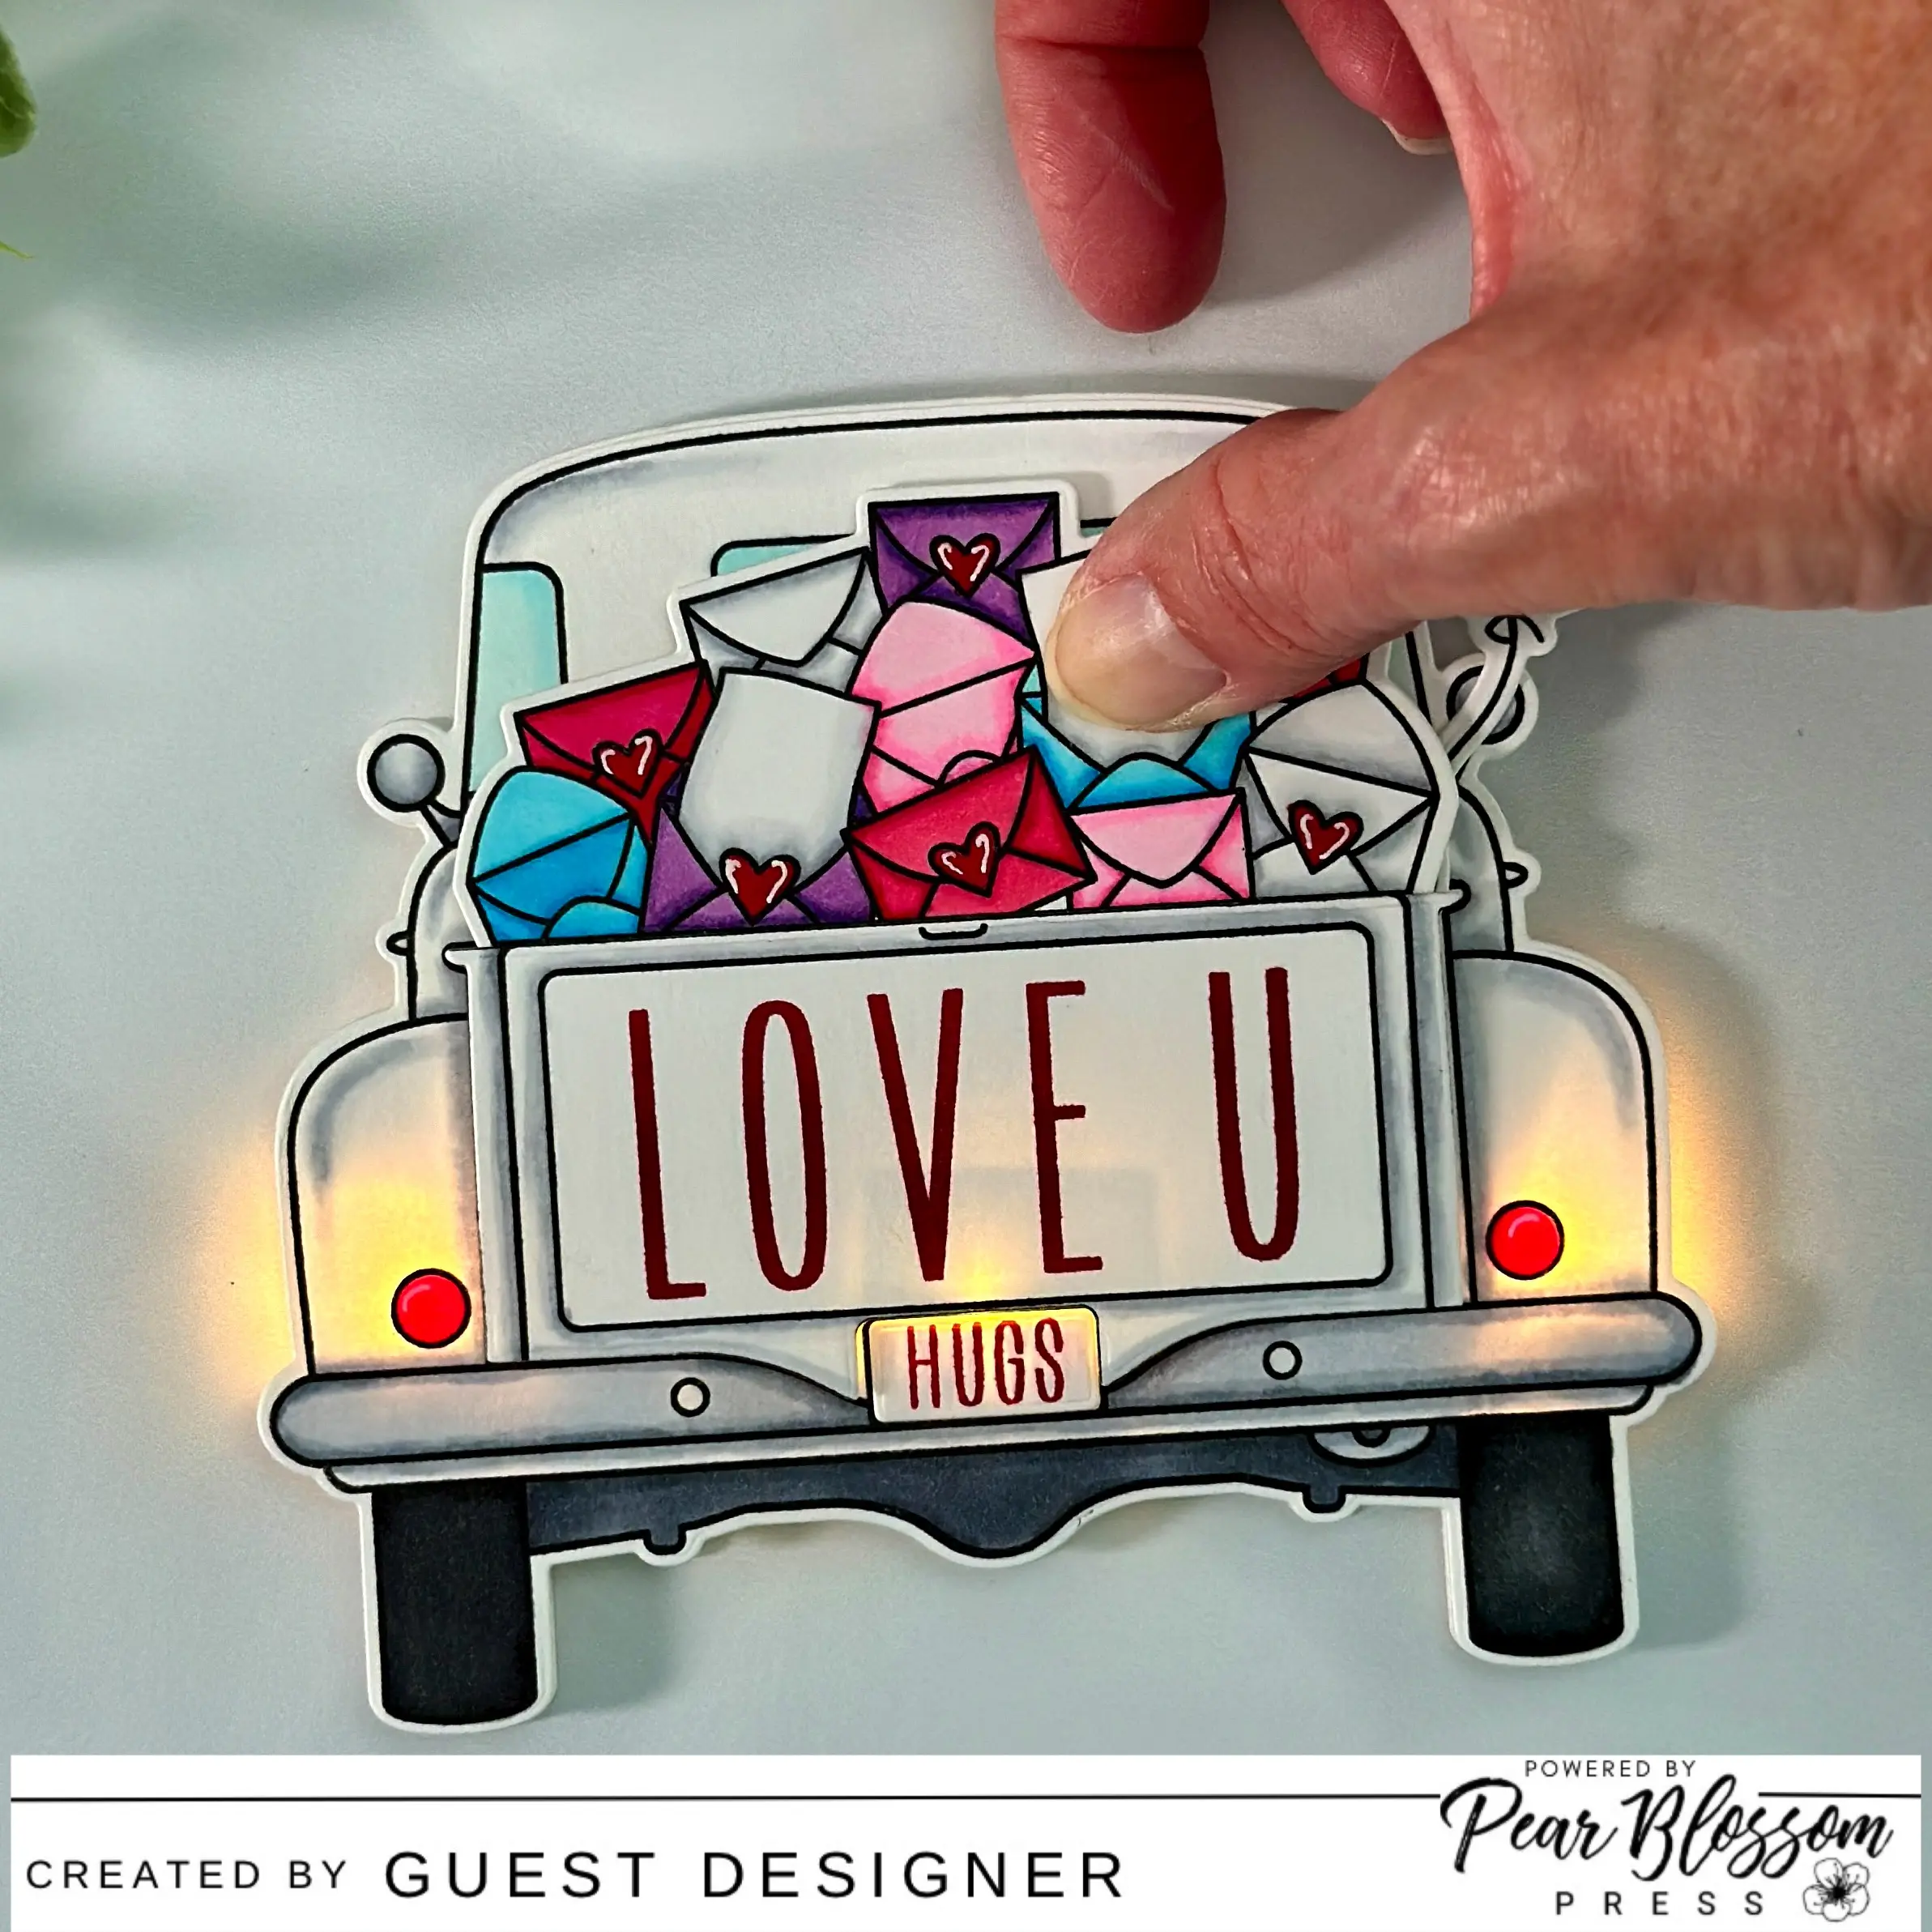
After I stamped and colored the Big Pickup Tailgate and the image from the Loads of Love set, I cut them out with the coordinating dies. Then I stamped “press here” from Pear Blossom’s stamp set onto one of the papers in the envelope (as shown in photo). I thought this was so perfect to let the recipient know where to press to light it up!
I created the matching shaped card base by die cutting a 5-1/2” x 4-1/4” folded card base with the Big Pickup Tailgate die. Just place the folded edge of the card base slightly below the top edge of the die before running it through your die cutting machine.
Next I planned where to place the battery unit and drew lines around the unit to know where to adhere it. Then I put a piece of double-sided adhesive on the battery unit and inserted the included battery.

I used my die pick tool and a foam pad to punch holes in the three spots I wanted the lights to shine through. Tip: I used the extra stamped piece you see in the upper left of this next photo as a guide for the tail lights.

Now it’s time to add Pear Blossom’s World’s Best Foam Tape to the card! This is my first time ever to use this foam tape, and I have to say that I’m TOTALLY wowed by it! The adhesive really is temporary at first, which allowed me to get my card layers aligned just right! I left one of the lights free from the foam tape so that I could tape it in place to shine just above the license plate on the truck.

These next two photos show the card when the button is pushed to light it up. First in natural light, second in a low-light situation.


I love how this card turned out and cannot wait to give it to someone special! The light-up feature is so fun and unexpected. I hope that you have enjoyed my card making process today. Thank you so much for stopping by!
*Thank you for shopping with my affiliate links—never any additional cost to you!

What an adorable card Carol! ❤️❤️❤️