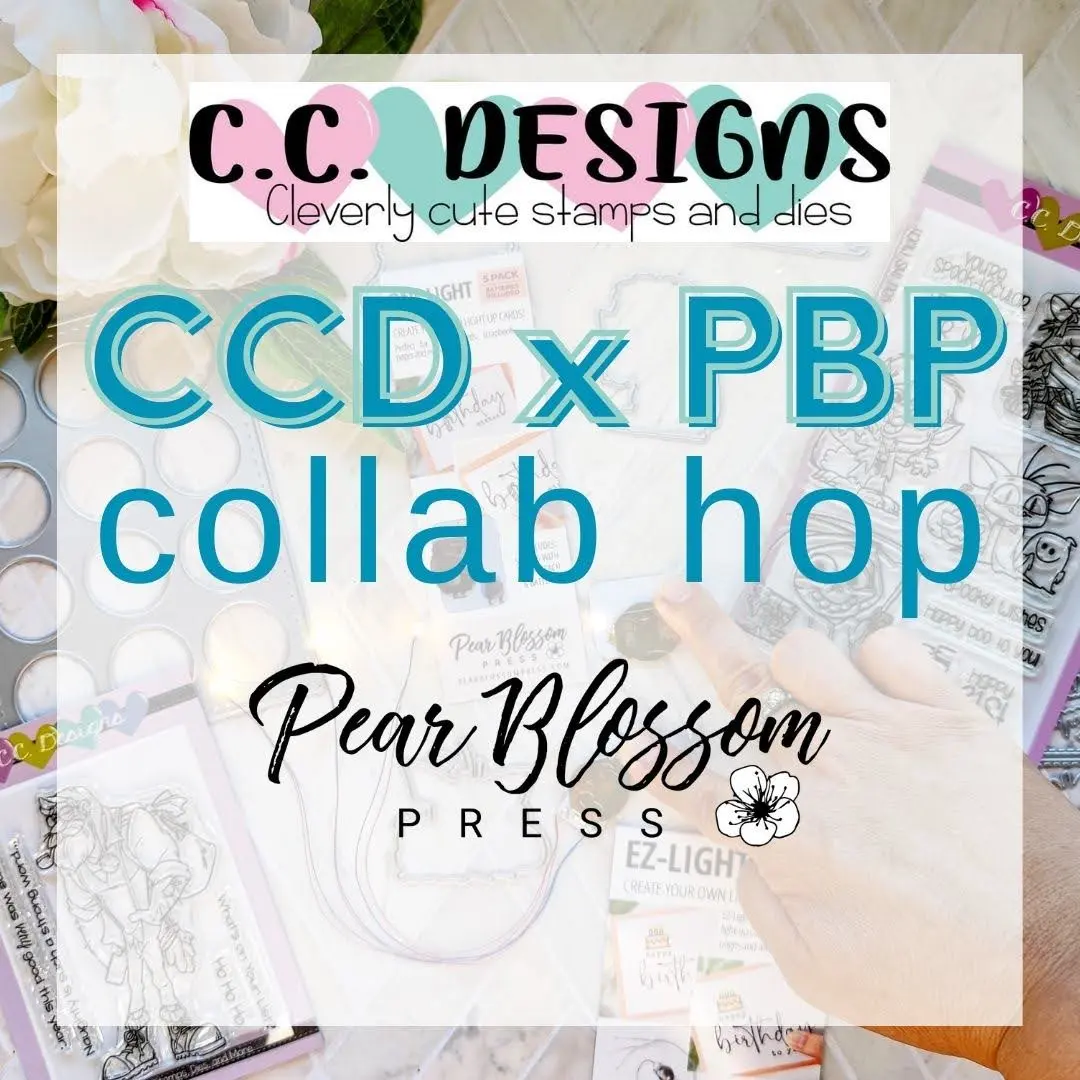
Welcome to the CCD x PBP Collab Hop, a collaboration between Pear Blossom Press and CC Designs! Our designers are sharing the CCoolest light-up cards today, all featuring stamps from CC Designs and lights from Pear Blossom Press. Be sure to hop along and comment as you go, for your chance to win a $25 gift voucher! Ready to be inspired? Let me show you my cards…
Do you remember the colorful candy buttons that used to come on sheets? That’s the vibe I was going for on these bright and cheerful Halloween cards. You may have noticed, instead of lighting up, one of my cards has Scratch Off Stickers hiding the sentiments. Those are a simple and fun interactive element you can add to any card. So if you are not ready to play with lights, give our new Scratch Off Stickers a try!
If you want to try all three cards, grab your supplies and meet me in the craft room…
SUPPLY LIST
One Light
Scratch Off Stickers
Interactive Labels Stamp Set
Interactively Yours Stamp Set
Tiny Halloween Stamp Set
Tiny Halloween Die Set
Inchies Circle Cover Die
To make these cards, I started by stamping and Copic coloring the focal point images. Then, I cut them out with the coordinating dies. You can see the colors I use below. For the two images getting lights, I used a craft knife to cut away the jack-o-lantern faces and glued yellow colored vellum behind the openings.
[row]
[column size=”1/2″ stack=”sm”] [/column]
[column size=”1/2″ stack=”sm”] [/column]
[/row]
[row]
[column size=”1/2″ stack=”sm”] [/column]
[column size=”1/2″ stack=”sm”] [/column]
[/row]
Next, I pulled out a bright rainbow of candy colored cardstock to die cut the backgrounds and extra circles to inlay. I also cut a bunch of white backgrounds to layer high enough to create the dimension needed for the shaker bits to move and to hide the lights. On several of the colorful circles, I embossed white sentiments.

To assemble the first light-up card, I gathered a green A2 card base, a stack of white background pieces layered up, a yellow background, an inlaid background (tape circles to the back), an A2 sheet of acetate, along with my bat image and a One Light. After gluing the inlaid background to the card base, and adhering the acetate to the yellow layer, I traced the placement of the One Light on the thick white layer so I could cut it out. Then, I adhered the white layer on top of the inlaid background. I glued the One Light down and added shaker bits to the other openings.
[row]
[column size=”1/2″ stack=”sm”] [/column]
[column size=”1/2″ stack=”sm”] [/column]
[/row]
[row]
[column size=”1/2″ stack=”sm”] [/column]
[column size=”1/2″ stack=”sm”] [/column]
[/row]
Before placing the yellow layer on top, I inlaid four circles in the lower left openings to help hide my One Light. To allow the most light to shine through the vellum on the jack-o-lantern, I used the bat die to cut one of the circles. Then, I stamped “PUSH HERE” on the ghost before adhering the image in place.
[row]
[column size=”1/2″ stack=”sm”] [/column]
[column size=”1/2″ stack=”sm”] [/column]
[/row]
[row]
[column size=”1/2″ stack=”sm”] [/column]
[column size=”1/2″ stack=”sm”] [/column]
[/row]
A few more shaker bits glued to the outside of the card finish it off. I followed the same steps for the pink mummy card, except I didn’t need to inlay the circles to hide the light because the image is large enough.
[row]
[column size=”1/2″ stack=”sm”] [/column]
[column size=”1/2″ stack=”sm”] [/column]
[/row]
[row]
[column size=”1/2″ stack=”sm”] [/column]
[column size=”1/2″ stack=”sm”] [/column]
[/row]
For the third card, I assembled it like the first two, except I didn’t add acetate or a light. I inlaid a third embossed sentiment circle and simply covered them with Scratch Off Stickers. (I stamped “SCRATCH” on each sticker before applying it to the card.) Since I layered up white pieces under the green background, there are little wells in each circle. I will put a penny in one of the empty wells when I send the card.
[row]
[column size=”1/2″ stack=”sm”] [/column]
[column size=”1/2″ stack=”sm”] [/column]
[/row]
[row]
[column size=”1/2″ stack=”sm”] [/column]
[column size=”1/2″ stack=”sm”] [/column]
[/row]
Don’t worry, I peeled that sticker off and replaced it with a fresh one after I took the photo. These three cards are ready to go for Halloween. I hope you’ll give them a try! I’d love to know which is your favorite…
Ready for more inspiration? Hop along with us!
HOP LIST
Pear Blossom Press – you are here
Meghan Kennihan – next stop
Kari VanNoy
Cristena Bagne
Julissa Sargo
Cindy Beland
CC Designs
Every good hop has prizes, right? So CC Designs and Pear Blossom Press are each giving away a $25 store credit! Comment on this post by September 2, 2022 to be entered to win. Winners will be posted on the Pear Blossom Press and CC Designs blogs on September 9, 2022.
Thanks so much for stopping by today! I hope you’re inspired to hop along with us and create some interactive cards of your own. I’ll be back soon with another fun project to share. See you then.

This site uses affiliate links whenever possible (at no additional cost to you), but only for products I actually use and love.

The bat is TOO CUTE! I just love him. The lit up pumpkin bag is extra great, too. I just love that you made these so colorful. Great job.
The light up jack-o-lantern is AWESOME!! I love that yellow vellum trick…(put that in the back of my mind to try!) Such a fun hop!
Great way to use the cover die! I love the colors! The light-up jack o’ lanterns are adorable, and the scratch off stickers are fun too!
I love your creations… the bat is soooooooooo adorable…. never thought I would say that lol….. tyfs 🙂
these are just so cute
Colorful and cute. Adding the lights
is just icing on the cake. thanks for sharing
txmlhl(at)yahoo(dot)com
Thanks for sharing these fun light up designs!
Love the lights and the scratch offs are so fun too!!
This are so cute. I am hoping to buy and get here so I can make a few.
OMG! Just the cutest! LOVE the shaker and the light up!!!
Just adorable Amanda!
These are too cute to be scary. Great job!