Hello everyone! It’s Samantha Pfrimmer here with you on the Pear Blossom Press Blog today. I am so excited to share a cute interactive card I made using a mash-up of amazing products from some of my favorite brands paired with the Pear Blossom Press Twinkle-Lights.
SUPPLIES
- Twinkle Lights
- World’s Best Foam Tape
- Sizzix Floating Fancy Thinlit Dies
- Alex Syberia Designs Magic Stars Die
- Spellbinders Tunnel Clouds Dies
- Spellbinders Little Smiles Sentiments Press Plate and Die Set
CARD INSTRUCTIONS
To begin this card, I first selected all of the colored cardstock I would be using for my project before die-cutting my elements using the three die sets selected. I first assembled the hot air balloon from the Sizzix Floating Fancy Thinlit Dies as I would use the completed balloon to help arrange my final design and determine where to place my lights.
Next, I assembled my background panels cut using the Spellbinders Tunnel Clouds Dies and the Alex Syberia Designs Magic Stars Die. I made sure to use the Magic Stars die to cut out my first background panel from my darkest purple cardstock. Using foam tape and glue, I then attached the next two cloud layers on top in lighter shades of purple and lavender.
Once everything was assembled, I cut an A2 card panel from white cardstock, lined up my card panels with my balloon, and, using a pencil, marked where I wanted my three Twinkle Lights to go onto the white card panel.

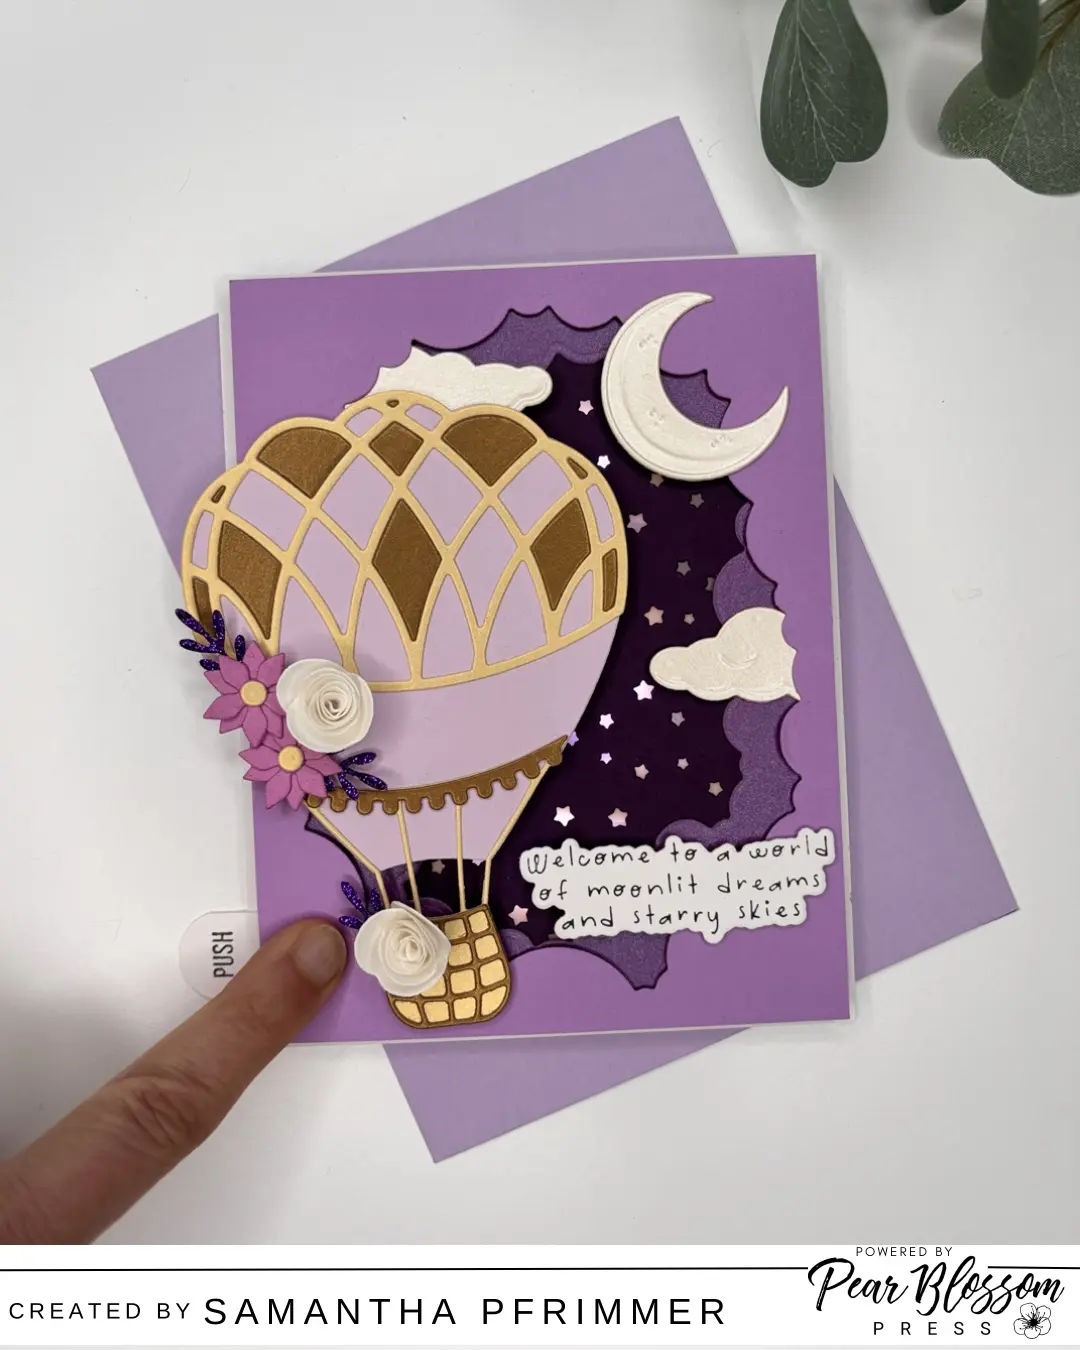
I next attached my lights and my battery pack as shown above, along with a little strip of cardstock to sit off to the side of the battery pack where I stamped the word push. I then adhered lavender vellum to the back of my main card panel and attached both the Twinkle Light panel and the main card panel together with some of the World’s Best Foam Tape.
Once all of the main pieces were assembled, I added some finishes touches using the flower dies from the Sizzix Floating Fancies set and some clouds and a moon from the Spellbinders Tunnel Clouds set. All that was left was to add my sentiment from the Spellbinders Little Smiles Sentiments, attach the card to an A2 folding card-base, and determine who the lucky recipient of this cute twinkling card will be.

I hope you like the card and thanks for reading!
