Hello crafty friends, I’m so excited to share my first card created for the Heartcraft Paper team! And to celebrate the October release, we’re having a blog hop, so be sure to check out all of the awesome creations the team has come up with (links below)!
For some people, the arrival of fall means pumpkin spice time; for others, the countdown to Christmas starts (85 days from today, fyi). For those of you wanting to get a jump on holiday cards, I thought I’d share a fun shaker card that is easy enough to mass produce. Since the shaker window is only filled with chunky glitter, this card is also very inexpensive to reproduce. It’s also fairly thin and flat, so you only need a single stamp to mail it.
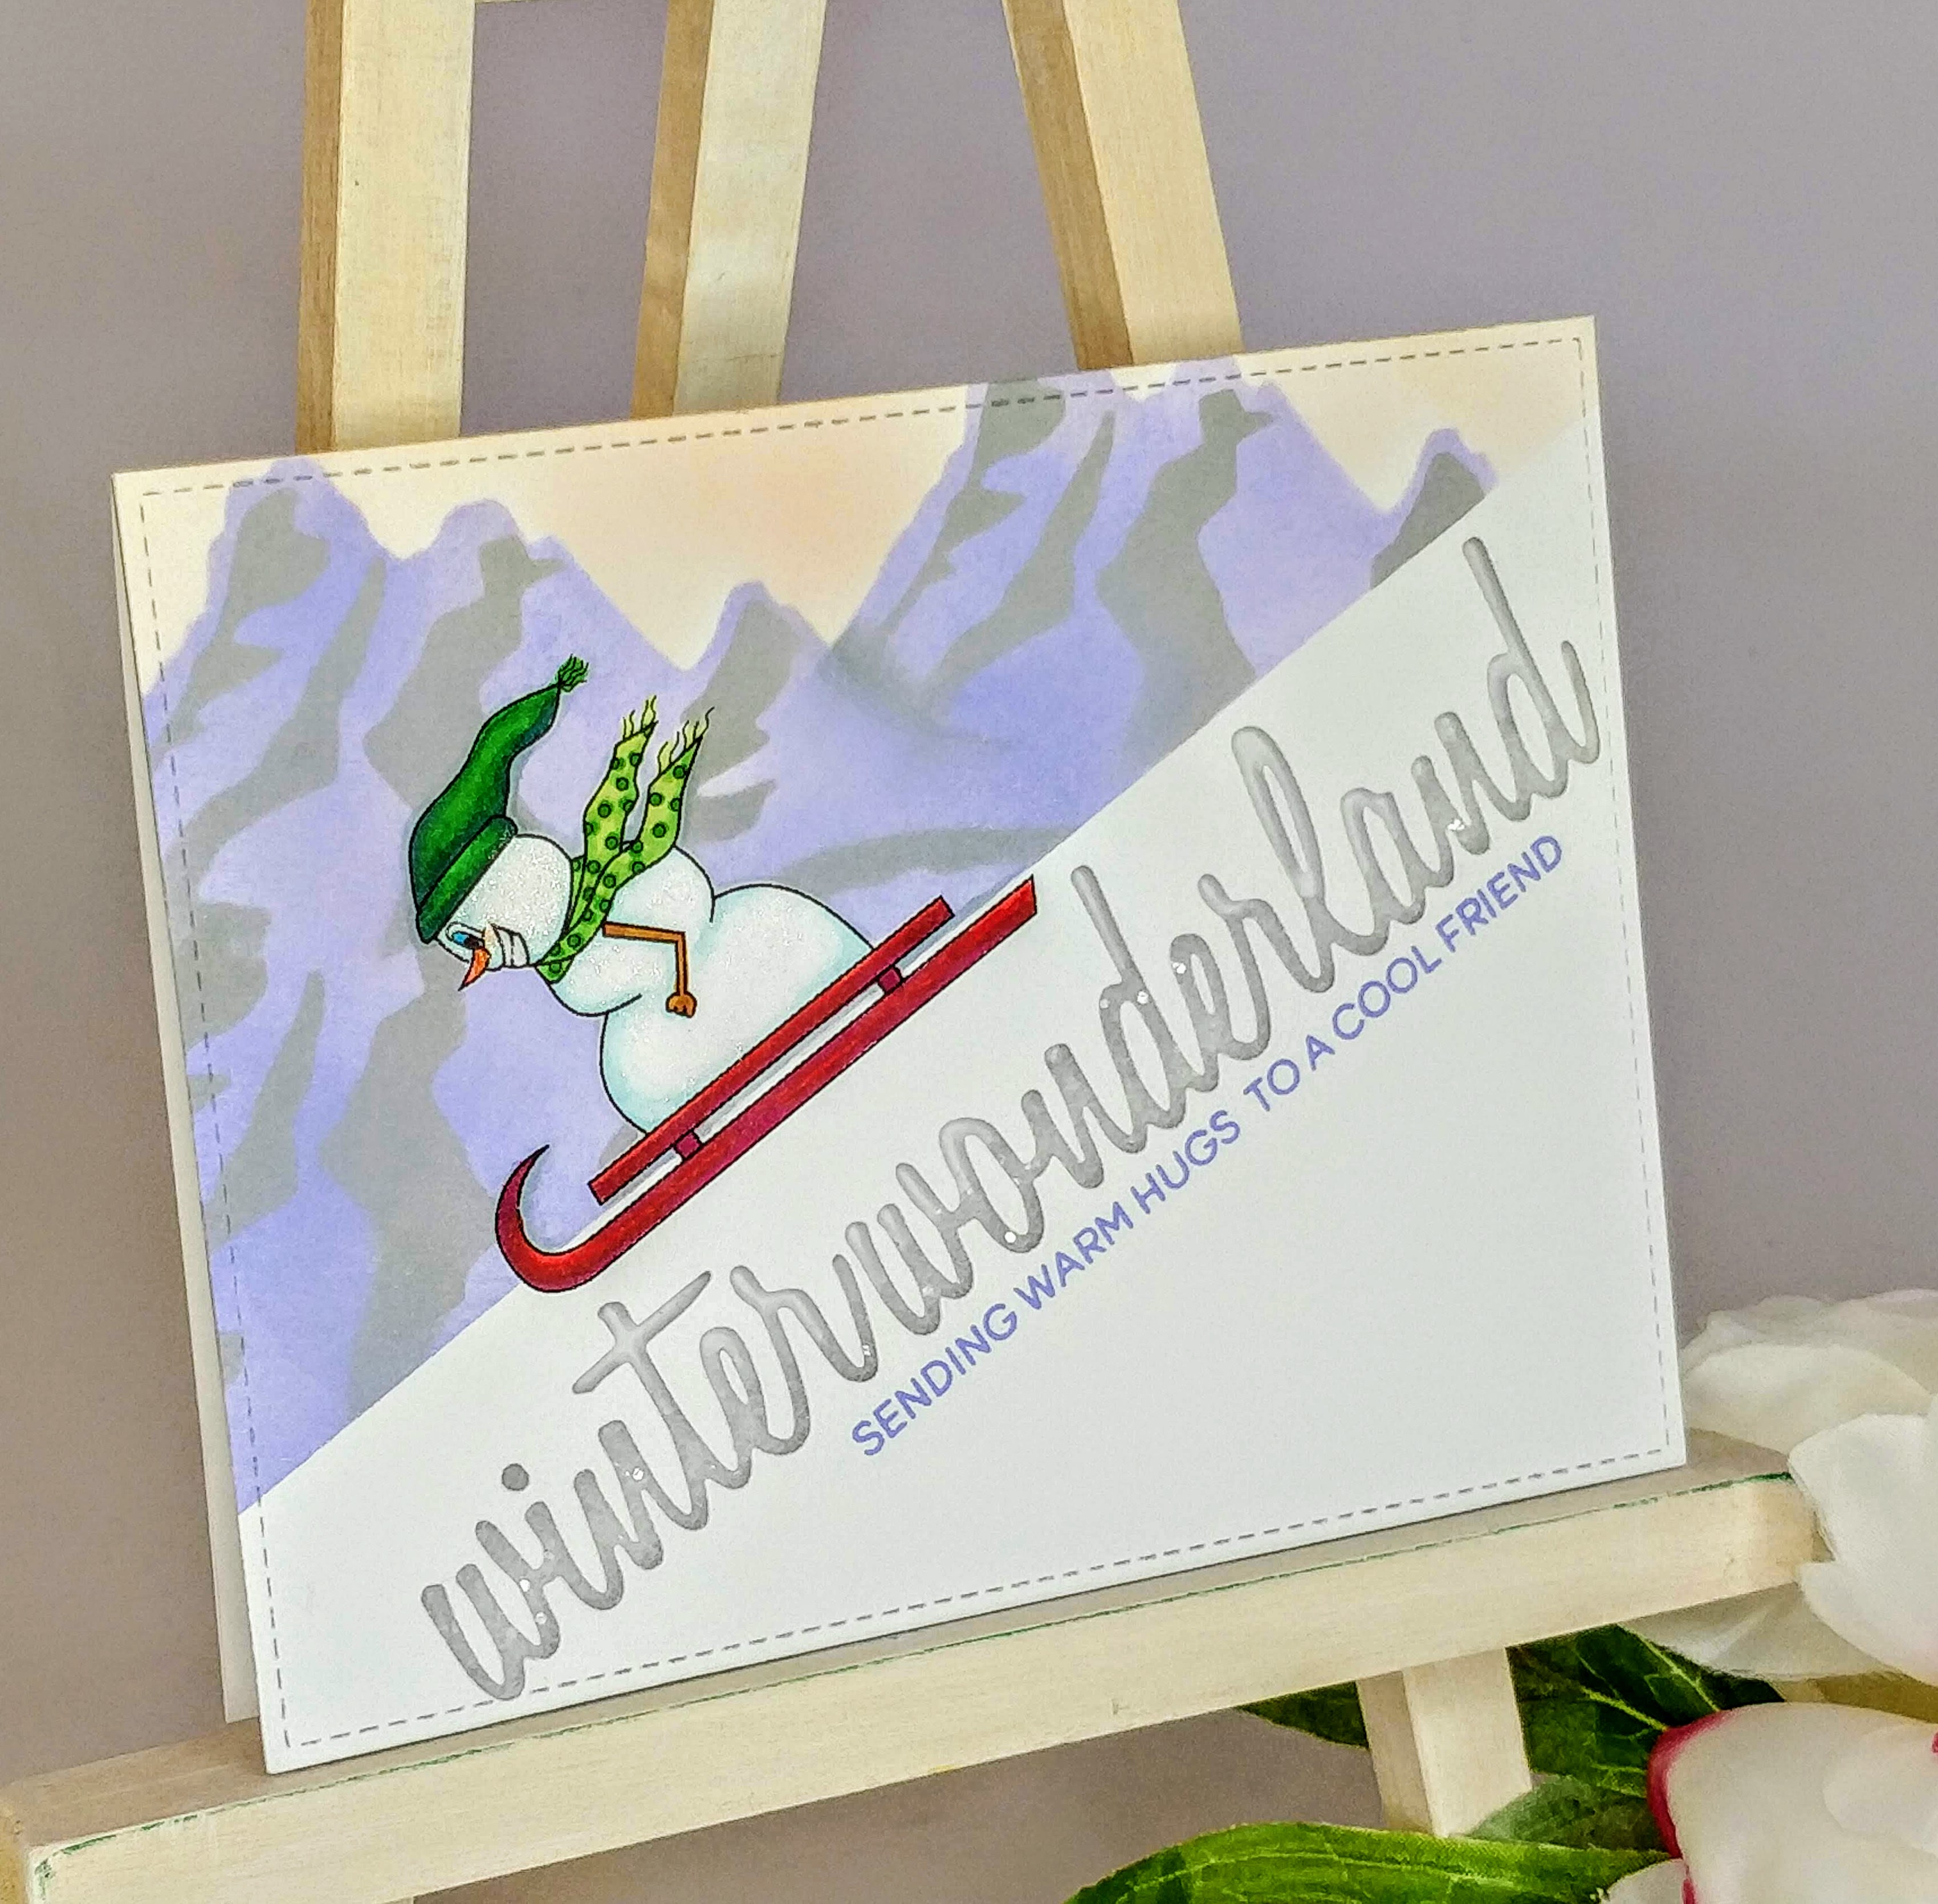
I started by printing this adorable sledding adventure digi-stamp at an angle on cardstock, leaving enough room to die cut my sentiment underneath (you can print four card fronts per page). I also printed an additional page of snowmen on regular copy weight paper to use as masks. (My handy dandy Scan ‘N Cut made cutting out the masks a breeze!) I used a stitched border die to trim my card front down to A2 size. Next, I colored my snowman with alcohol markers and Wink of Stella, masked him off, and added a strip of masking tape under him to create a mountainside. I used a mountain stencil to create the background mountains in light purple and grey inks. I filled in the sky with a very light pink ink. Removing the tape and mask, I had a bright white mountainside under my snowman. I die cut my sentiment, saving the inner portions of the letters, and stamped my smaller sentiment in the same purple ink I used for the background. I adhered a strip of acetate under the window and glued the inner portions of the letters back in place. A single layer of foam tape around the acetate window and the perimeter of the back created a space to add chunky clear glitter. I backed it with a white card base and my card was done! The masks and masking tape can be reused a few times each and you can make tons of cards with one jar of glitter. It’s a little more work than a simple, one-layer card, but totally worth it!


A quick note about digi-stamps: they are often much less expensive than clear or rubber stamps and can be resized to suit your needs. They can even be printed in reverse (mirror image) for spinner cards, or to make a character face a different direction. Check your printer specifications for the maximum cardstock weight and adjust your settings accordingly (it’s easy, I promise). Alcohol markers were designed to work with toner (laser printers) and many of the newer black inks for ink jet printers don’t bleed either. Digi-stamps are perfect for foiling too! Just print your images with a laser printer and foil with your laminator. If you’re new to digi-stamps, don’t be afraid to reach out and ask for advice on our Facebook page, we’re all friends here! I’ll be back later this month with a few more projects featuring digi-stamps and don’t forget to check out all of the cool projects the team made using Heartcraft Paper images from the new release!
Amanda Stevens <<<You Are Here
Tina Bickers Turner <<< Next Hop

Awesome card Amanda!
Gorgeous card hunni love it xx