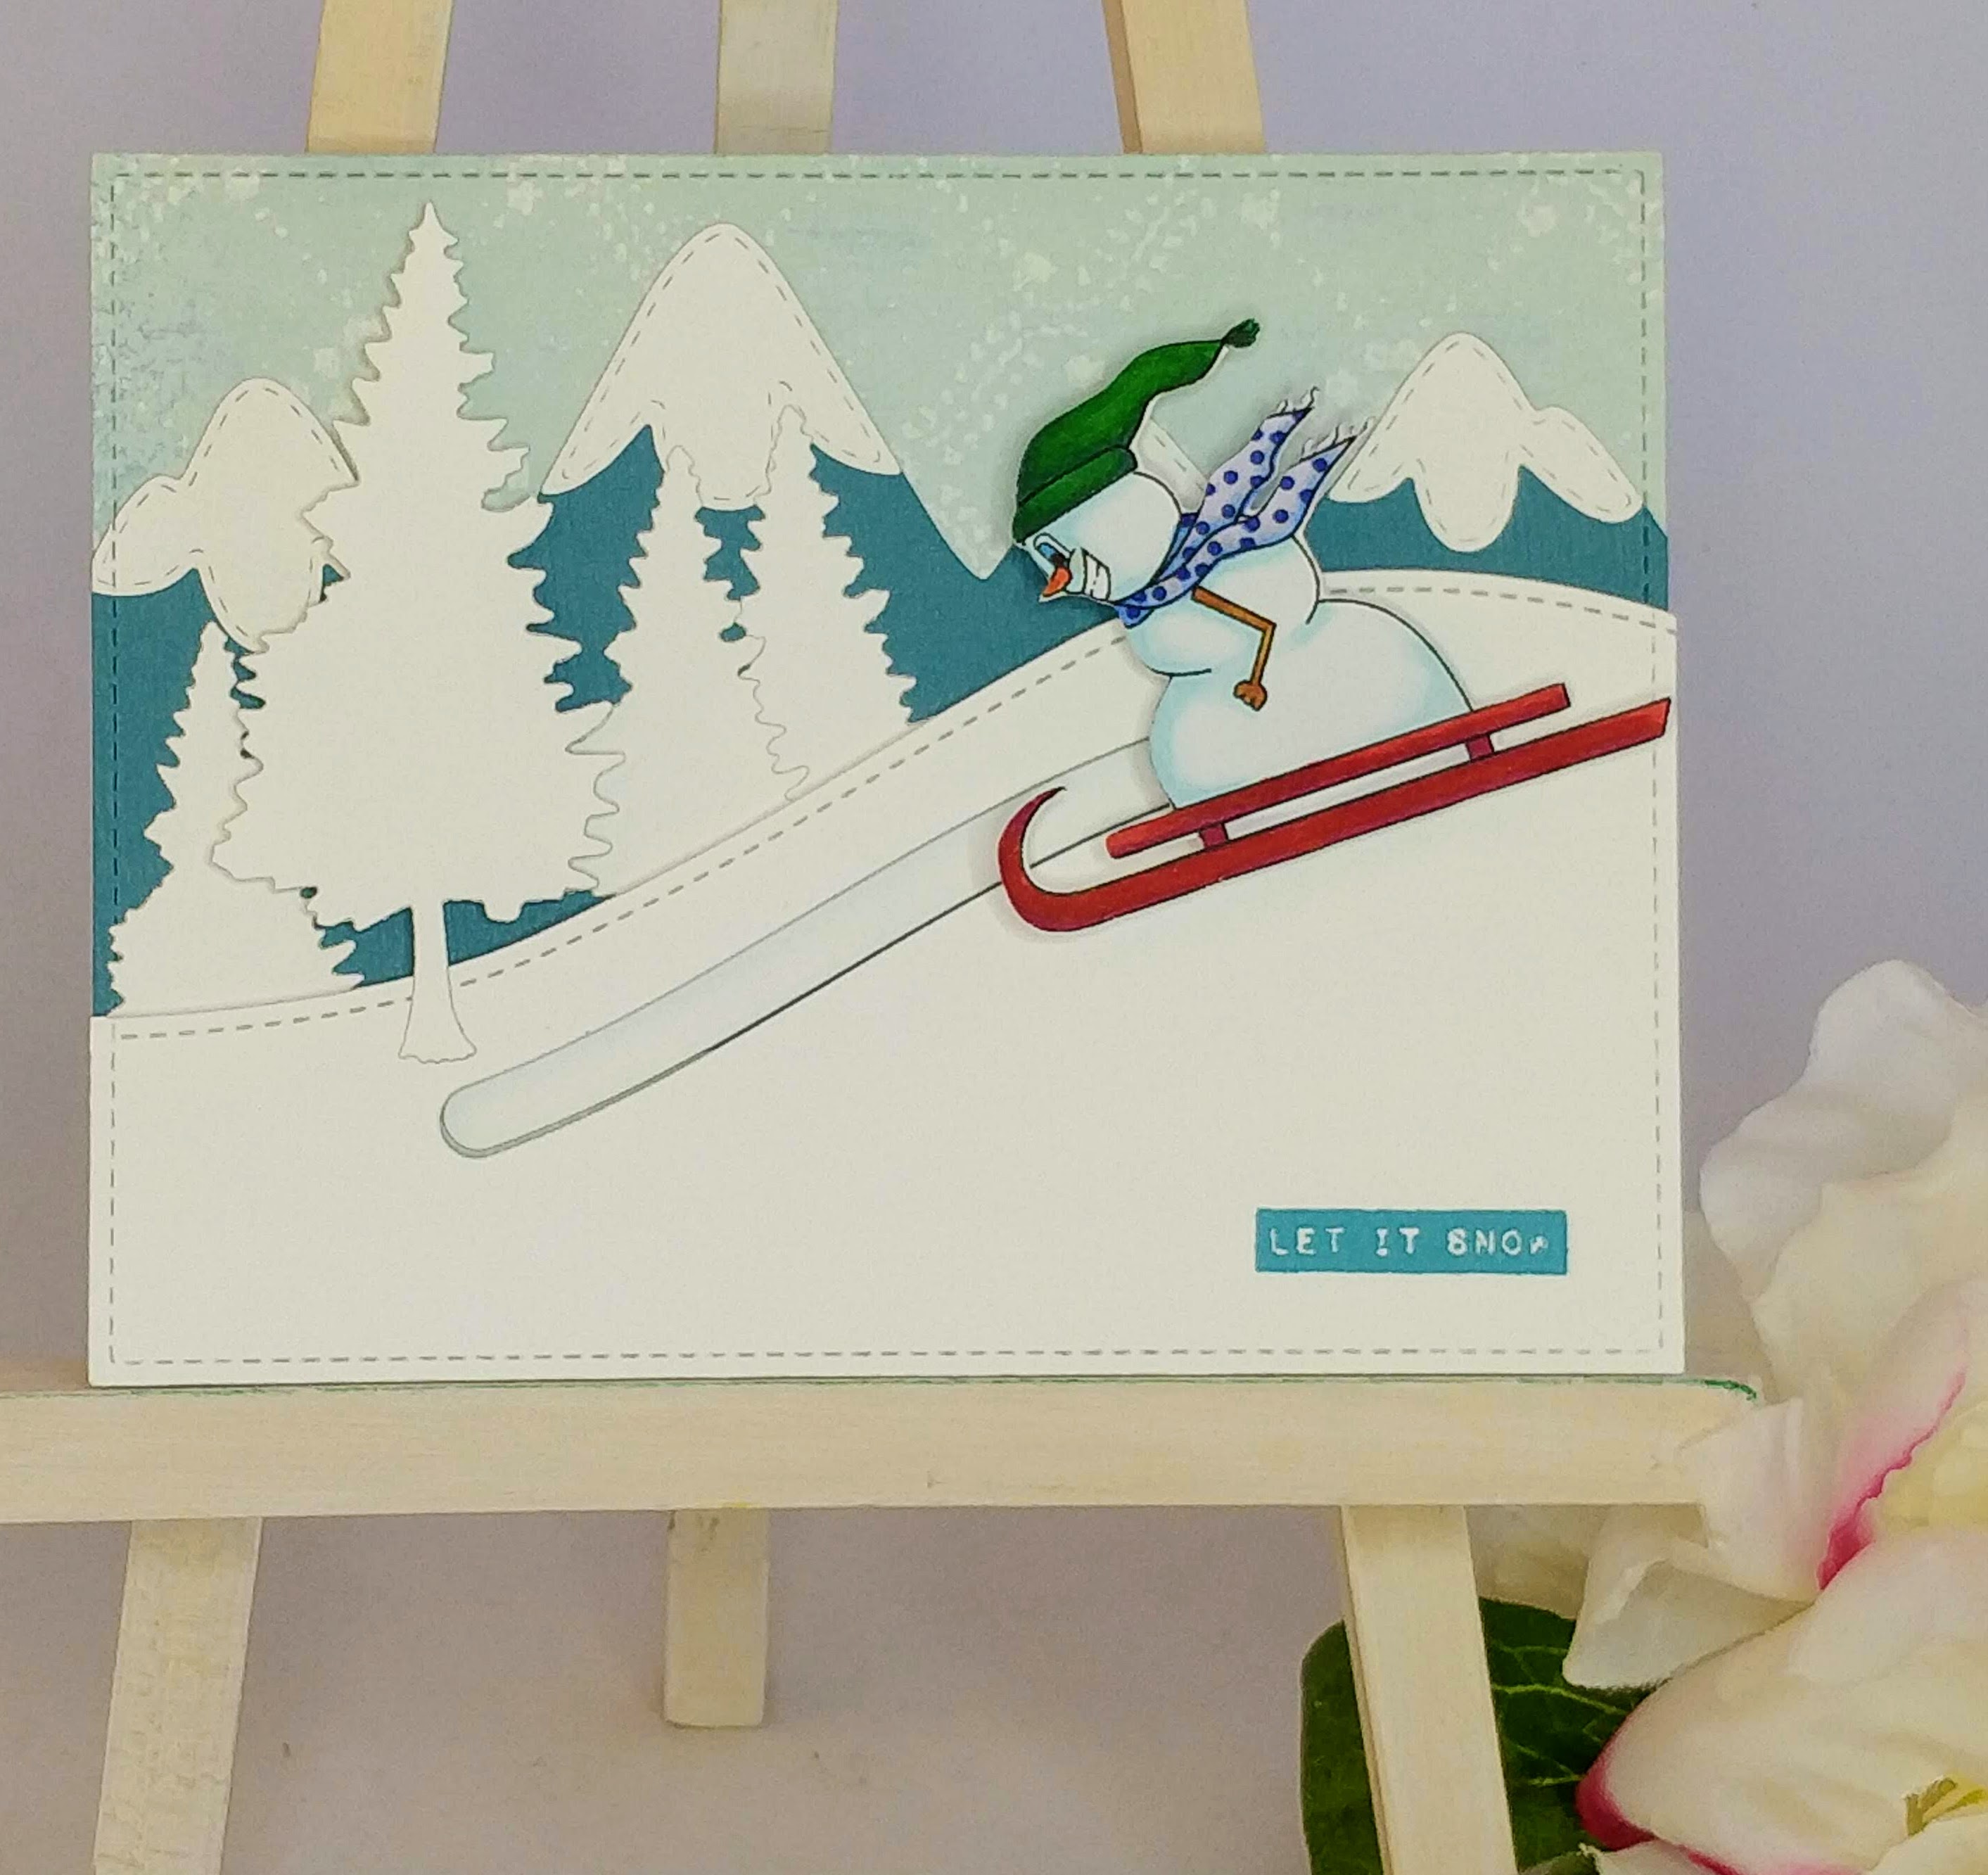
Hello crafty friend! I’m back again today with a really cute snowman slider card for the holidays. As soon as I saw the sledding adventure digi-stamp, I knew I had to make a slider with him!
I started by printing my snowman on lightweight cardstock and coloring him with alcohol markers. The Scan ‘N Cut made short work of cutting him out, but you can always fussy cut him by hand. I used lots of die cuts and pattern paper for my background to make this card come together faster. I die cut my mountains from blue cardstock and the tops, trees, and stitched hillside from white cardstock. I ran my pattern paper background and all edge pieces through my Big Shot again with a stitched rectangle die to give the edges a nice coordinating stitch line. I used a curved slider die to cut the track for my snowman out of the hillside, making sure to reserve the cutout piece. Before assembling my card, I should have stamped my sentiment in the lower right corner of the hillside, but I forgot and did it at the end. Unfortunately, it ended up a little hard to read that way. Learn from my mistake friend 🙁
To assemble the scene, I glued the mountain tops to the mountains, then glued the mountains to the background. I glued two of the smaller trees to the background, on top of the mountains. I held my hillside in place and glued the reserved cutout piece to the mountains. (If you’d prefer, you can cut two identical hillside pieces and glue one flat to the mountains instead of the slider cutout. We just don’t want the blue mountains to show through the track.) At this point, while the background was still flat, I glued it to a white card base.
To create the slider, I applied a layer of foam tape to the back of the hillside, leaving at least 1/4″ clear around the slider track. I always use a powder tool around the edges of a slider track to help ensure my object will glide easily, it really makes a difference. Next, I punched out a 1/2″ circle from white cardstock and glued a thick plastic slider element to it, using a strong, wet glue. I placed the circle on the background and lined it up so that element would stick up through the track, then I removed the release paper from the foam on the hillside and carefully stuck it down in place. My element was sticking up and ready for the snowman to be glued to it. Once he was in place and the glue was dry, I tested my slider. It works! So much fun! Or should I say SNOW much fun? 🙂 I decided he needed a little bit of sparkle, so I gave him a light coating of Wink of Stella and that finished my card.

Have you seen the other cards I’ve made using the new snowmen digi-stamps from Heartcraft Paper this month? Check them out and let me know which one is your favorite! Winter Wishes and Winter Wonderland Shaker

