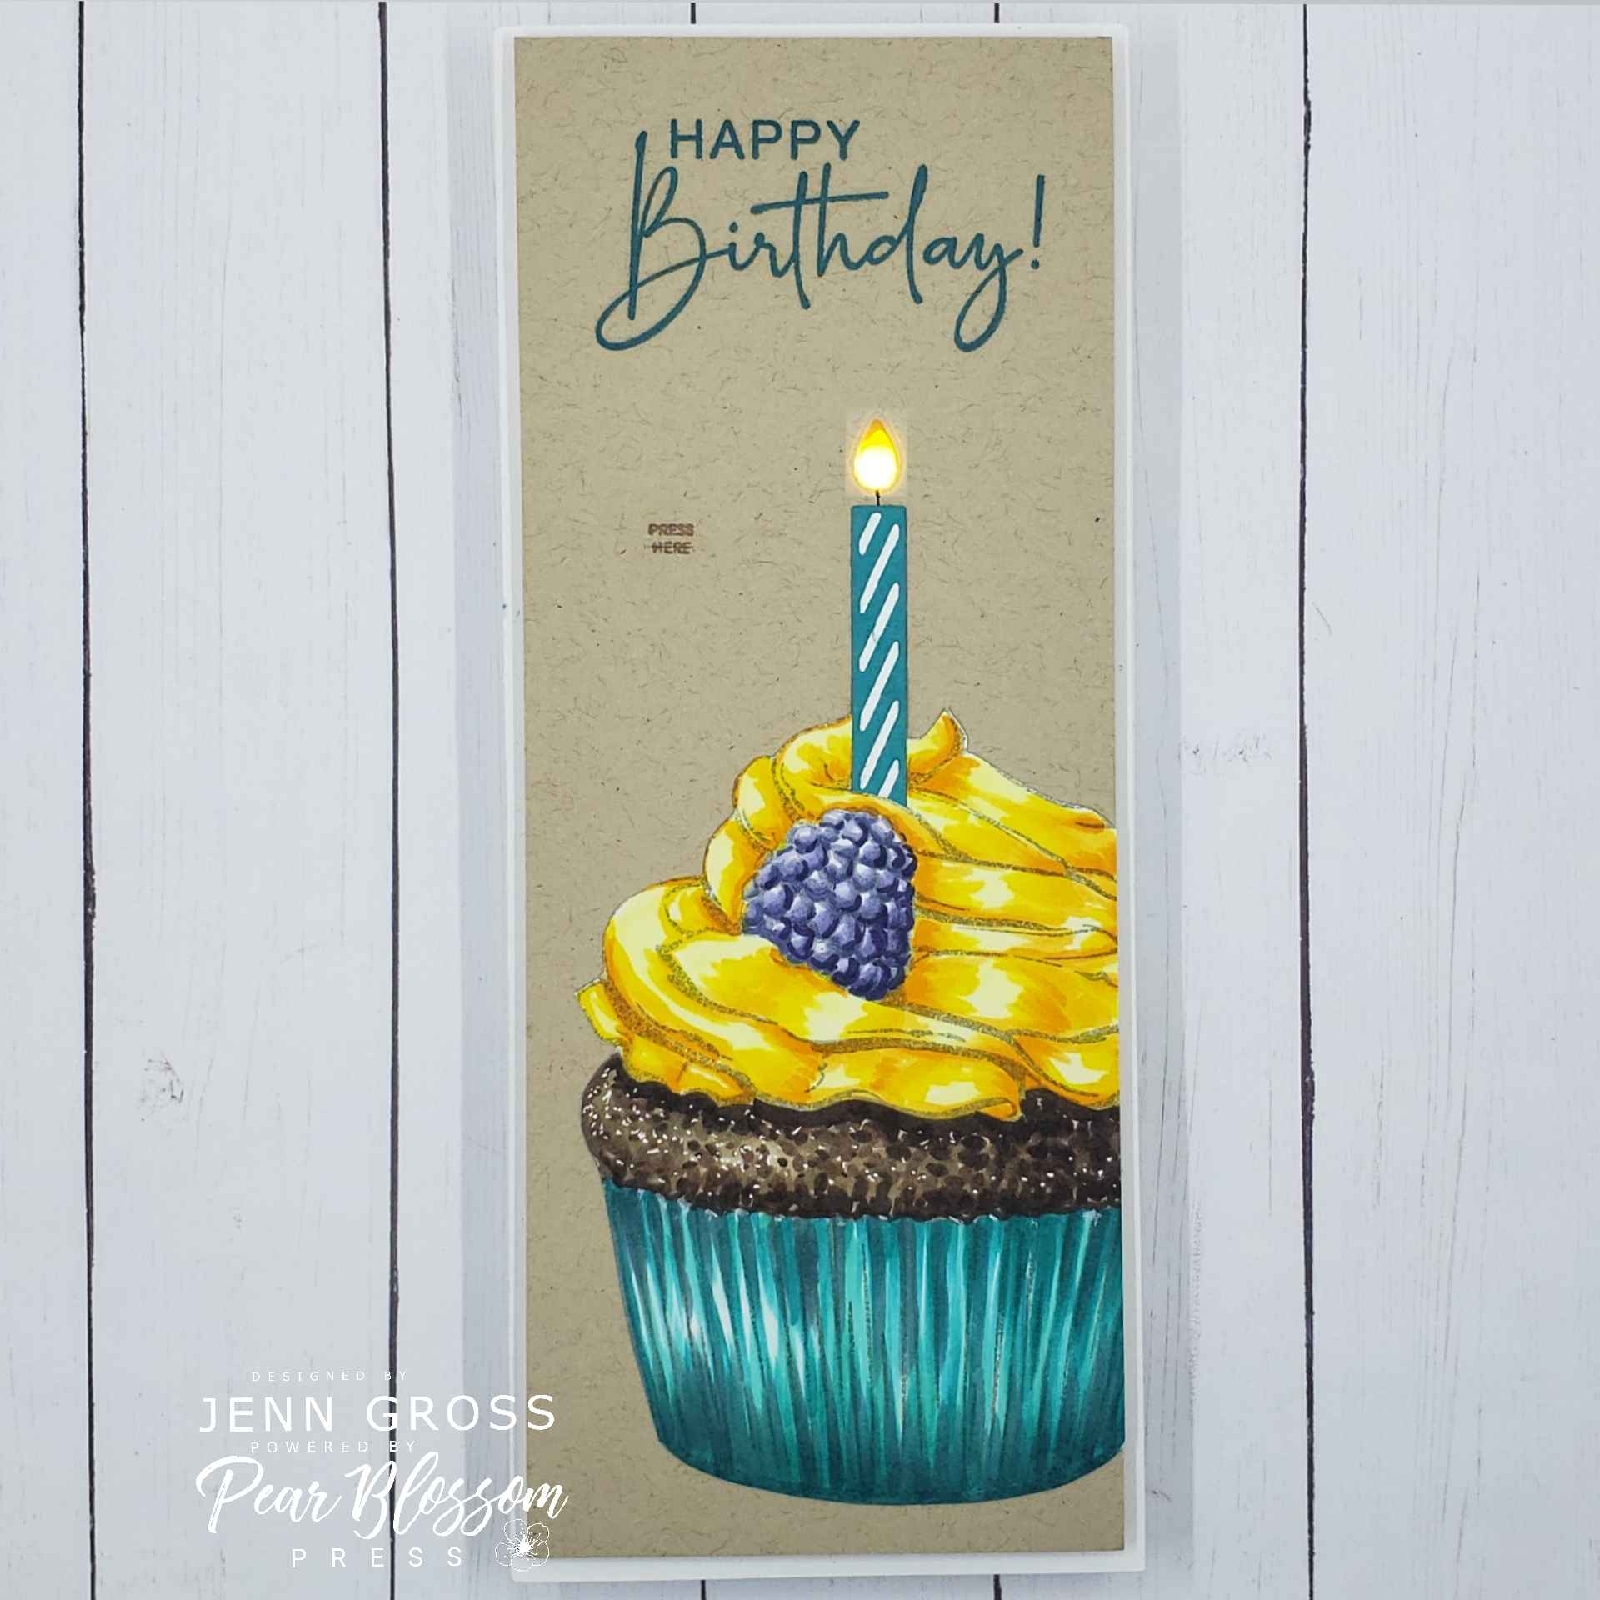
It’s Your Birthday! A One-Light Slimline Card Tutorial

I’m so happy you stopped by today to see this wonderful light up birthday card! I am using the One Light from Pear Blossom Press along with along with the Citrus Berry Cupcake Big and Bold stamp set by Colorado Craft Company, the Interactively Yours stamp set by Heffy Doodle and Simon Says Stamp’s Party Candle die set.

I am using the One Light from Pear Plossom Press.  This is a simple all in one light with a button.  You can easily light up cards and paper crafts.  Let me show you how simple it is to use.  All you need is an idea and you can bring it to light!

I stamped the Citrus Berry Cupcake, masking off the citrus wedge, using Twilight light grey ink.
I used Triblend alcohol markers for my coloring medium.  To color the berry, I choose 3 purple colors. Make sure you have a light, a medium and a dark for your berry.
 
For the cupcake choose three brown colors.  Also a light, a medium, and a dark.  The cupcake is stipple or dotted.
 
For the frosting, choose a light yellow, a medium yellow, a dark yellow and a light orange for the dark shadows.
 
For the cupcake wrapper chose a light, medium and dark teal. The coloring uses long flicking strokes.
 
When your cupcake is colored, fussy cut it close to the outline.
 
Die cut white candle base and colored candle strip using the Party Candle dies and glue the candle together.
Using an craft knife, create a narrow cut just above the berry following the frosting line. This will be the place you insert the candle. (Do NOT glue the candle yet)  
 
Stamp the sentiment Happy Birthday onto the top portion of your slimline card front.   
 
I created a Card Front Template to help with the placement of the candle flame and the push here button.
(measures 3 1/4″ x 8 1/4″ and sectioned into 1″ squares)
 
Use the card front template to trace the flame placement of the candle and the rectangle placement for the Push Here sentiment from the Heffy Doodle Interactively Yours stamp set. Position the flame die and secure it in place with removable tape and run it through the die cut machine.  
 
Stamp the Push Here sentiment on the card front over the rectangle. 
 
Position the cupcake and candle slightly off center towards the lower right.  The cupcake will hang off of the side of the card as shown in the photo above. Position the candle to the height you like and  remove the cupcake to glue the candle in place. Glue the candle and cupcake back onto the card front and cut off the right side of the cupcake that hangs over the card front edge. Erase the pencil marks around the candle and at the Push Here sentiment.  
 
Glue a small quarter of yellow vellum behind the candle opening. You may also glue a small candle flame gem on the front side onto of the vellum.
Use the card base template for placement of the one light on to the slimline card base.   To use the template, center it onto the middle of the card base and trace the opening for the one light.
 
You need double thick foam tape. This is the height of the One Light button and battery pack. (NOTE – If you do not have double sided adhesive foam tape. You can use two layers of a single foam adhesive foam strips on top of each other.)
Adhere a piece of double sided adhesive tape on the back of the One Light and tape it into the opening you traced on the card base. Push the One Light button to check light.  
 
Using double thick adhesive foam tape, create a frame around the card that is 1/4″ inside from the edge of the card base.  (NOTE – It is important to make sure this this is a 1/4″ away from the edge of the card base. This foam frame will be used to stabilize the card front when you place it on top and the foam will remain hidden under the card front)
Add a strip of double thick foam tape above the One Light and battery and a second one below the One Light and battery. Add a vertical strip of double thick foam tape in the lower middle of the card base from the battery to the base of the foam frame, as shown.  
 
Remove the release paper from the foam framing the top and bottom of  the One Light and the middle strip.
 
Peel back one corner of the release paper (approx. 1 1/4″) and fold it over as shown in the photo. Do this to each foam tape frame strip. 
 
 Gently place the card front over the card base. The release paper you have folded over will allow you to position the card front.  Once you have a corner in place, (You will want to leave about an 1/8″ white space from the edge of the card base showing) push one corner down to secure it. You may now pivot the rest of the card front to center it on the remaining card base creating the 1/8″ border.  
 
Once you have the card front in position, press the opposite corner down and check your centering. When you have the card front in place, press down on middle section to secure the rest of the card to the double sided foam adhesive in the middle. 
 
Take one of the release paper tabs you folded over and gently pull it away from the card side to expose the foam tape and secure the card front to card base completing this interactive light up card.

Product used
A – One Light –Pear Blossom Press
 

Thanks for stopping by to check out this fun slimline birthday light up card. Please feel free to leave a comment or ask a question.

Be Creative ~ Stay Inspired

Jenn Gross


Follow me, Journey Coach Jenn, on 

Instagram – https://www.instagram.com/journeycoachjenn/

YouTube – http://www.youtube.com/c/JourneyCoachJenn

Blog – http://www.journeycoachjenn.com/

Leave a Reply