Hi everyone, Samantha Pfrimmer here from @sammakescards so excited to be guest designing for Pear Blossom Press. Today I will be using both the
EZ-Light and the One Light to light up the wings of this wonderful Oddball Spring Fairy from Stamping Bella.

Supplies Used
- EZ-Light – Pear Blossom Press
- One Light – Pear Blossom Press
- World’s Greatest Foam Tape – Pear Blossom Press
- PB Press Stamp & Die Bundle – Pear Blossom Press
- Oddball Spring Fairy – Stamping Bella
- Seed Catalog Background Stamp – The Greetery
- Intricate Mini Butterflies Die – Memory Box
- Stitched Rectangles Wafer Dies – Simon Says Stamp
- Seeds of Kindness 6×8 Stamp Set – Honey Bee Stamps
- Seeds of Kindness Honey Cuts – Honey Bee Stamps
- Gina K Designs Masking Magic – Gina K Designs
Card Instructions:
To start my card I stamped out my Oddball Spring Fairy on Copic-friendly cardstock in Memento Tuxedo Black Ink, next stamping the image onto masking paper, and again stamping the image onto black cardstock in white pigment ink. I then carefully colored the image using Copic markers before applying the mask I had fussy cut.
Once my main image was masked, I applied Distress Oxide Inks randomly across the card panel in the shades listed below. When dry, I then applied my Seed Catalog Background stamp to the panel using white pigment ink before using a large stitched rectangle frame to die-cut the panel.
- Twisted Citron
- Mowed Lawn
- Peacock Feather

When my scene was complete, I grabbed a craft knife and self-healing craft-mat to cut out the wing sections of my fairy from the black cardstock to allow the lights to shine through, before gluing the black cardstock to the back of my main card panel.
Since there were two wings and I wanted my lights nice and bright, I decided I would use an EZ Light Kit for one wing and a One Light Kit for the other wing, slightly overlapping the edges of the battery pack as shown in the photo below so that the buttons for both light kits were in the same place for pressing. Also, if you look closely in the picture you will see that for the EZ Light, I taped the 3 LED strands together with craft tape so the lighting would look similar to the One Light but I would still have the ability to use the wiring to arrange the two press buttons closely together.

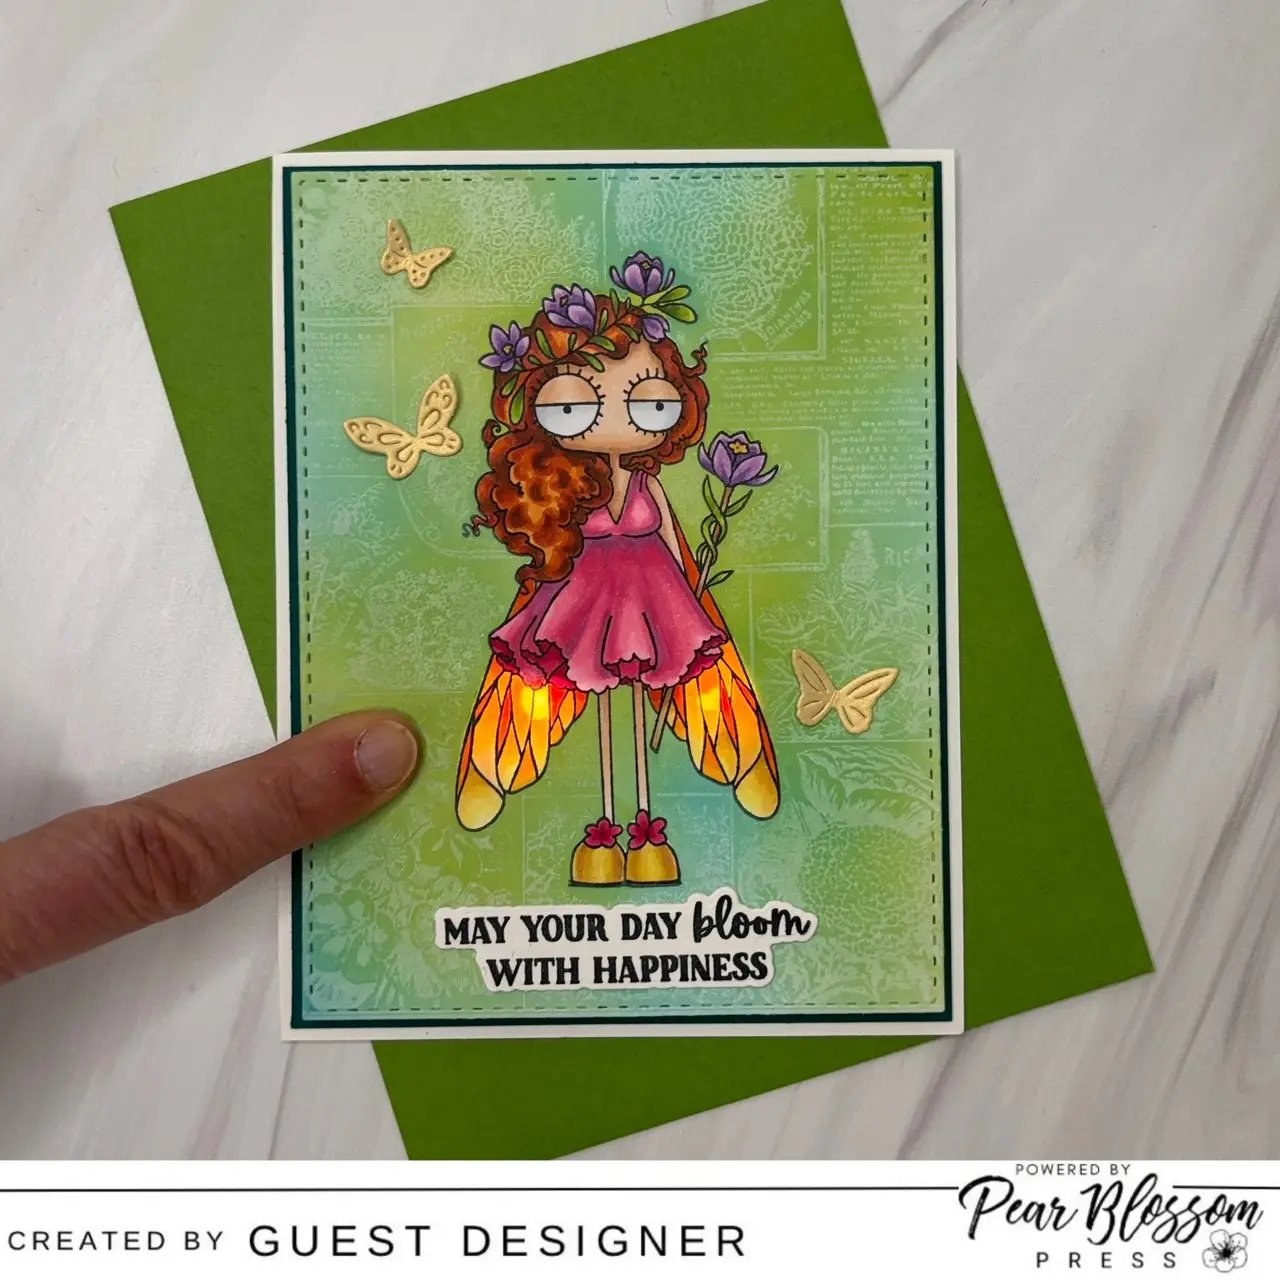
Once all my lighting was taped down, I flipped my card panel over and stamped a “Press here” message where my buttons could be found before applying the World’s Greatest Foam Tape to the back of my card panel and adhering it to a dark green cardstock mat followed by a white A2 card-base. To finish things off, I stamped and die-cut a sentiment from the Seeds of Kindness set and added a few mini butterfly die-cuts in brushed gold cardstock.

My Oddball Spring Fairy is now complete and I couldn’t be happier with how she turned out. I hope you like her too!
