Hello my crafty friend! As winter approaches, we start thinking of all the frosty adventures awaiting…building snowmen, making snow angels, the inevitable snowball fights, and my favorite, ice skating! (Well, in Southern California, we just dream of those things while sipping our hot cocoa 😉 )

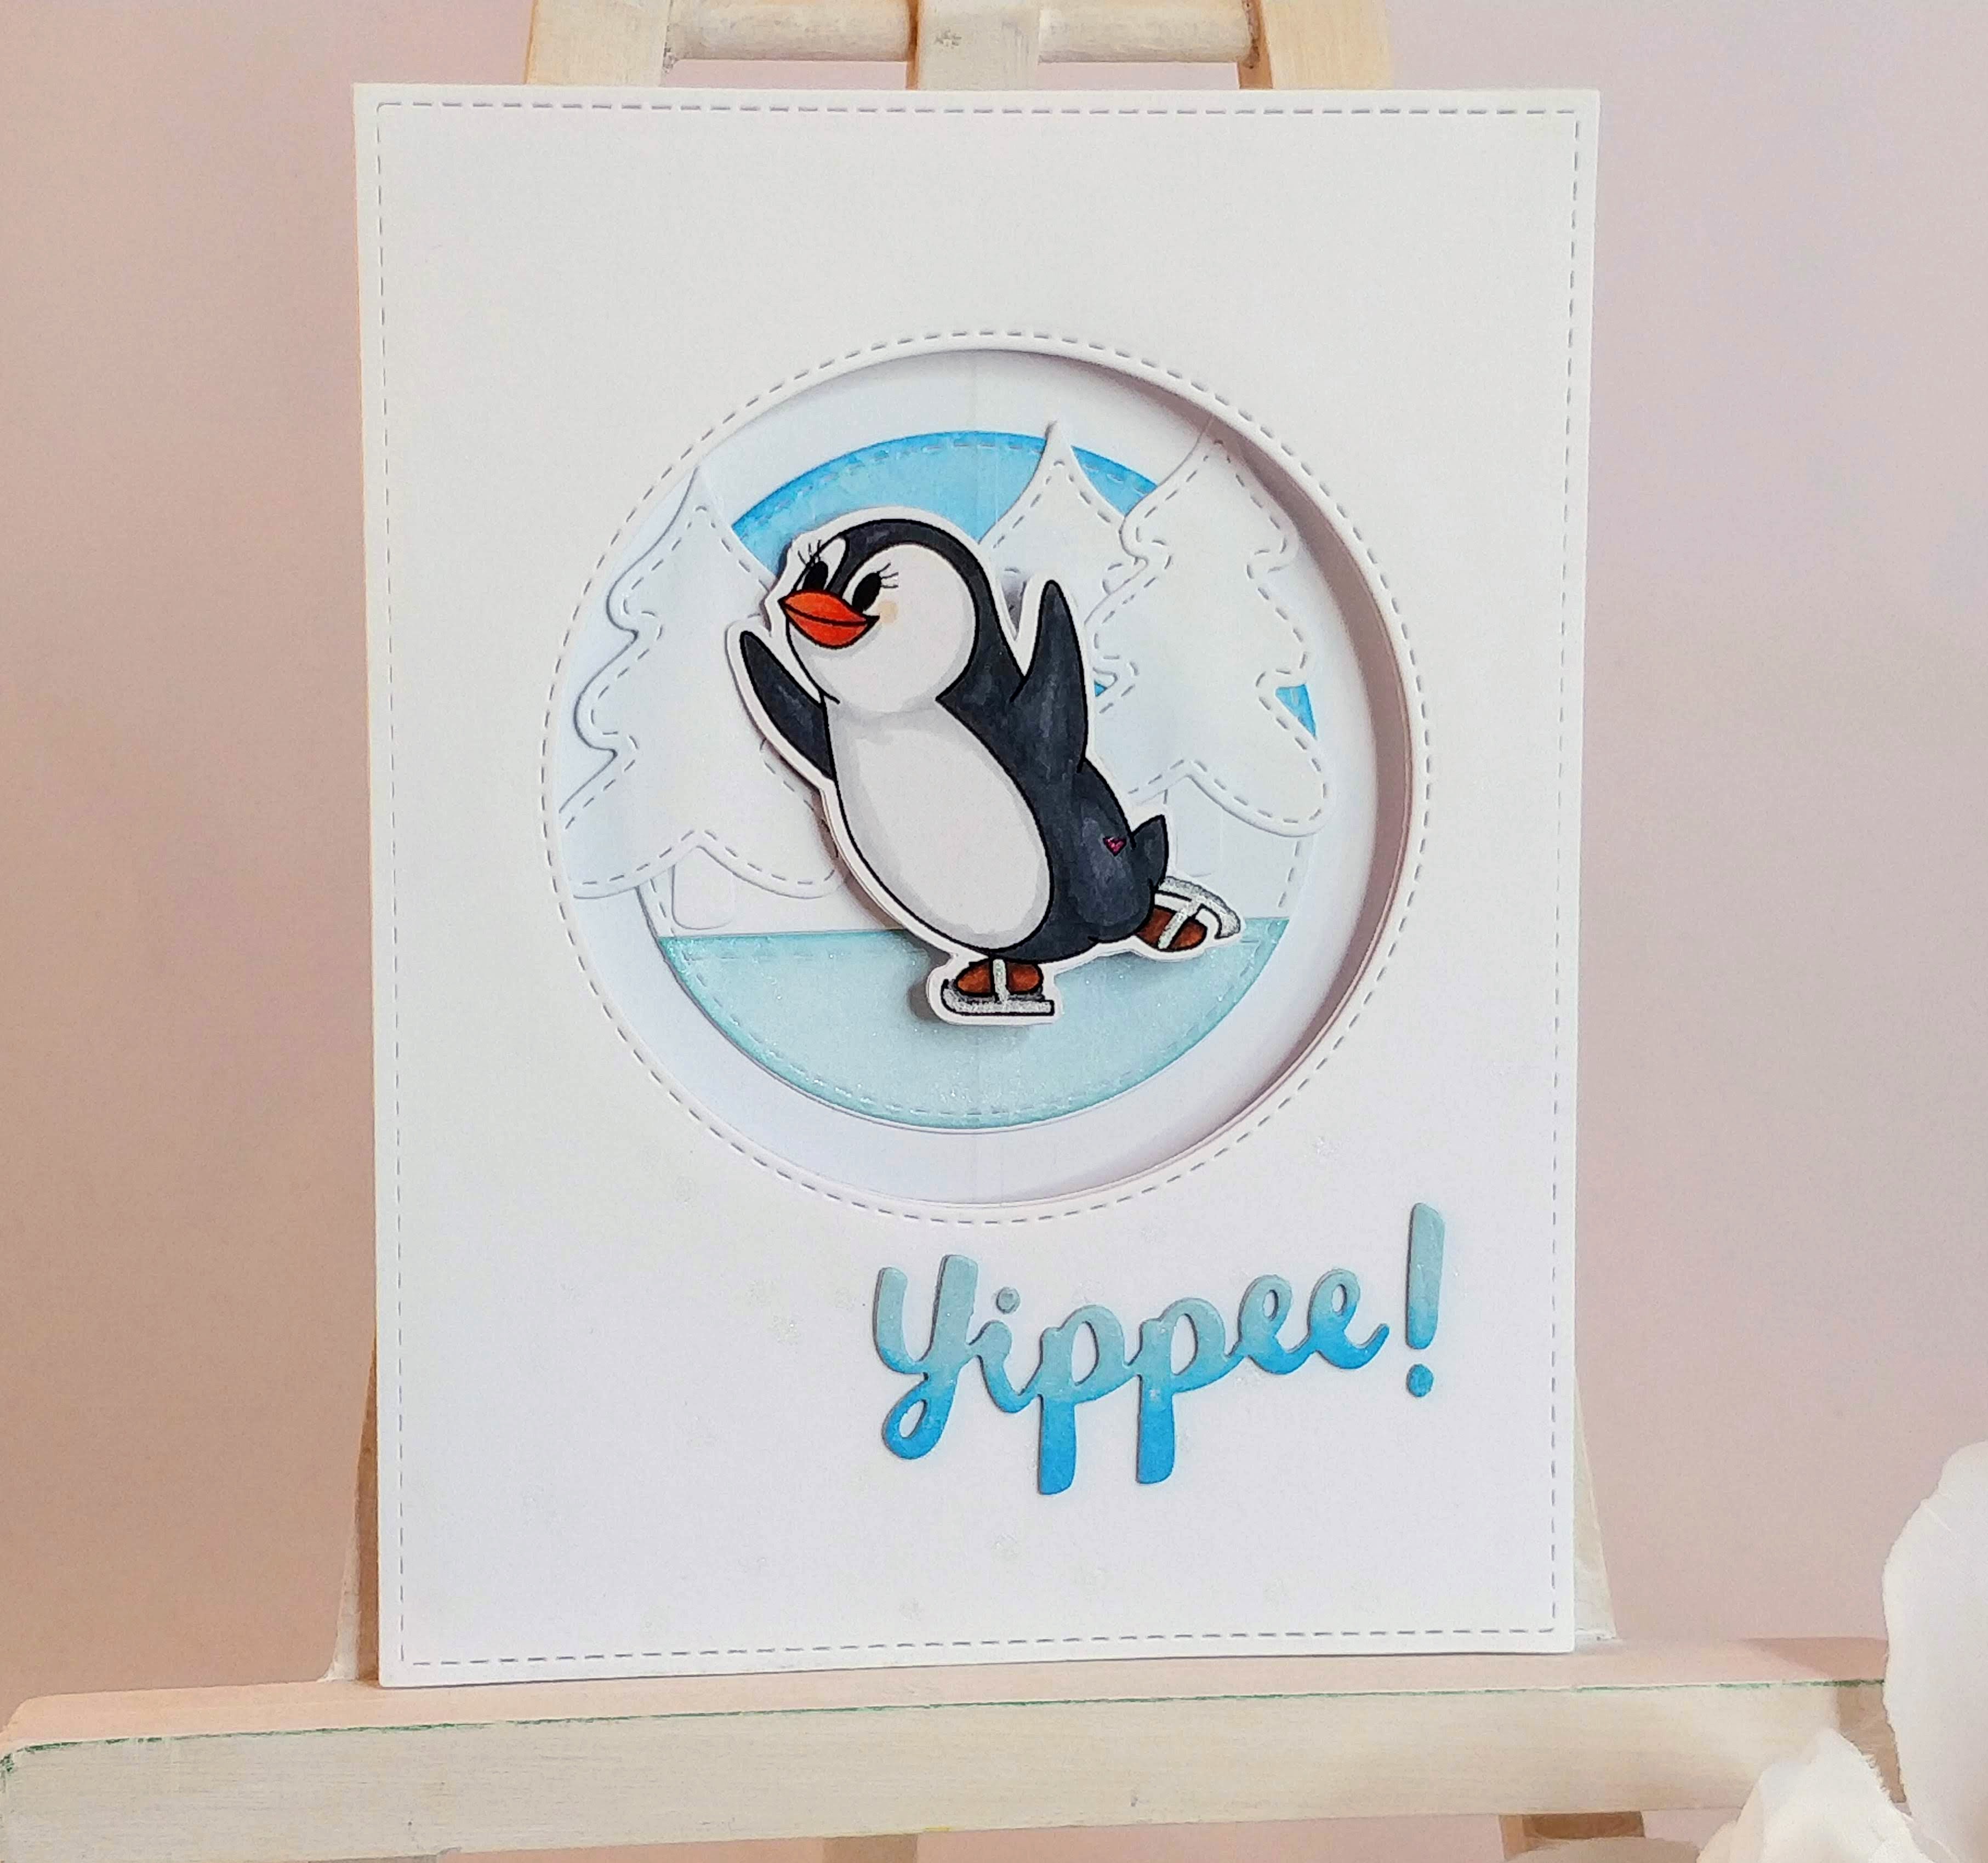
Today, I’m sharing a fun spinner card featuring the adorable ice skating penguin, Misty, from Heartcraft Paper. As soon as I saw her, I knew she’d make a great spinner (or slider) element on a card! She is a digi-stamp and she comes with a matching sentiment. I sized her to fit inside a nesting circle die and printed her twice, once as a mirror image, on cardstock. I also sized the sentiment to fit in the center of a slightly smaller circle die and printed it out at the same time. I colored both penguin images with alcohol markers and a silver pen. Then I used my ScanNCut to cut them out. I sandwiched a length of clear thread between the two images and glued them together. Now my spinner was ready to add to my card.

To create the scene behind Misty, I used the next smaller nesting circle die and centered it over the sentiment before cutting it out. I used straight and curved stitched borders to cut my circle into thirds, keeping the sentiment in the middle. To make my sentiment look like a snowbank, I sponged a tiny amount of Peacock Feathers on the top edge and highlighted it with a little Wink of Stella. I lightly sponged Broken China on the top/sky portion and more Peacock Feathers on the lower/ice portion of the circle. I sprayed a heavy coat of Glimmer Mist onto the ice and through a stencil onto the sky. I die cut several trees and sprayed them with a little Glimmer Mist too. It was easiest to reattach the circle pieces by gluing them to another die cut circle that hadn’t been cut apart. I layered the trees into the scene as I glued the circle back in place.
For the card itself, I die cut a stitched rectangle card front and I temporarily attached it to a white A2 sized card base. I lined up my circle die and ran it through my Big Shot, making sure to unfold the card base and only cut through the top two layers (not through the back of the card). I didn’t want the front of the card to be too plain, but I also wanted to keep Misty as the star of the show, so I used my stencil and Glimmer Mist again to add a little snow to the card front. While it was drying, I glued my scene inside the window, onto the inside of the card. Then I lined my penguin up in the window on top of the card base. I used Super Tape to adhere the clear thread above and below the window, making sure to pull it taught as I stuck it down. A thin layer of craft foam, with a larger circle cut out, was used to elevate the card front from the base, but I realized after that it wasn’t really needed 🙂 .

To finish the card front, I die cut my sentiment three times, glued the layers together, and sponged on coordinating ink. What this card needed was a little more sparkle 😉 so I added more Wink of Stella to the die cut sentiment and on the little heart on Misty’s eyelashes and tush (both sides of the spinner). What do you think? Cute and fun, right?! While this card might be too time consuming to recreate for everyone on your list, It would be fun for a few special people. Let me know if you have any questions on how I made it!
