Hello crafty friend! Welcome to another Get Kids Crafty blog hop. This month the theme is Christmas and Kelly and I are getting YETI with this fun ornament and matching card! The whole team has some awesome crafts to show you so be sure to hop along to all the links below and let us know what you think!

As soon as Kelly and I saw the adorable All Yeti For stamp set from Beth Duff Designs, we were both in love and the gears started turning! Kelly really wanted to make ornaments, but she didn’t want them to be made of paper. We talked about using shrink plastic, but decided that they’d end up too small. She is very familiar with Fimo and opted to stamp her images into clay and cut them out. To make the ornaments a little bigger and not too heavy, Kelly decided to add foam snowflakes behind her yeti.

For her ornaments, we rolled white clay out into a thin sheet with a dedicated pasta machine. Then she pushed the stamp into the clay to make several impressions. She used a craft knife to cut around the images and then we baked them according to the package directions. Once they had cooled down, Kelly lightly sponged blue ink over the tops and outlined the impressions with a silver pen. She colored the horns with a gold pen. To add sparkle, she covered the fur with a coat of Stickles. To assemble each ornament, she glued two larger foam snowflakes together, then glued a yeti on top. She brushed some glue on the exposed portion of the bottom snowflake and sprinkled glitter over it. After the glue dried, she poked a hole through the foam and tied on a silver thread to hang it. I love how they turned out and I think they will make wonderful gifts! (Kelly is pretty proud of them too 🙂 )

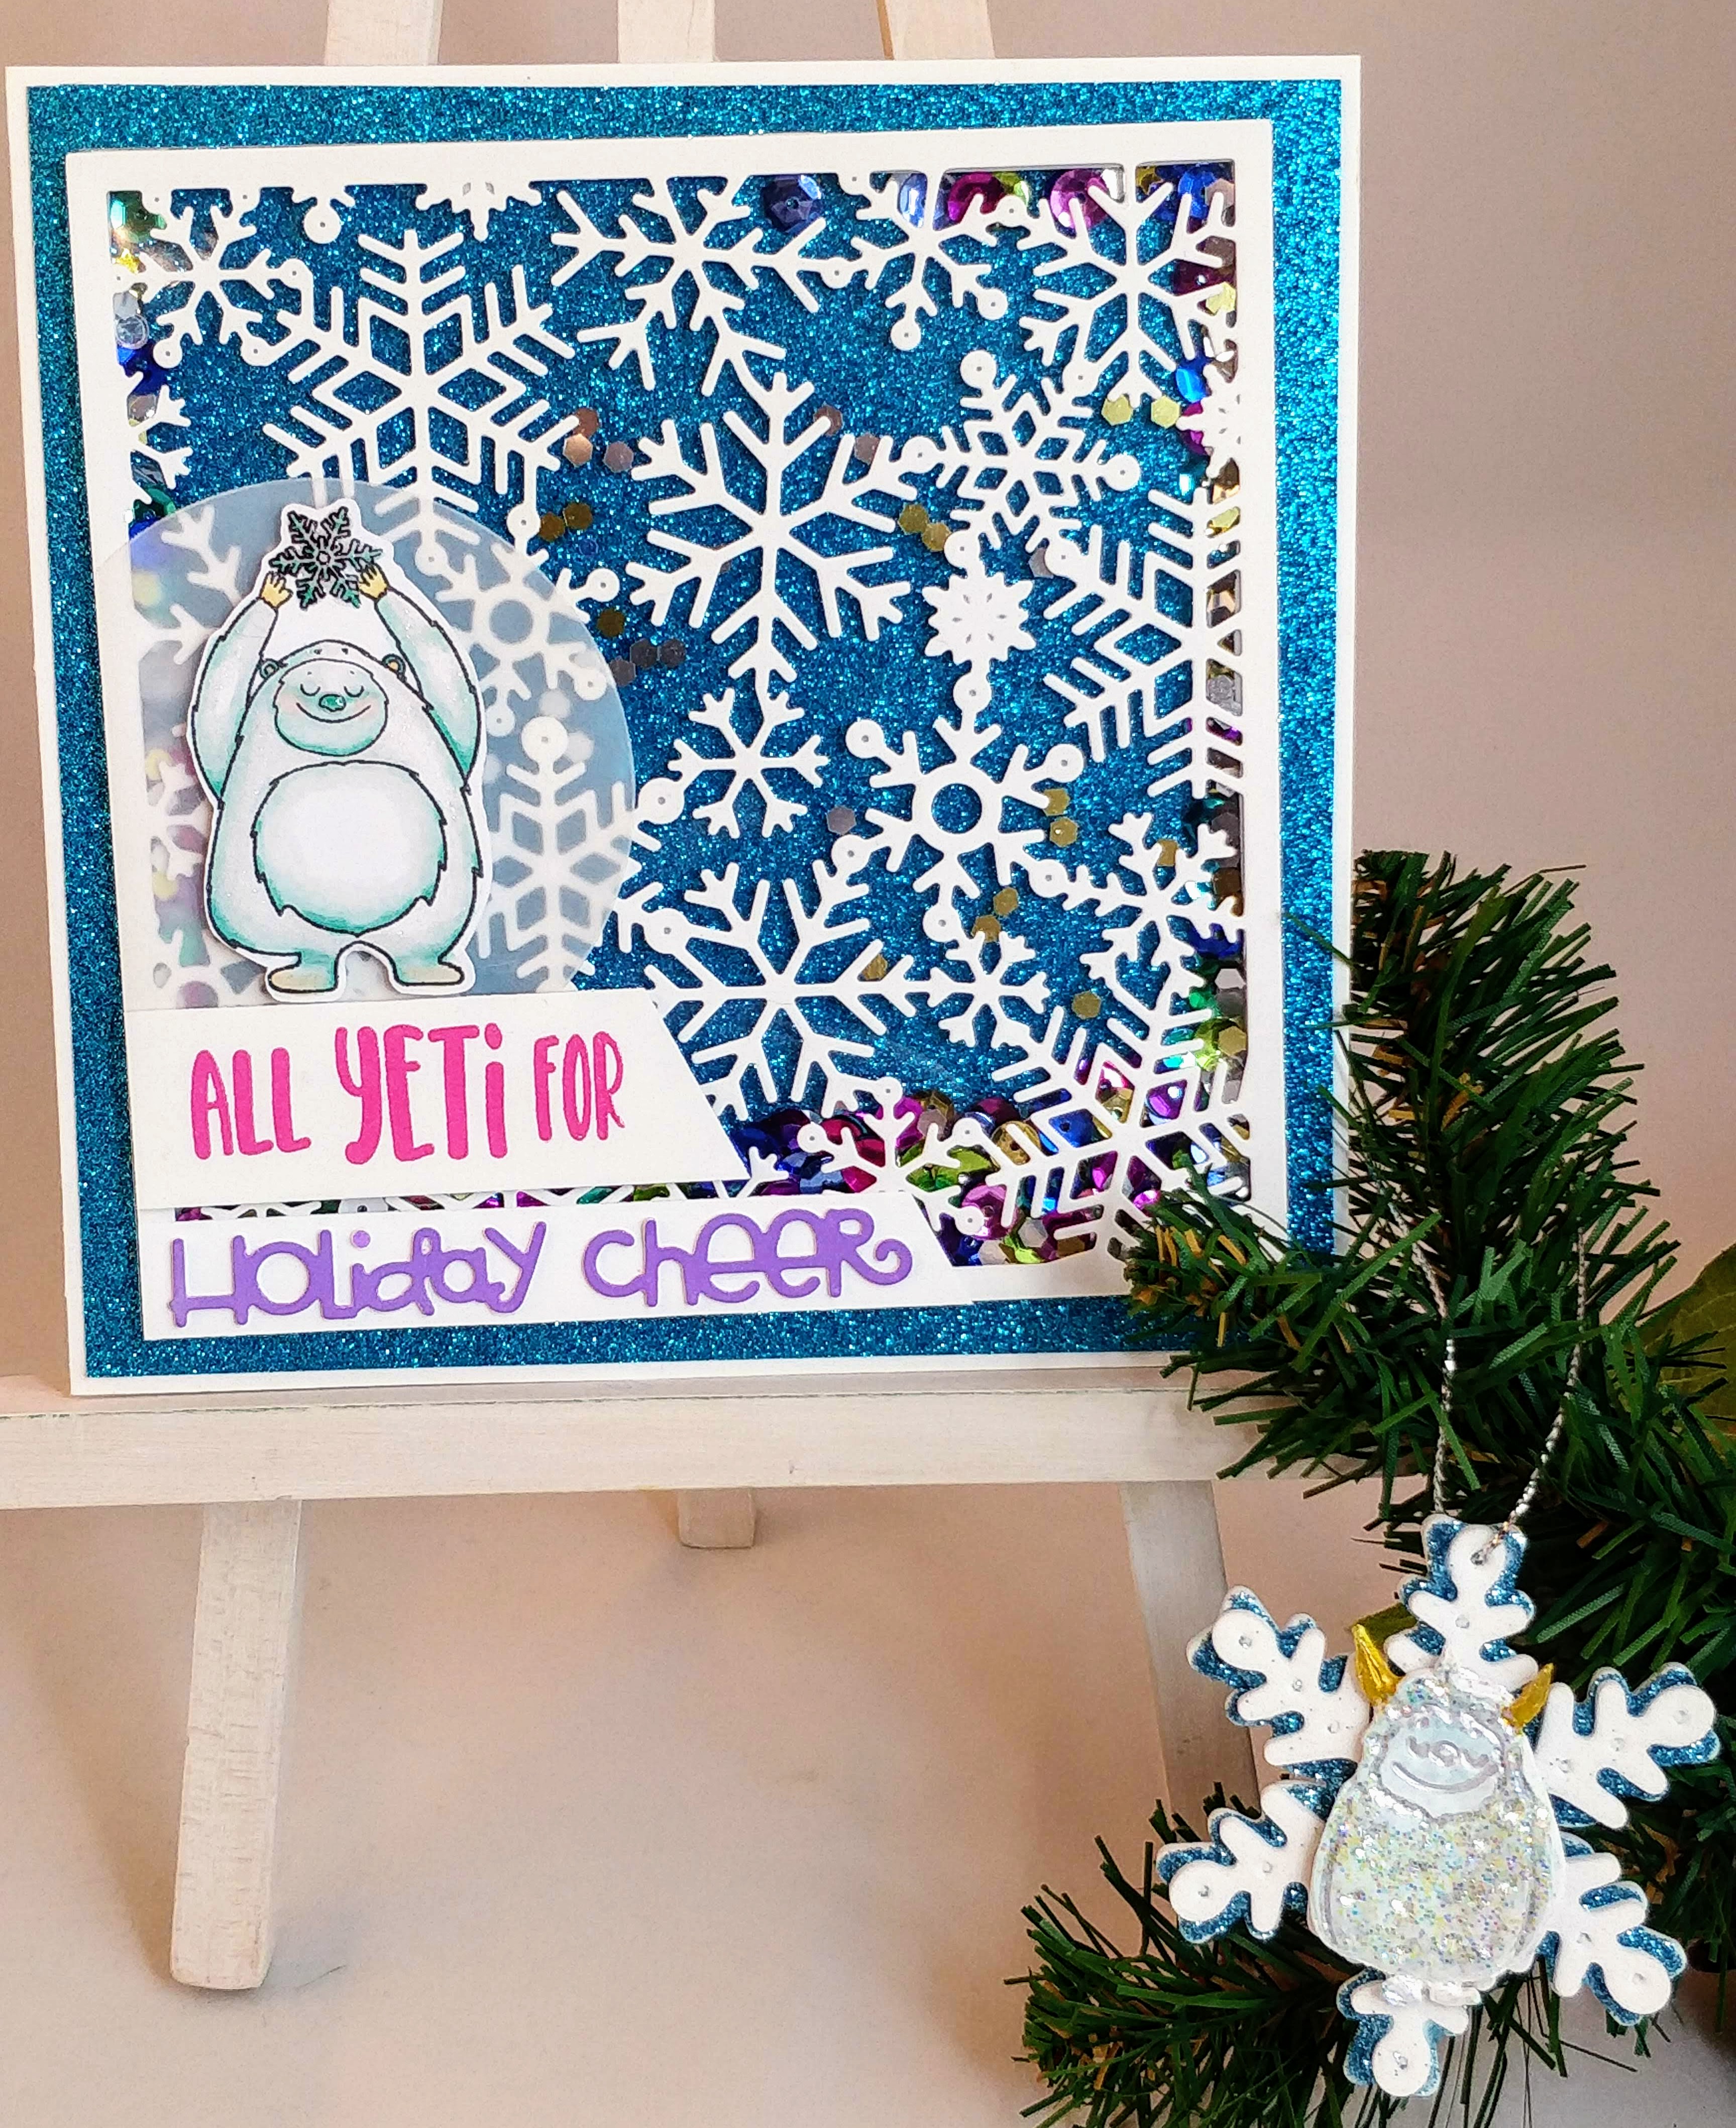
Being a cardmaker at heart, I opted to make a Christmas card. I know, I know, you never would’ve guessed…To start, I stamped, colored, and fussy cut my yeti. For the sentiment, I cut two strips of cardstock. I heat embossed “all yeti for” onto one strip, then die cut and glued on three layers of “holiday cheer” to the second strip. I cut a heavyweight white card base, then cut a glitter cardstock mat to be 1/8″ smaller all the way around, and adhered it to the base. I used a snowflake background die and some acetate to form a window for a shaker card. I backed it with a thick layer of foam tape around the edges. I put a hefty pile of colorful sequins in the center of the glitter stock and adhered the window in place, slightly askew. I glued my sentiment strips in place along the bottom, but before I adhered the yeti, I decided to back it with a die cut vellum circle so he wouldn’t get lost on that busy background. I trimmed off the portion of the circle that was hanging over the edge of the window and that finished my card. Man, oh man, the glitter background really makes this card shine!

Kelly and I plan to pair our ornaments and cards to make some special gifts. (Pretend you didn’t see this Grandma!) To see what the rest of the Get Kids Crafty team has to share for Christmas, make sure to check out all of the links below! Then it’s your turn to share the wonderful projects you make with the children in your life! Use the hashtag #getkidscrafty and share with us on our Facebook page or tag us on Instagram!

These projects are awesome! I never would have thought to use clay and stamps together!