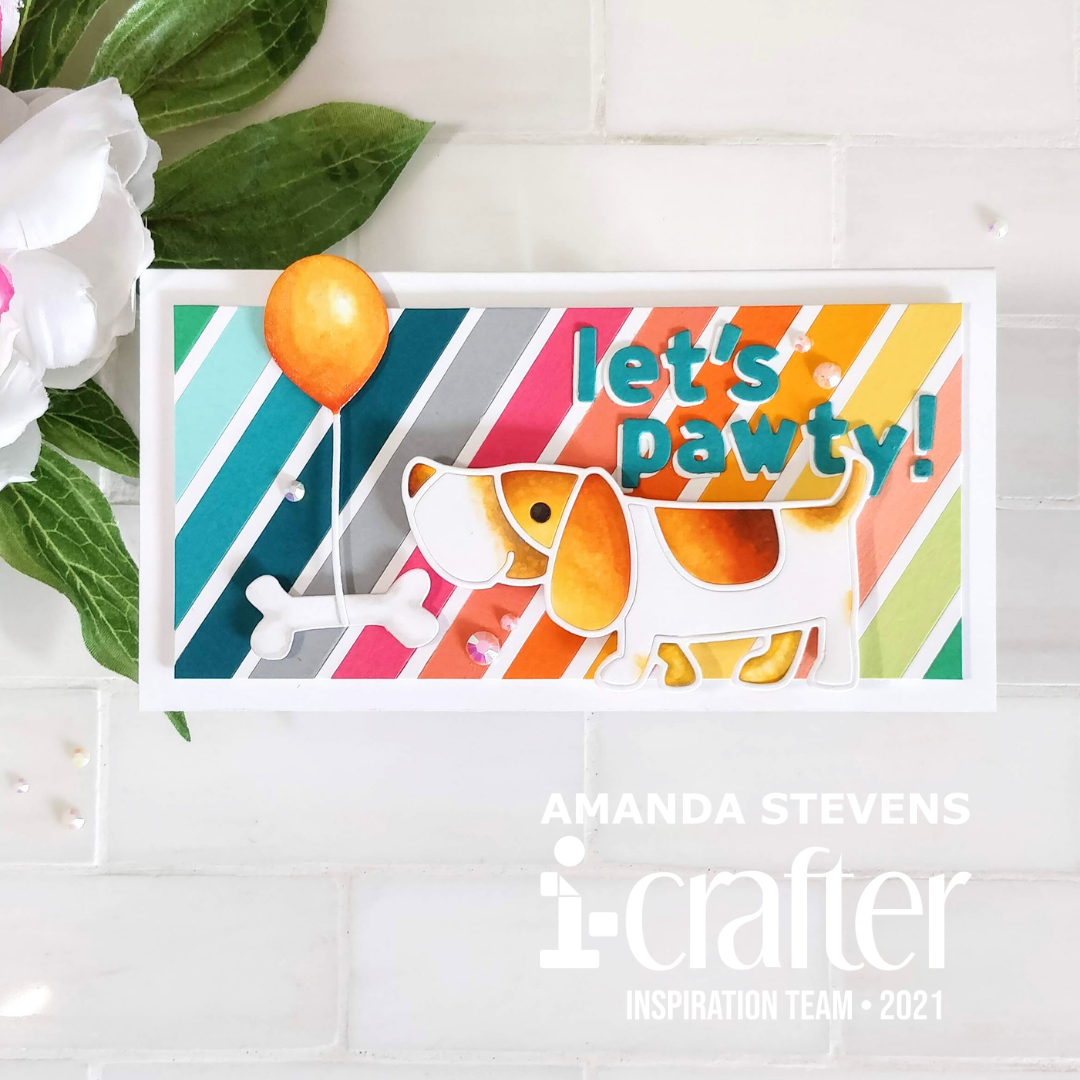
Hey, hey crafty friend, are you ready to pawty?! I am, and I’m bringing a fun mini-slimline birthday card with me! It features the new Puppy Love die set from i-crafter. If you haven’t seen the set, there are three adorable pups, and some cute scene builders. (Have no fear cat-lovers, the new Feline Fine set was created just for you!)
For my puppy card, I decided to color the die cut pieces, rather than cut them from colored cardstock. I wanted to add shading and spots. Using Copic markers in several shades of orange and warm grey, I colored the cutouts. This only took a few minutes since I used the same colors for all three elements. Once I was finished coloring, I used a little Scotch tape to keep the inlaid pieces of the dog in place.
To create the punny sentiment, I die cut the letters spelling out “let’s pawty!” from the Carly Alphabet, once from teal cardstock, and again from white. I didn’t worry about adding any shading with markers because I stacked the teal letters onto the white, slightly offset. This created a drop shadow effect.
Instead of creating a scene for the pup, I decided a striped background would be more fun. (And help me use up some of my paper scraps!) I grabbed a rainbow of scraps and trimmed them into 3/8″ strips. To lighten things up, and mimic the white outline of the pup, I cut 1/8″ white strips too. Alternating between colorful and white strips, I glued them diagonally onto a panel. After trimming the striped panel to 2¾” x 5¾,” I mounted it to a 3¼” x 6¼” mini-slimline card base with thin foam tape. I glued the sentiment flat to the panel, using a ruler to help keep it straight. Then, I popped the bone and balloon up with regular foam tape, and the dog with double thick foam tape. The elevation differences add more interest, and keep the elements from blending in with the background. A few scattered gems, and a coat of shimmer pen on the balloon finish the card. It fits into a #7 coin envelope.
[row]
[column size=”1/2″ stack=”sm”] [/column]
[column size=”1/2″ stack=”sm”] [/column]
[/row]
[row]
[column size=”1/2″ stack=”sm”] [/column]
[column size=”1/2″ stack=”sm”] [/column]
[/row]
I just love the way this card turned out! I might make a few more with the other pups in the set, and maybe even some kitty versions too. Wouldn’t that make a great gift?
Thanks so much for stopping by today. I hope I’ve inspired you to give this a try. Tag me on Instagram if you do; I’d love to cheer you on! I’ll be back soon with another fun card to share. See you then…
This site uses affiliate links whenever possible (at no additional cost to you), but only for products I actually use and love.

Adorable…but of course it is…exact coloring of Miss Lily Grace (white/red Piebald Dachshund). Can’t wait for your collection of Ah-Mazing card instructions all in one place. YAY!