Woohoo, the new release from i-crafter is available now, and boy, is it awesome! In addition to the cute new Box Pop Flower Add-on that I’m using for my cards today, there are two lovely new coordinating alphabet die sets, Heather Uppercase, and Heather Lower. Fans of slimlines will love the Slimline Edges and Borders dies (I sure do)! And the Ribbon Rosette die set makes the sweetest 3D rosettes and award ribbons. You can see the whole release over on i-crafter’s website.
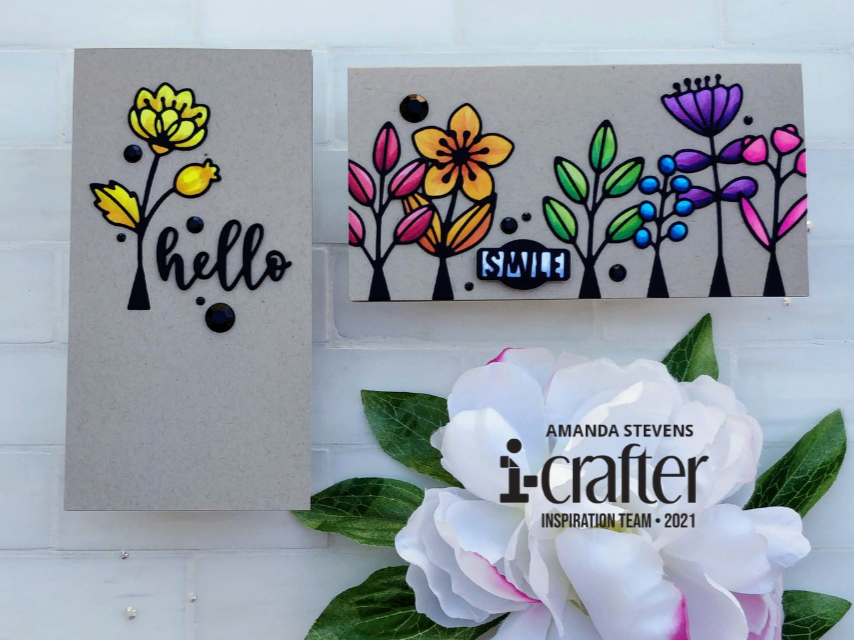
As I mentioned, my cards today feature the new Box Pop Flower Add-on. The set is designed with wide stem bases to support the flowers when you stand them up in the Oval Pop Box, but they look so cool, I didn’t want to hide any of the stems, so I used them on flat cards.
I put on my Laura Bassen thinking cap, and decided to color up my flowers in a rainbow. For each flower, or leaf in the die set, you get both an outline frame, and solid pieces to layer behind. I cut all of the outline frames from black cardstock, and all of the solid pieces from white. You can cut those from colored cardstock, or pattern paper, and save yourself some time, but I love the way it looks when I color die cuts with Copic markers.
Here is a tip for coloring small die cut pieces… Tear a strip of washi or masking tape and place it sticky side up on your workspace, secure it with more tape. (I tape the strip to my clipboard when I color.) With the sticky side up, you can hold your small pieces in place while you color them.
[one_half]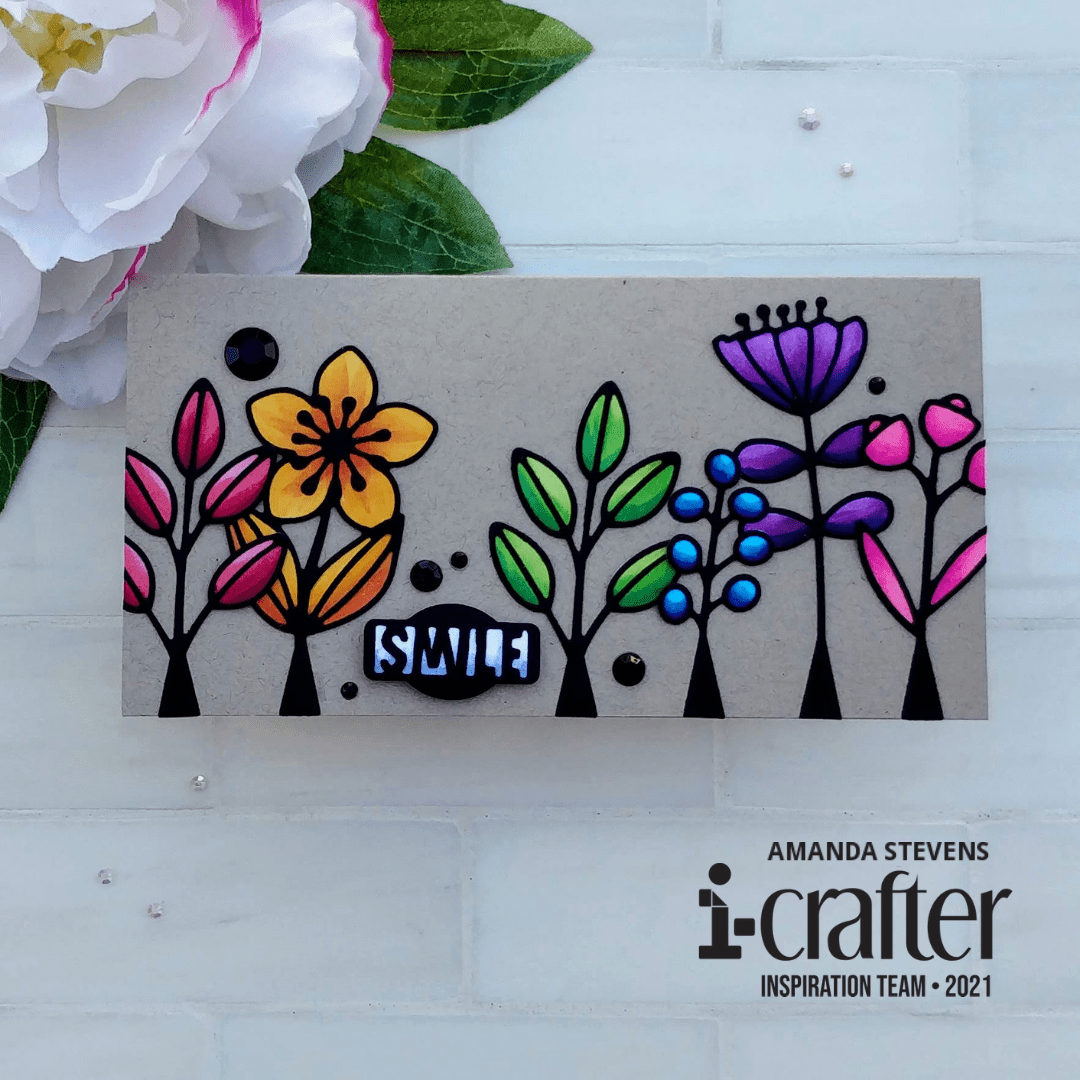 [/one_half]
[one_half last]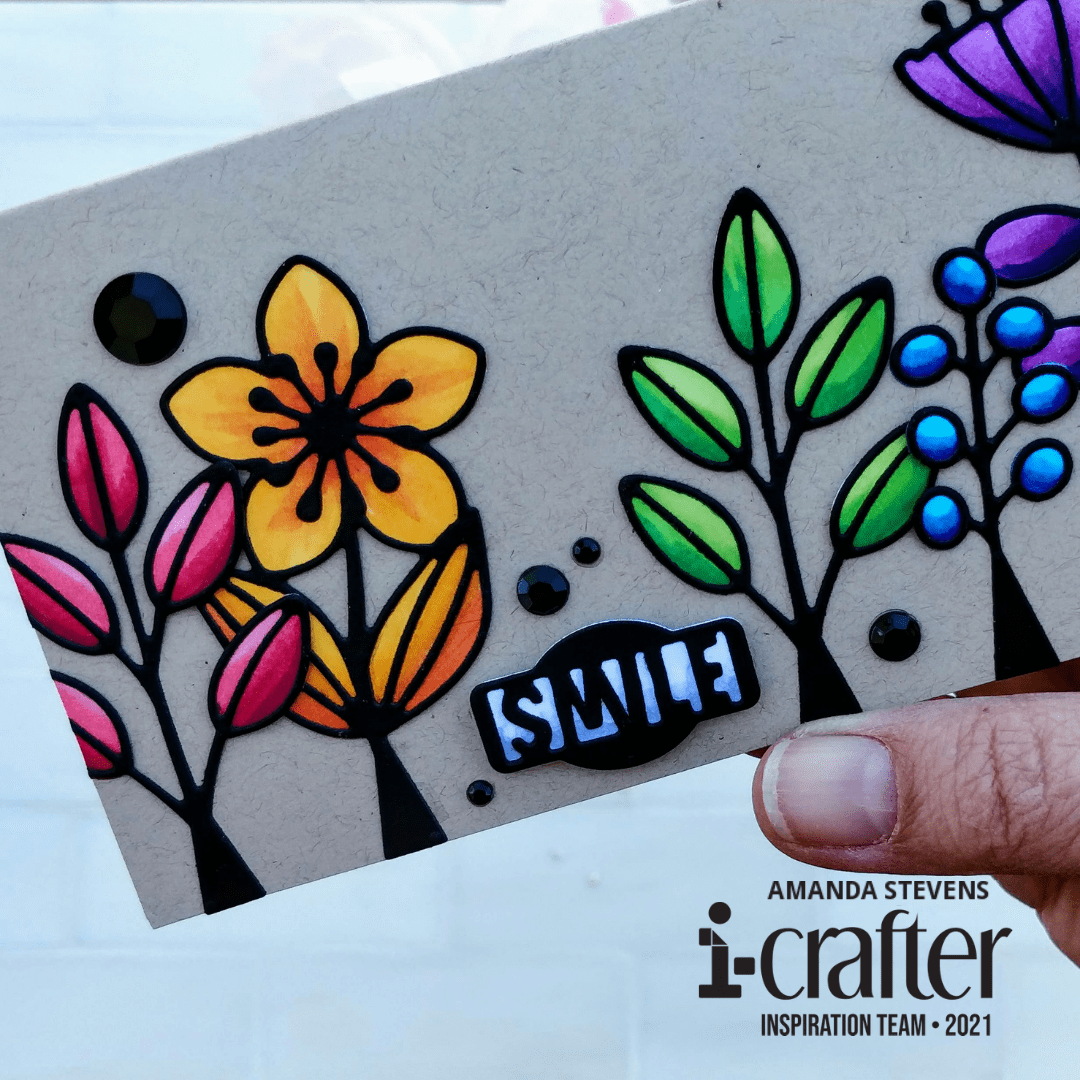 [/one_half]
[one_half]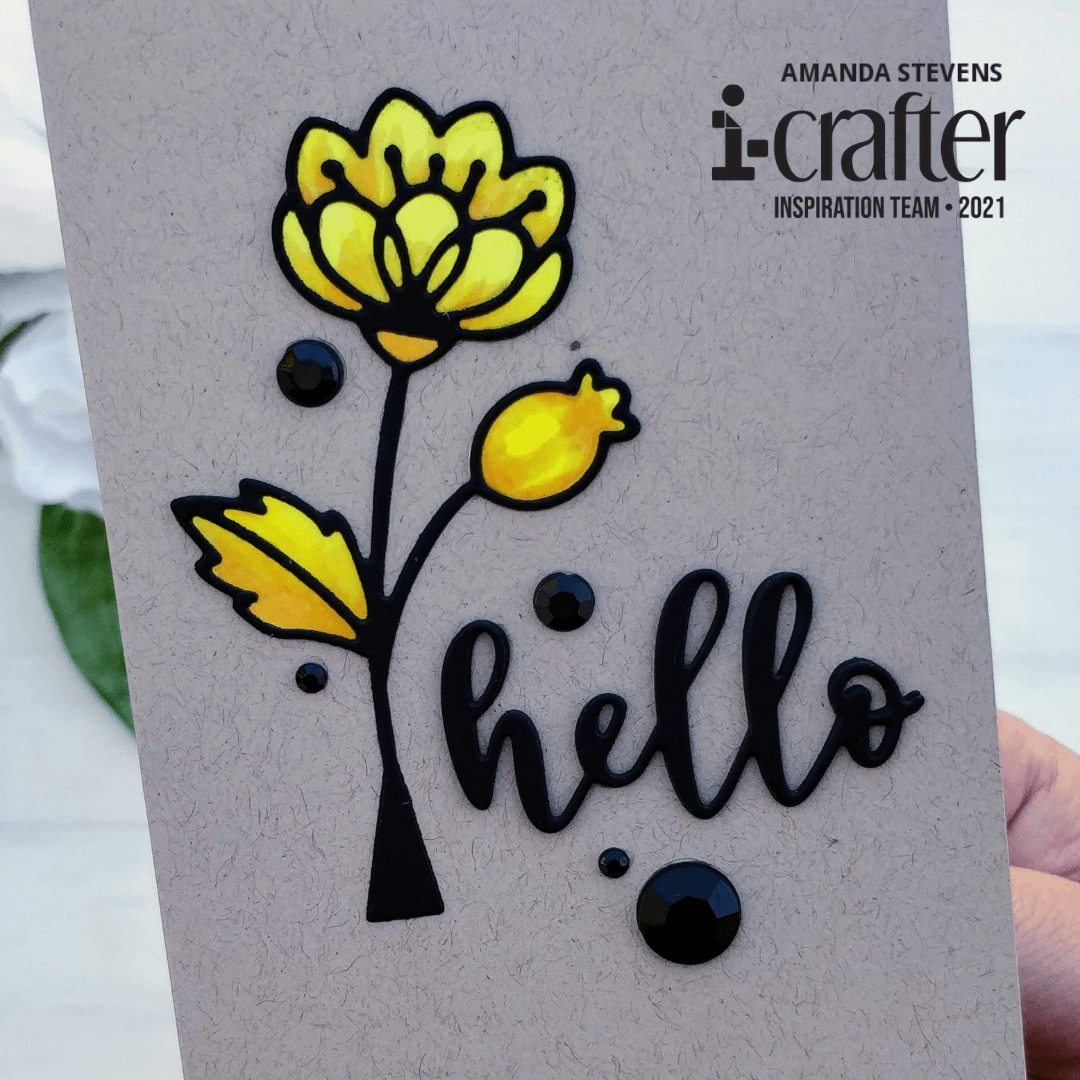 [/one_half]
[one_half last]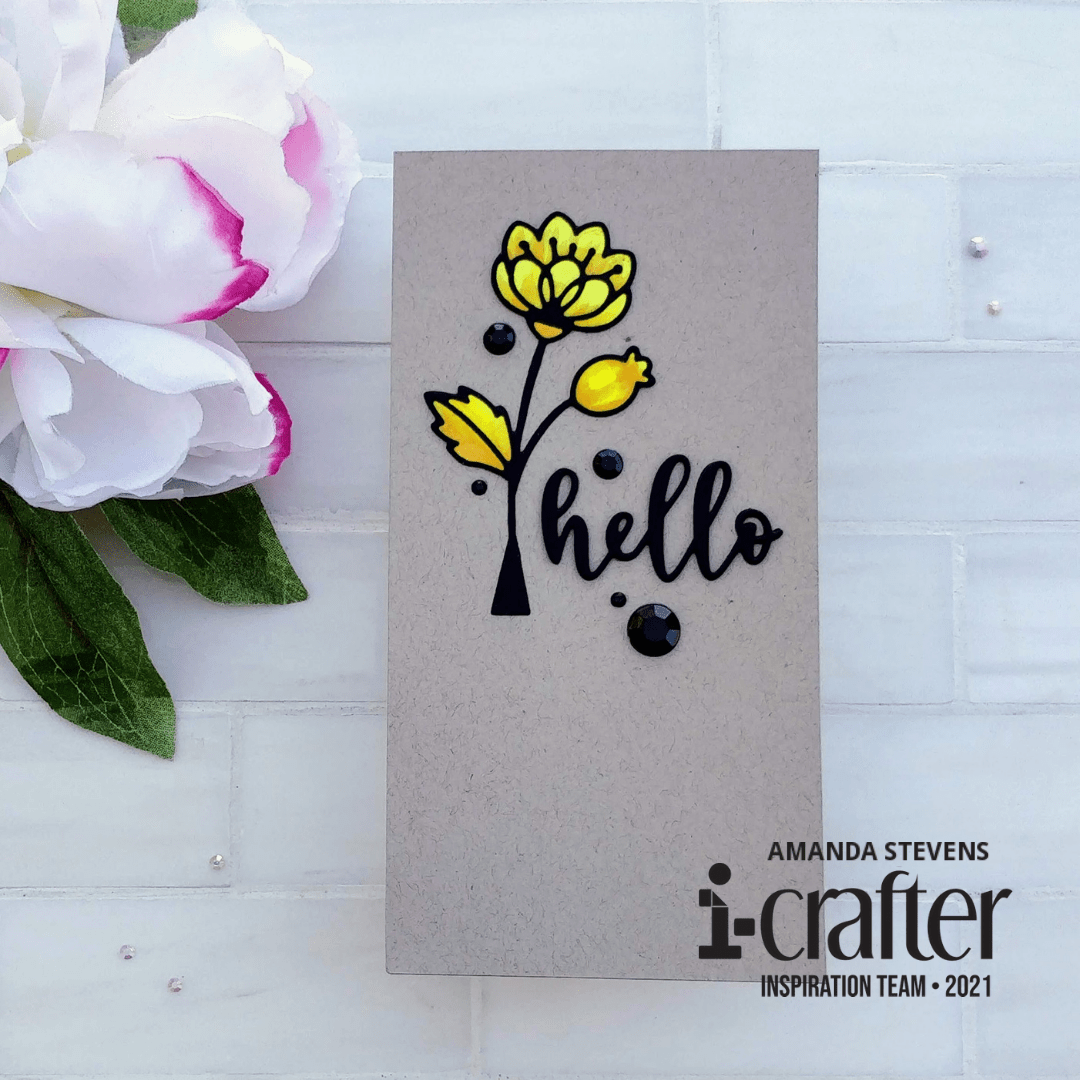 [/one_half]
Originally, I was only going to make one card, and I wanted a colorblock rainbow effect. So I colored all of the solid pieces for each frame in the same colors (rather than green leaves and a different color for the flowers). I used three shades of Copic markers for each one, to get a nice blend. Then, I glued the solid pieces to the frames. After arranging the flowers in rainbow order on my kraft mini slimline card base, I realized two things: the orange and yellow seemed to outweigh the other colors, and I didn’t really leave myself much room for a sentiment. I decided to pull the yellow flower off, and create a second card with it. With the flowers glued to the card bases, I added sentiments. HELLO is stacked up three times; SMILE is layered onto a white base (with grey marker shading) and popped up with foam tape. A few black gems finish the cards and add some sparkle.
I thought about splattering black ink on the backgrounds, before gluing the flowers down, but I’m glad I didn’t. I really love the way these turned out. They have a clean and simple feel. And the colors really pop with the black frames. What do you think?
Ready to see what the rest of the design team created for the new release? Head on over to the i-crafter blog to see! And don’t forget to check out the new Box Pop Flower Add-on while you’re there! Thanks so much for stopping by today. I’ll be back soon with another fun card to share.
This site uses affiliate links whenever possible (at no additional cost to you), but only for products I actually use and love.

Love these and what you did with them. I can’t get to them on the i-crafter site, though….
Thanks! That’s weird. I’ll message them and let them know.
It’s fixed now. Thanks Ardyth!
I LOVE 💕 these cards! They would brighten up anyone’s day and the are beautiful to boot.