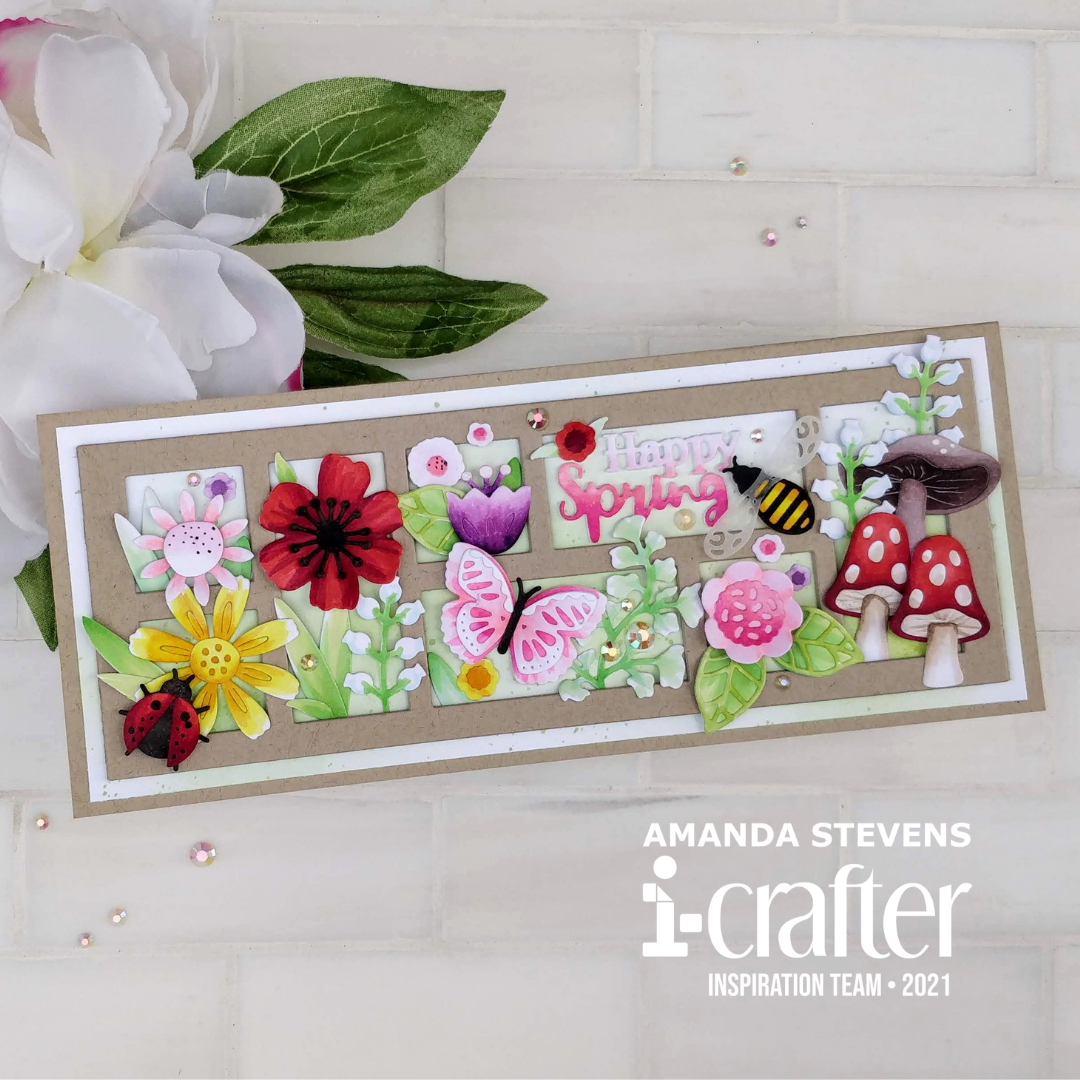
Spring is in the air, and in the windows! Today, I’m sharing a lovely spring themed slimline card, featuring the new Slimline Windows die from i-crafter. Isn’t it fun? Since today kicks off Kathy Racoosin’s new Coloring Challenge, I thought it would be nice to share how I colored the die cut pieces before assembling the card.
[row]
[column size=”1/2″ stack=”sm”] [/column]
[column size=”1/2″ stack=”sm”] [/column]
[/row]
[row]
[column size=”1/2″ stack=”sm”] [/column]
[column size=”1/2″ stack=”sm”] [/column]
[/row]
In the first photo, you can see I die cut all of my pieces from the Floral Garden and Love Bugs die sets from X-Press It white cardstock. (Trying out a new Copic friendly paper – I like it!) I die cut the sentiment from the Easter Add-on die set three times (only one set is shown; the others get stacked underneath later and don’t need to be colored). Notice the bee’s wings? I cut them from vellum for a translucent effect. Low tack tape, face up, holds all of the pieces to my clipboard while Copic coloring. Simple 2-3 color blends add shading and texture to the images. Before gluing the flower centers and bug layers together in the third picture, I curled them with a stylus on a foam pad. Alternatively, you can curl them by pressing them into your palm with your thumb. This adds lots of dimension and it tends to hold up, even after mailing.
In the fourth picture, you can see the card base layers. I cut the Slimline Window four times from kraft cardstock and layered them together to create a thick piece. Before gluing it to a 3¼” x 8¼” white panel, I loosely blended green ink onto it, and added splatters for texture. The window piece and inked panel were glued to a kraft 3½” x 8½” slimline card base. After that, I simply tucked the florals, bugs, and sentiment into the windows with a combination of glue and foam tape. A few scattered iridescent gems add sparkle and finish the card. This card fits into a #10 business envelope.
Let’s take a closer look…


I just love the way this card turned out. The windows make it so easy to create the layout, and you don’t have to try to create a large scene. Wouldn’t it be cute to swap the floral dies for Making Faces or the champagne and flutes from the Celebration Wiper set? Holiday cards would be awesome too. The Slimline Windows die is such a versatile piece; I’m so glad it’s in my stash now!
If you’re coloring along for Kathy’s challenge, I’d love to see! This time, it’s only 10 days. And whether you color all 10 days or not, it’s lots of fun. Oh, and there are prizes, including lots of Collapsible Marker Bags! Head on over to Kathy’s blog for all of the details, and to enter. Don’t forget to use and follow the hashtag #thedailymarker30day on Instagram too.
Thanks so much for stopping by today. Be sure to stop by tomorrow for a special light-up card collab hop with The Rabbit Hole Designs; see you then!
This site uses affiliate links whenever possible (at no additional cost to you), but only for products I actually use and love.

3 thoughts on “Spring Slimline Windows”