Hey crafty friend, I’ve got a fun stencil shift technique to share today. I learned this from my friend Lynnea; she always has the best ideas! And the coolest part, is that it’s quick and easy.
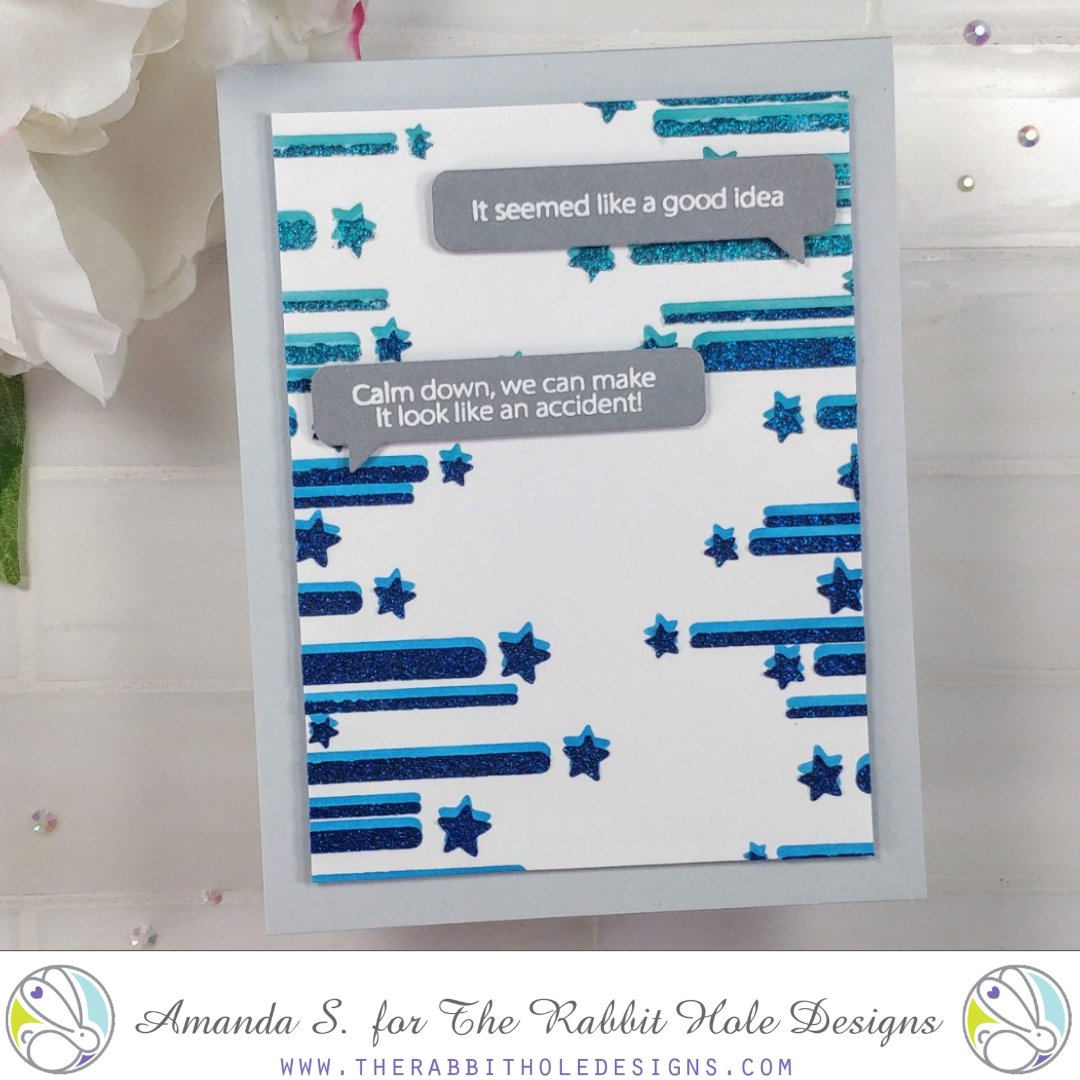
For this technique, pick your favorite stencil and blend ink through it. I used the Ribbon Star stencil from The Rabbit Hole Designs, but anything with bold stripes will work really well for this. Next, shift your stencil over slightly and apply glitter gel or metallic paste through the stencil. That’s it! Your ink blended layer creates a drop shadow effect for the gel.
You can clean your stencil while your panel dries, then turn it into a card. For this one, I embossed a pair of Sassy Sentiments and cut them out with speech bubble dies. Then I popped them up onto my trimmed panel, and popped that up onto a card base. Easy peasy, lemon squeezy.

Thanks for stopping by today. I hope you’ll give this stencil shift technique a try and let me know what you think. Tag me if you do; I’d love to see! If you’d like to see another fun project featuring the Ribbon Star stencil, check this out. You can find the sister article to this on The Rabbit Hole Designs’ blog. Head on over for more inspiration. I’ll be back soon with another fun card to share.
This site uses affiliate links whenever possible (at no additional cost to you), but only for products I actually use and love.

Beautiful!!! Love it!!!