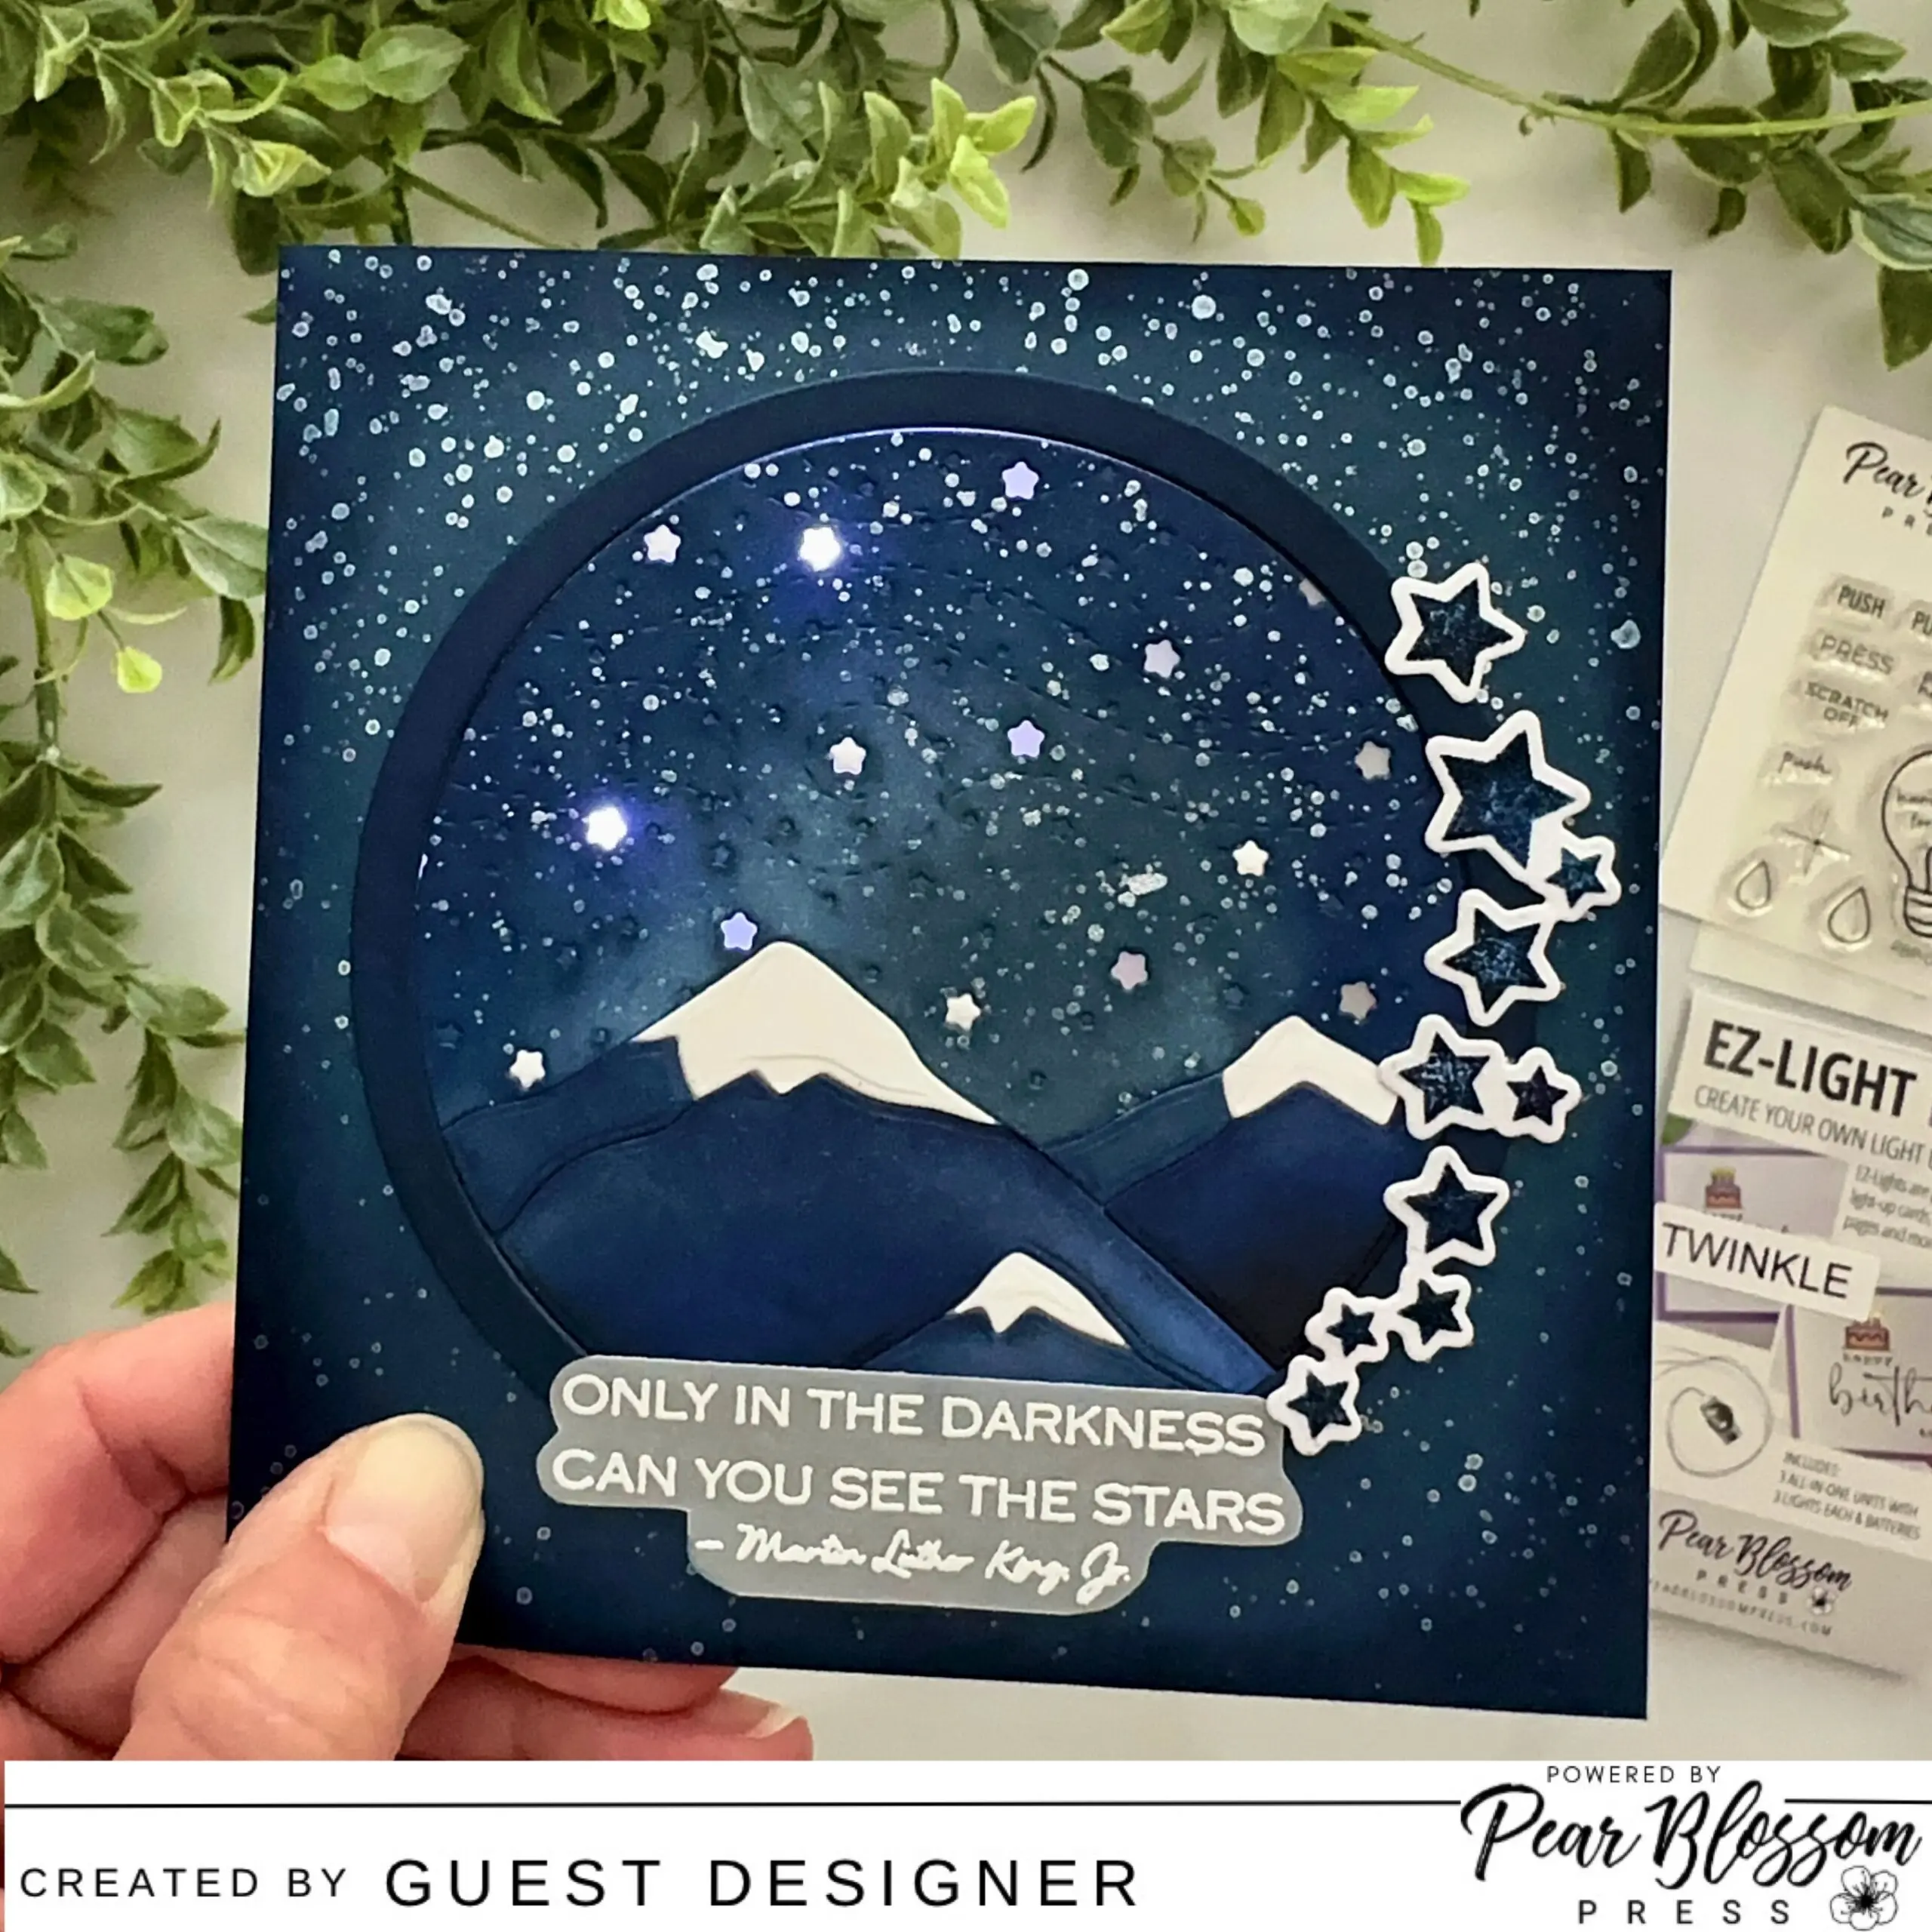
Hello, it’s Carol back again and I’m happy to be back to share my second card for my guest design post! If you missed the first one, I hope you will check out my post on the Pear Blossom Press blog.
*For today’s card I am using these products:
Pear Blossom Press EZ-Light Twinkle
Pear Blossom Press Stamp & Die bundle
Pear Blossom Press World’s Best Foam Tape (and I totally agree about it being the BEST!)
Honey Bee Stamps Mountain Circlescape dies
HBS Circlescapes Shaker Frame dies
HBS Scattered Stars cover plate die
Altenew Kind Words sentiment stamps
Picket Fence White Snowflake Paper Splatter
WOW Opaque Bright White embossing powder
Hero Arts White Satin Pearl embossing powder
*May include affiliate links (no additional cost to you)

To begin I die cut the Mountain Circlescape from 80# Neenah cardstock. Next I took the top sky piece of the Mountain Circlescape die cut and placed the Scattered Stars cover plate die over and ran it through my die cutting machine. Be sure to save a few of the leftover stars that you get from the cover plate die to use later.
I cut a piece of navy blue cardstock into a 5” square. Then I used a circle die that is about the same size as the Mountain Circlescape and die cut a circle into the 5” panel. I die cut one circle frame from Circlescapes Shaker Frames die set. Next I used ink blending brushes to color all of the pieces (except the white snow caps of the mountains) with various shades of dark blue inks. I used Chipped Sapphire and Black Soot Distress Inks plus a couple others from my stash.

Next I splattered the sky and card front piece with Paper Splatter for even more of a starry effect. I set the pieces aside to dry.
I scored a 10” x 5” piece of 80# white cardstock at 5” to create the card base. Then I began planning for my light placement. Using the card front layer and the die cut sky layer as guides, I made pencil marks on the card for the EZ-Light Twinkle Lights battery pack and the three lights. I planned for the three lights to be underneath three of the stars of the die cut piece.
added double sided tape to the back of the EZ-Light battery pack to adhere it to the card. Then I taped the three lights in the spots marked by the pencil. I added a few more pieces of tape to hold the wiring down.
Then I added pieces of the World’s Best Foam Tape to the card as shown here.

I added double sided tape to the back of the EZ-Light battery pack to adhere it to the card. Then I taped the three lights in the spots marked by the pencil. I added a few more pieces of tape to hold the wiring down.
To assemble the Mountain Circlescape pieces I die cut a 4” circle from vellum and glued it to the back of the circle opening of the card front layer with tape runner. Then I added tape runner to the front of the vellum and laid the Mountain Circlescape pieces onto it. I adhered the frame around the circle with glue.
Next I stamped the sentiment from the Pear Blossom stamp set with clear embossing ink, added satin pearl embossing powder, and then used my heat tool to set it.

I removed the backing from the World’s Best Foam Tape and adhered the card front layer to the base. I really love how you can pull it up from the tape within 30 minutes to make any adjustments!
To finish I heat embossed the sentiment with white embossing powder onto vellum. I used my scissors to trim it. Then I added some tiny drops of glue to the back (behind the embossing) to adhere it to the card. The stars are from the Rainbow Dreams stamp set. I stamped them in dark blue ink onto white glitter cardstock and cut them out with the coordinating die.
I glued about five of the reserved stars into the star openings of the die cut.
I love how the Twinkle Lights also slightly illuminate the other stars!

I really love how this card came out, and hope you have too! Be sure to check out my other creations on my blog, Creations By Carol, or over on my Instagram! Thank you for stopping by!

This is gorgeous Carol! 💙💙💙