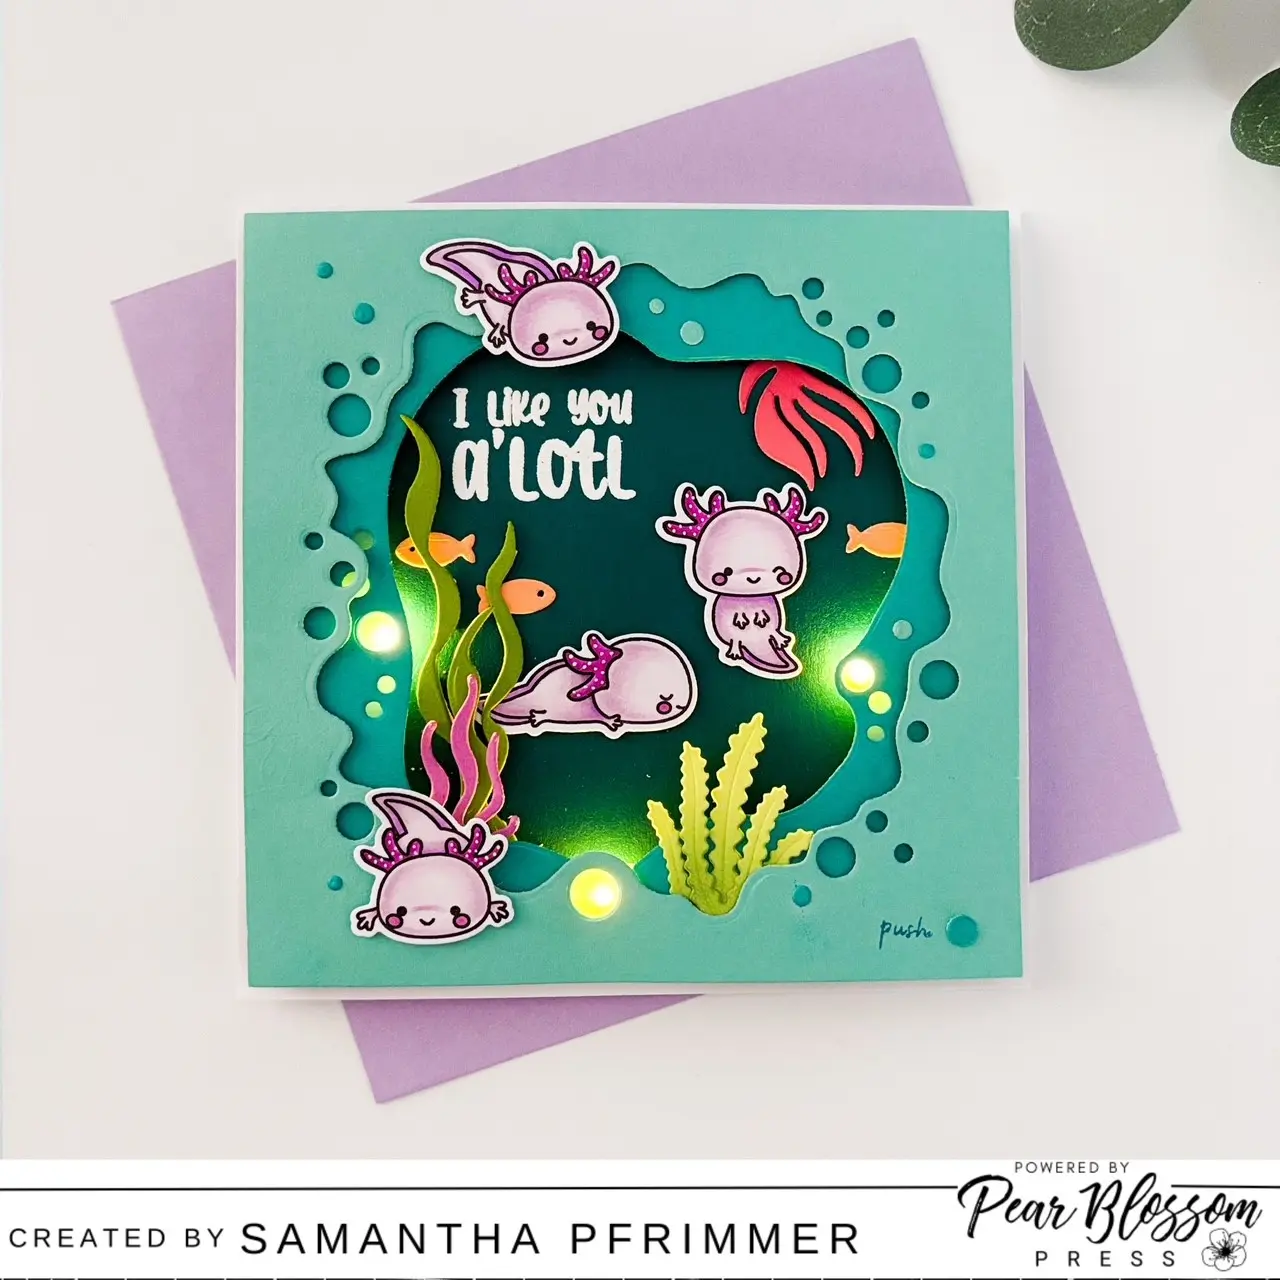

Hello everyone! It’s Samantha Pfrimmer here with you on the Pear Blossom Press Blog today. I am so excited to share a cute card I made for my axolotl loving daughter featuring a fun new product currently in development by Pear Blossom Press, the EZ-Fade lights. Like the EZ-Lights, this prototype includes 3 LED lights each attached to its own wire with the wire connected to the battery pack. The cool factor comes once you press the button. All of the lights will stay lit on their own for about 30 seconds until they fade. This new feature is not only a great effect for the recipient, but I found having the lights remain on while crafting made them even easier to design with.
Detailed below I will share the steps I followed in making this card and I just can’t wait until this product becomes available!
SUPPLIES
- EZ-Fade Lights – Still in Development
- World’s Best Foam Tape
- Axolotl Clear Stamp Set
- Axolotl Outline Die
- La-La Land Crafts Ocean Elements Die
- La-La Land Crafts Under the Sea Die
- Pink and Main School of Fish Dies
- Pink and Main Coral Reef Dies
CARD INSTRUCTIONS
To start this card I stamped, colored, and die-cut all of my axolotl images using the CC Design Axolotl Stamp and Die sets and set them aside. Next, using the larger two dies from La-La Land Crafts Under the Sea Die set, I cut my top two panels, measuring 5.25” square, out of light and medium teal cardstock. I cut a third card panel out of my darkest teal using my paper trimmer. Lastly, I used my La-La Land Crafts Ocean Elements Die Set and my Pink and Main School of Fish and Coral Reef Dies to cut out additional elements to help build out my underwater scene. Once everything was die-cut and ready, it was time to work on my EZ-Fade Lights.

I knew I wanted my lights to shine through the bubbles of my card panel so after determining where I wanted my lights placed, I marked the light placement on my dark teal card-panel in pencil and covered the holes of my medium teal die-cut panel with teal vellum from my stash. I then placed my World’s Best Foam Tape as shown.
On my dark teal card panel after heat embossing my sentiment, I then taped down my lights where my pencil marks were added and also taped down my battery pack with double sided tape. Having the ability to press the lights on, and the lights staying on, and then being able to use both hands for exact placement was so helpful in getting everything just right.
Once my lights and tape were all in place, I was able to add in all of my scene building elements and my stamped images. Now I have a card I am proud to give to my girl.

