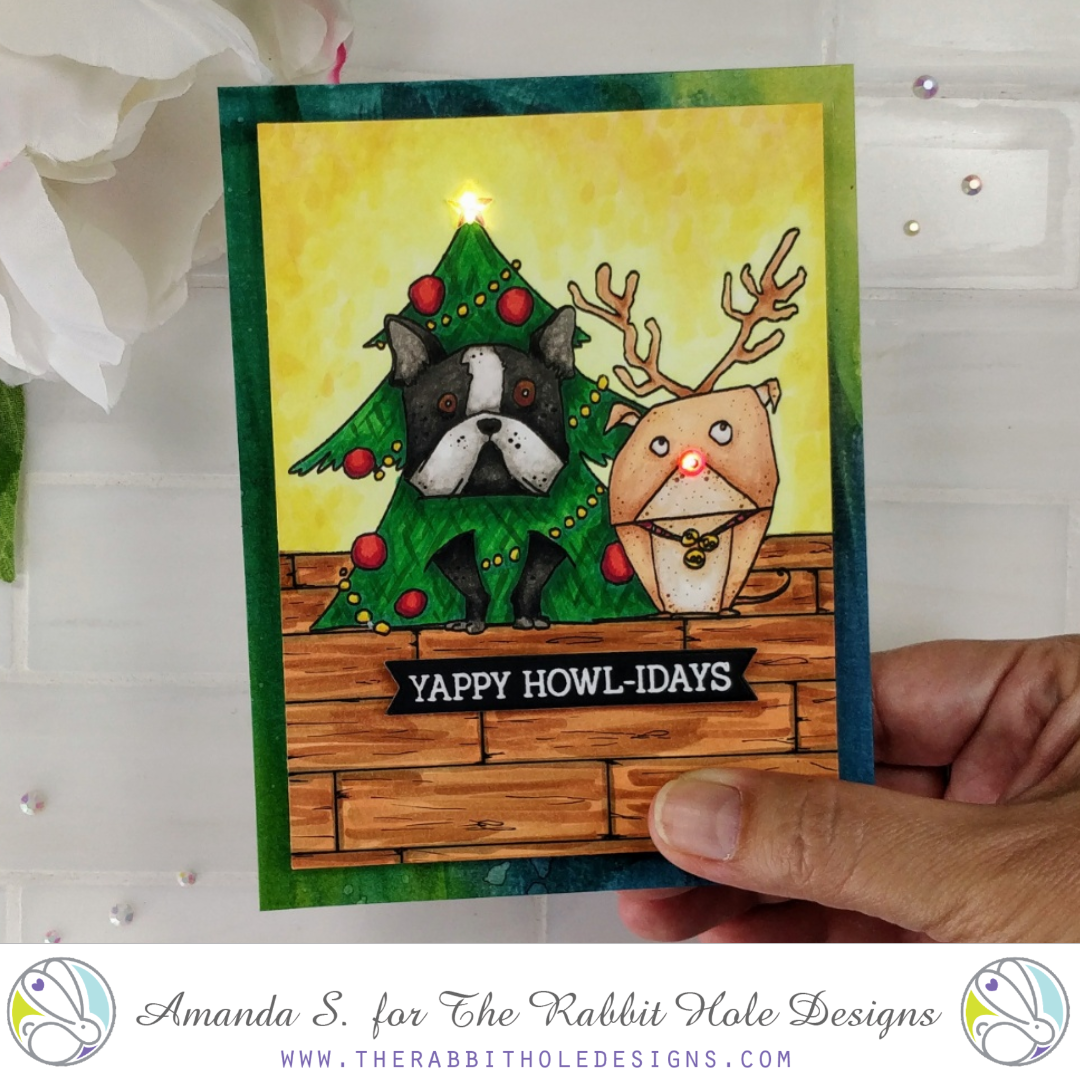
It’s day 2 of the new release from The Rabbit Hole Designs, and today, I’m sharing a light-up Christmas card, perfect for the dog lovers on your list! This card features the new Pawlidays stamp set, and an EZ-Light to light up the star and nose. Check out how cool it is…
[row]
[column size=”7/10″ stack=”sm”]
[/column]
[column size=”3/10″ stack=”sm”][/column]
[/row]
The hardest part of creating this card was figuring out how to color the dogs. I stamped the image onto an A2 panel, then colored it with Copic markers. I looked up a picture of a Boston terrier to use as a coloring guide. I’m not certain of the breed of our little Rudolph, but with his antlers, I wanted to color him brown. I made sure to stipple dots all over both dogs with my lightest markers, to create more of a furry finish. I also added tiny dots of my darkest shades, to add more texture.
For the background, I taped off the horizon, then used several shades of yellow Copics to color the wall behind them. I used the lightest shade all around the image, and gradually worked my way out through the darker colors. Instead of trying to create a smooth blend, I opted to stipple the colors, like I did on the dogs. The uneven finish looks more interesting to me, and almost seems like the room is lit by candles.
The floor was really quick and easy. I used a ruler and Copic Multiliner to draw horizontal lines, spaced closer together at the top, and getting further apart as I moved the ruler down. Then I drew a few vertical lines to create the boards (I should have angled them in a little on the sides for perspective). I used a light brown to base coat all of the boards, then drew lines with a few more random shades of brown. I tried to color each board separately so the lines wouldn’t travel from one board into the next. Using a grey brown, I outlined each board, then I came back in with the multiliner again and added a few more lines and curls, especially where the boards meet up. I really went fast, and tried not to think about it too much.
Adding the lights was the easy part. Once the panel was colored, I trimmed it down and stamped PUSH ME near the bottom. I punched two tiny holes at the top of the tree, and one in the middle of Rudolph’s nose. I taped the lights from an EZ-Light to the back of the holes, and the button right under where I stamped push me. I used double thick foam tape all around the edge of the panel and adhered it to a watercolored background panel I had in my stash. I glued the whole thing to a card base, and glued a star and red gem on top of the lights. An embossed sentiment banner popped up the floorboards finished the card. You can watch how I created another card the same way here. It really is easy, and the lights look so cool shining through the gems!
Have you ever made a light up card? Do you have any dog lovers on your holiday card list? I know exactly who this card is going to. In fact, I need to make two more before Christmas for a few other people on my list. The new Pawlidays stamp set has some punny sentiments that crack me up. Ready to see a few more ideas with the set? Hop along with us…
The Rabbit Hole Designs – next stop
Michelle
Justin
Jenn
Lisa
Tangii
Von Marie
Kelly
Alison
Lauren
Amanda – you are here
GIVEAWAYS:


Puppies are cute. The coloring of the Boston
is great. thanks for sharing
txmlhl(at)yahoo(dot)com
Hey those doggins both look like they are ready for Santa! Your coloring, as they say, just makes me jelly! HAHAHA