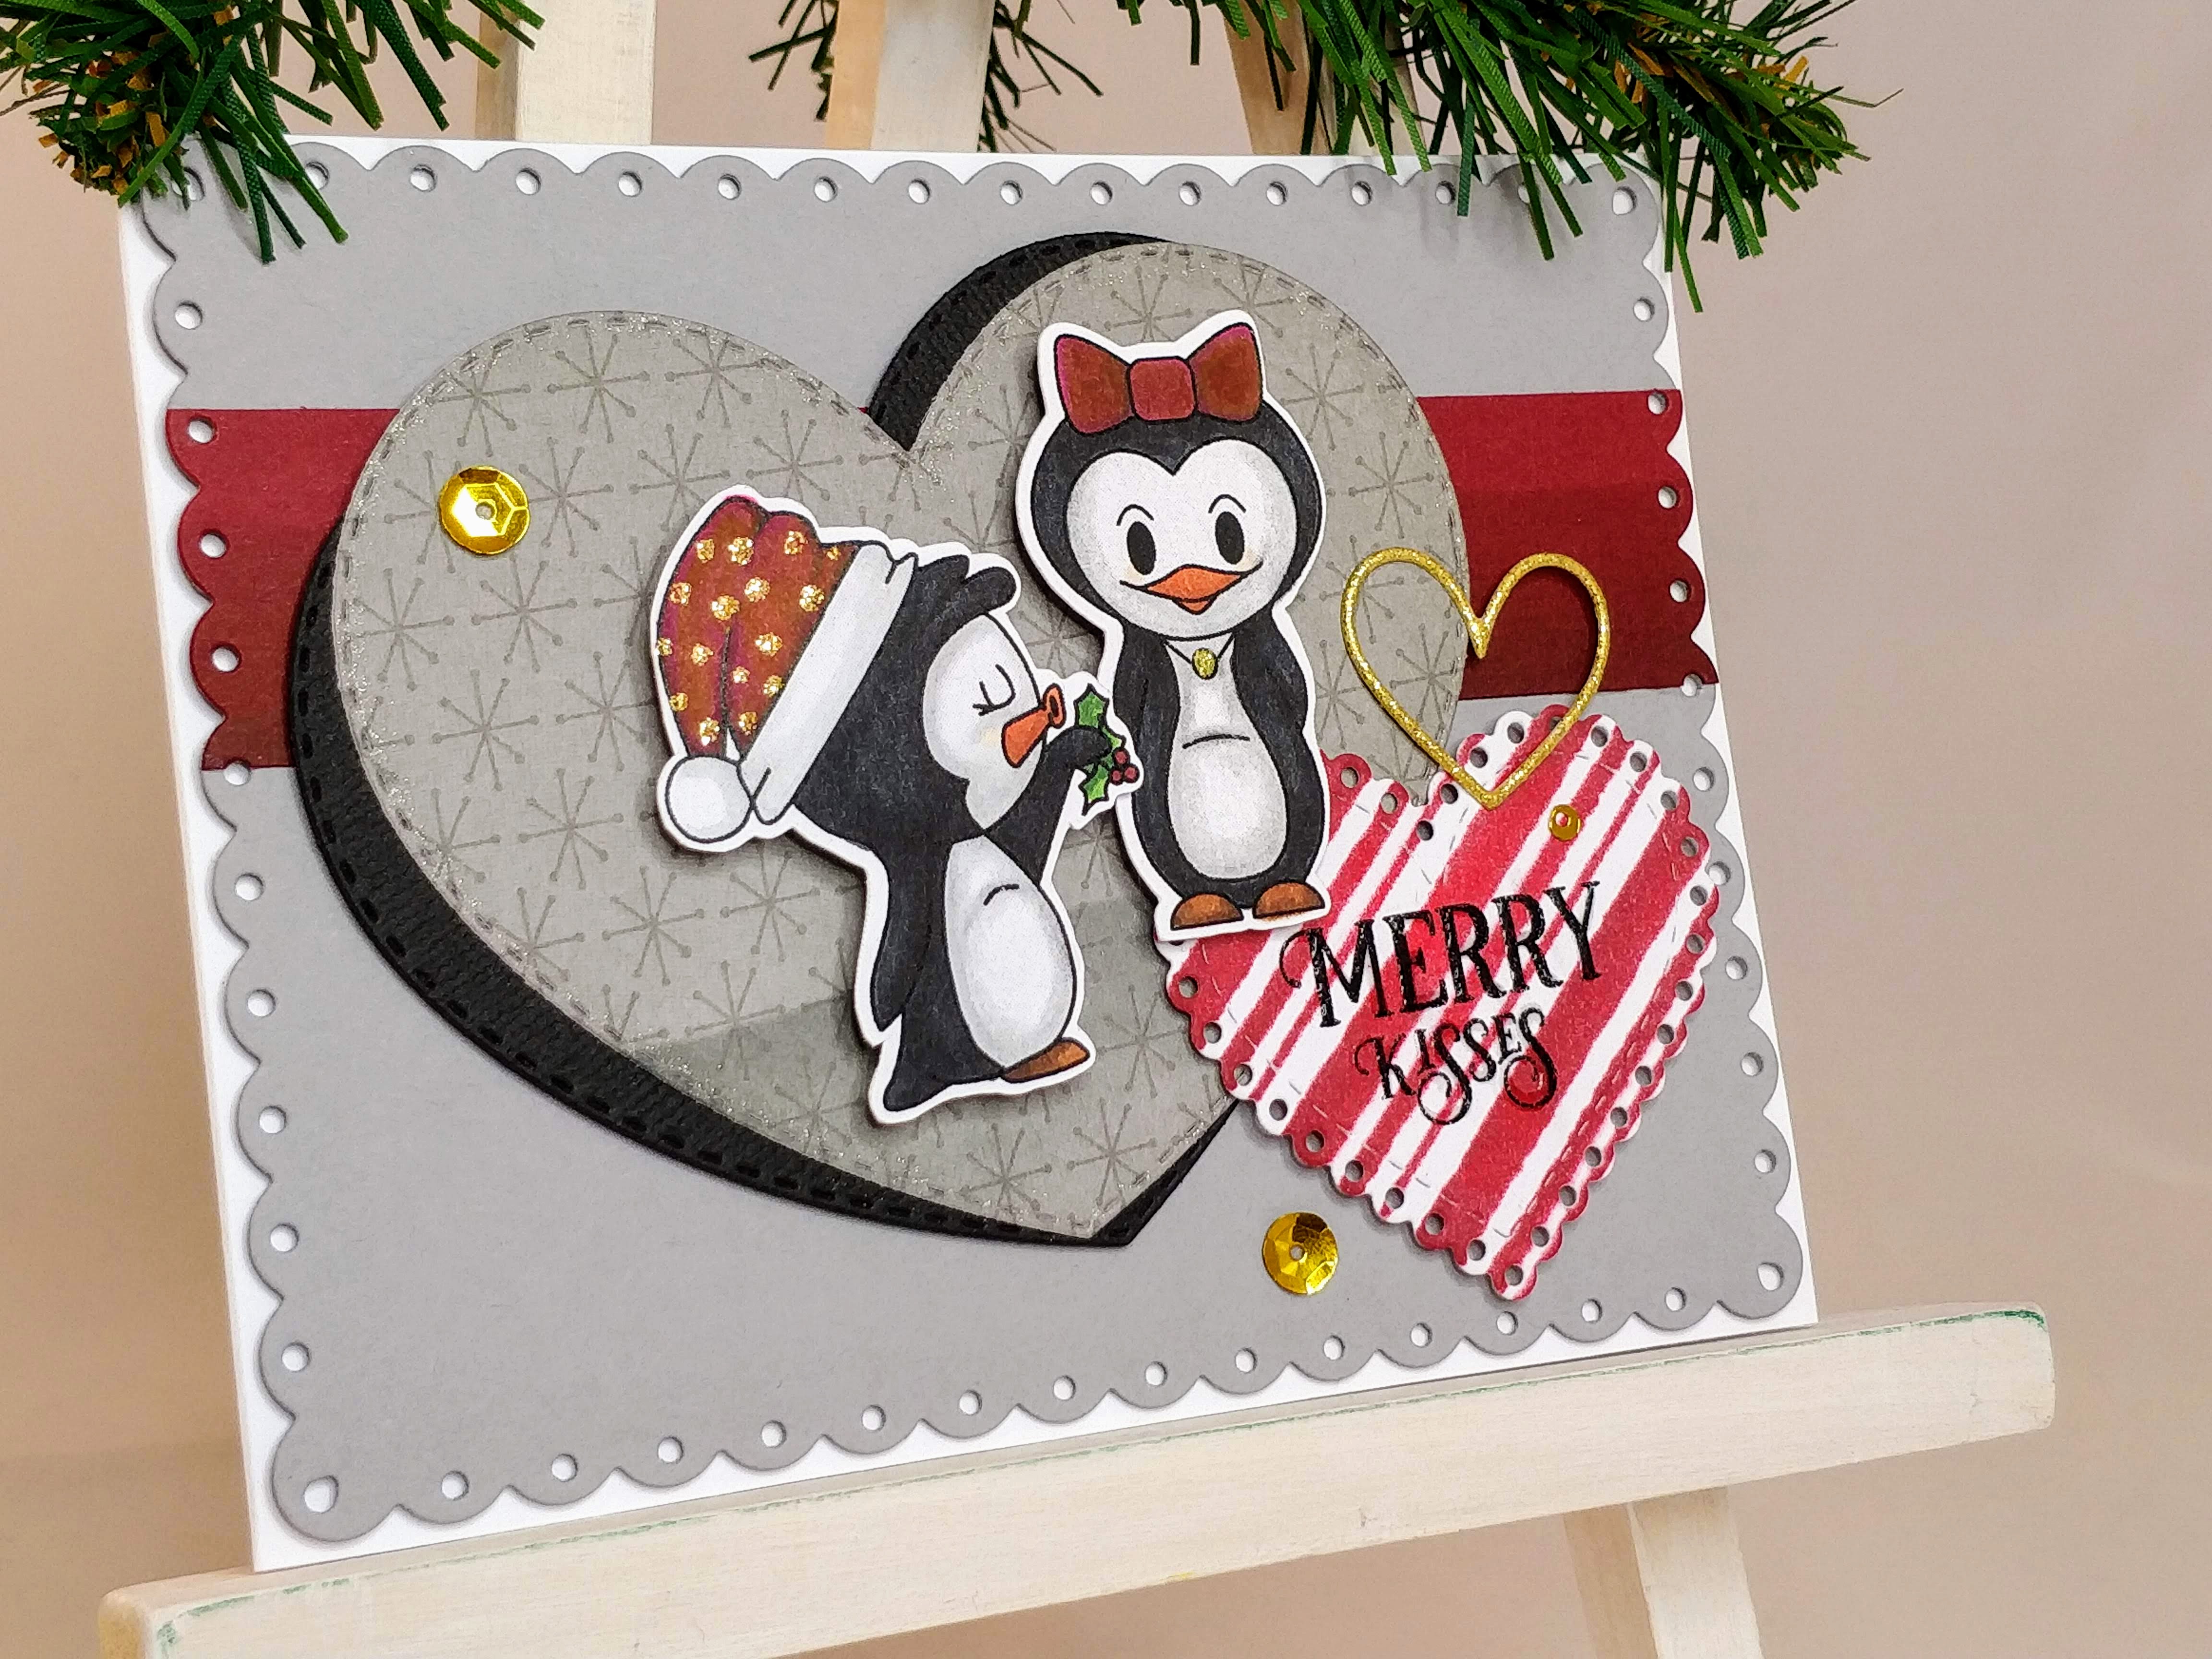
Merry kisses my crafty friend! Today I’m showing off another Christmas card made using the adorable Merry Kisses digi-stamps from Heartcraft Paper. I just love these cutie pies! And I’ll show you a cool technique to make computer printed sentiments stand out and feel like they are hand stamped.
For this card, I sized my digi-stamp penguins to be about 2″ tall so they’d fill up a lot of the space on my card front. I also sized my sentiment to fit on a 2″ scalloped heart shaped die, then I printed them on cardstock. I colored the penguins with alcohol markers and cut them out with my ScanNCut.

I like to die cut all of my pieces before I get too far with a card; it makes assembly faster. I used my Big Shot to cut out a grey scalloped rectangle, a smaller strip of red with the same scalloped rectangle (so the edges would match up), two large stitched hearts (one from grey pattern paper and one from black), and a gold heart outline. I also centered the scalloped heart die over my sentiment and cut it out too.

To dress up the sentiment, I used a VersaMarker pen to trace and then heat embossed it with clear embossing powder to give the text a raised, shiny feel. This technique can be used to accentuate any computer printed sentiment or digi-stamp and help it stand out more. I wanted a little color on my sentiment so I stenciled on two shades of red Distress Oxide ink to match the reds on my penguins.
Before assembling my card, I used the darker shades of red alcohol markers that I colored my penguins with, to shade the bottom of the red strip of cardstock. I lightly sponged black soot Distress Oxide ink over a hillside stencil at the bottom of the grey pattern paper heart to create a ground for my penguins, then I outlined the heart with clear Wink of Stella. I also used my VersaMarker again to add gold sparkle embossing powder on the diecut heart outline, the penguin’s necklace and polka dots on the other penguin’s hat. Then I used glue and foam tape to adhere everything to a white A2 card base. I finished it off with a few gold sequins. Pretty cute, right?

What do you think of my little trick for the sentiment? Slick, I know 😉 And if you want a sentiment strip with white text, you can still do the same thing. You just fill the text box with the background color you want and make the text white before printing. Then trace and emboss with clear. Ta-da! (Note: the VersaMarker bullet point is pretty thick. You might have more control with a Quickie Glue Pen; just make sure the glue is dry before heat embossing or it might bubble.)
Want to see more projects featuring these cute digi-stamps from Heartcraft Paper? Check out Cheerful Christmas Penguins and Misty the Spinning Penguin!
