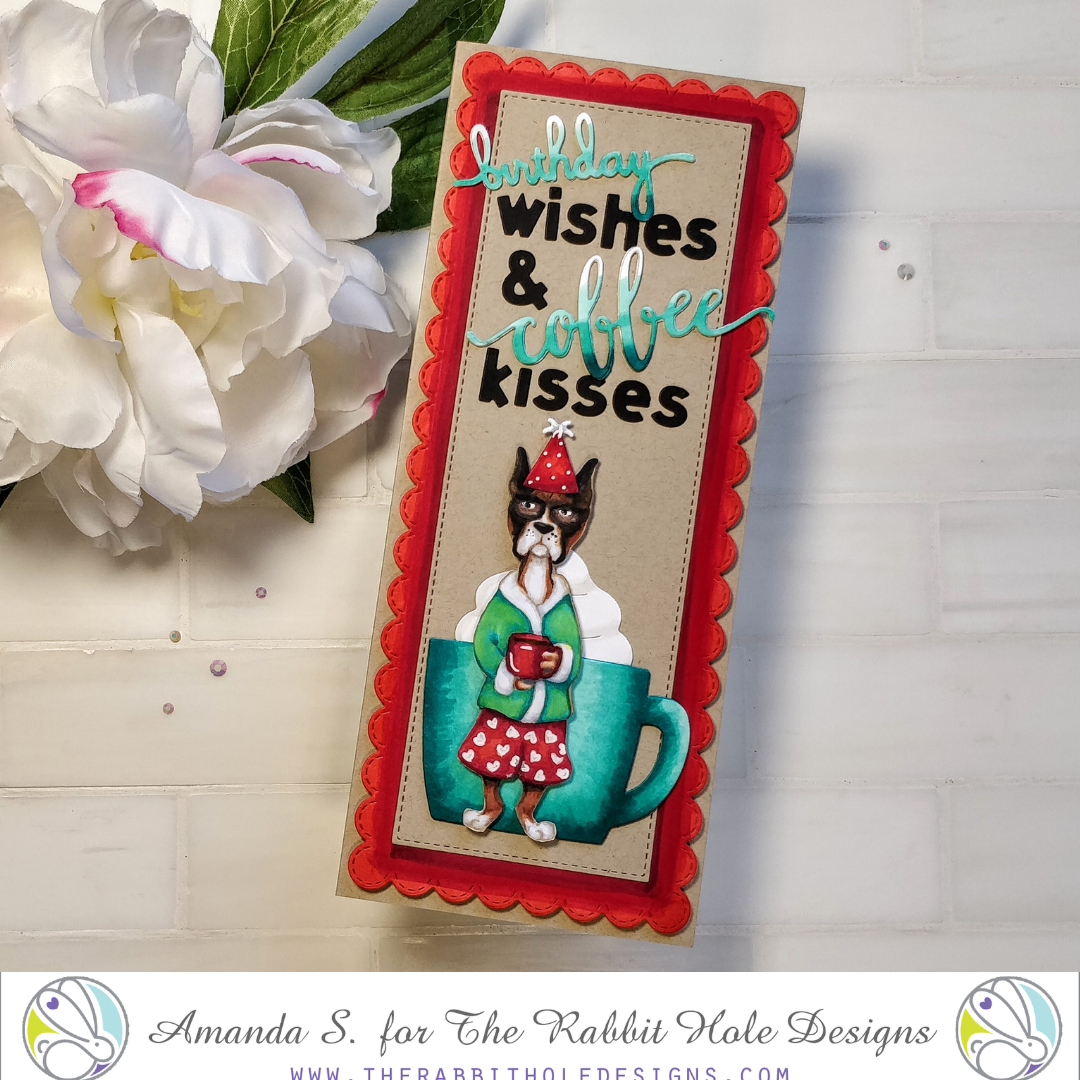
Hello my crafty friend! As the year comes to a close, I’m wrapping things up with a fun birthday card. I made this slimline card for my coffee-loving nephew. It’s hard to believe he’s 23 now; seems like just yesterday he was a little boy. He still has the same cute smile though.
Originally, I was going to hide the Caffeinated Boxer behind the coffee mug, and reveal him with a pull-tab, but since I stacked the cursive words in the sentiment, I was afraid he’d get caught as he pulled up. I actually think I like it better this way though. You get to see all of the dog, instead of only the top half.
To begin, I stamped the Caffeinated Boxer with Warm Glow ink and Copic colored him for a no-line look. I used my ScanN’Cut to fussy cut him, leaving no border. I shopped my stash for the dies to create the sentiment and other layers of the card. (They’re all listed below.)
One of my favorite tricks is die cutting shapes from white cardstock and coloring them myself. You can start with light colored cardstock and use your markers to add shading too (this saves you a little time and ink), but I often cut from white. This way I can really control the highlight color, and I don’t have to dig for the right colors of cardstock.
Once I Copic colored my die cut mug, whipped cream, party hat, cursive sentiments, and scalloped border pieces, I started assembling the card. In addition, I die cut the rest of my sentiment from black cardstock, and the card base and top layer from kraft stock. (See links below.)
For extra dimension, the mug is stacked four layers high, with the whipped cream sandwiched in between. The cursive words are stacked three layers high. I popped the boxer up with foam tape, and there is another layer of foam between the kraft and scalloped panels too. I didn’t add any glitter or gems because I didn’t want the card to feel too feminine. I was already pushing things with the scallops; remember, this card was for my nephew.
He loves the card, and I do too. I hope I’ve inspired you to give it a try. Of course, you can substitute any of the Caffeinated Critters for the focal point of your card, but I thought my nephew would really like the boxer. Which is your favorite?
In case you need them, here is a list of the supplies I used…
[row]
[column size=”1/2″ stack=”sm”]
Caffeinated Boxer
Coffee Mug Die
Whipped Cream & Party Hat Dies
Birthday Word Die
Coffee Word Die
Carly Alphabet Dies
[/column]
[column size=”1/2″ stack=”sm”]
Stitched Slimline Dies
Scalloped Slimline Dies
Warm Glow Ink
Copic Markers
ScanN’Cut
[/column]
[/row]
Thanks for stopping by today. I’ll be back on the first with a set of pretty cards I can’t wait to show you! Until then, happy holidays, and I wish you a safe and healthy new year. (Just think, this time next week, we can say hindsight is 2020!)
This site uses affiliate links whenever possible (at no additional cost to you), but only for products I actually use and love.


Hi young lady and Merry Christmas! Love the card…but hope you’ll also show us how to do the one you thought initially you’d do (hidden critter). Everytime I see a caffeinated animal it gives me a smile…never fails! THIS YEAR I am going to use every one of my collection! 🙂