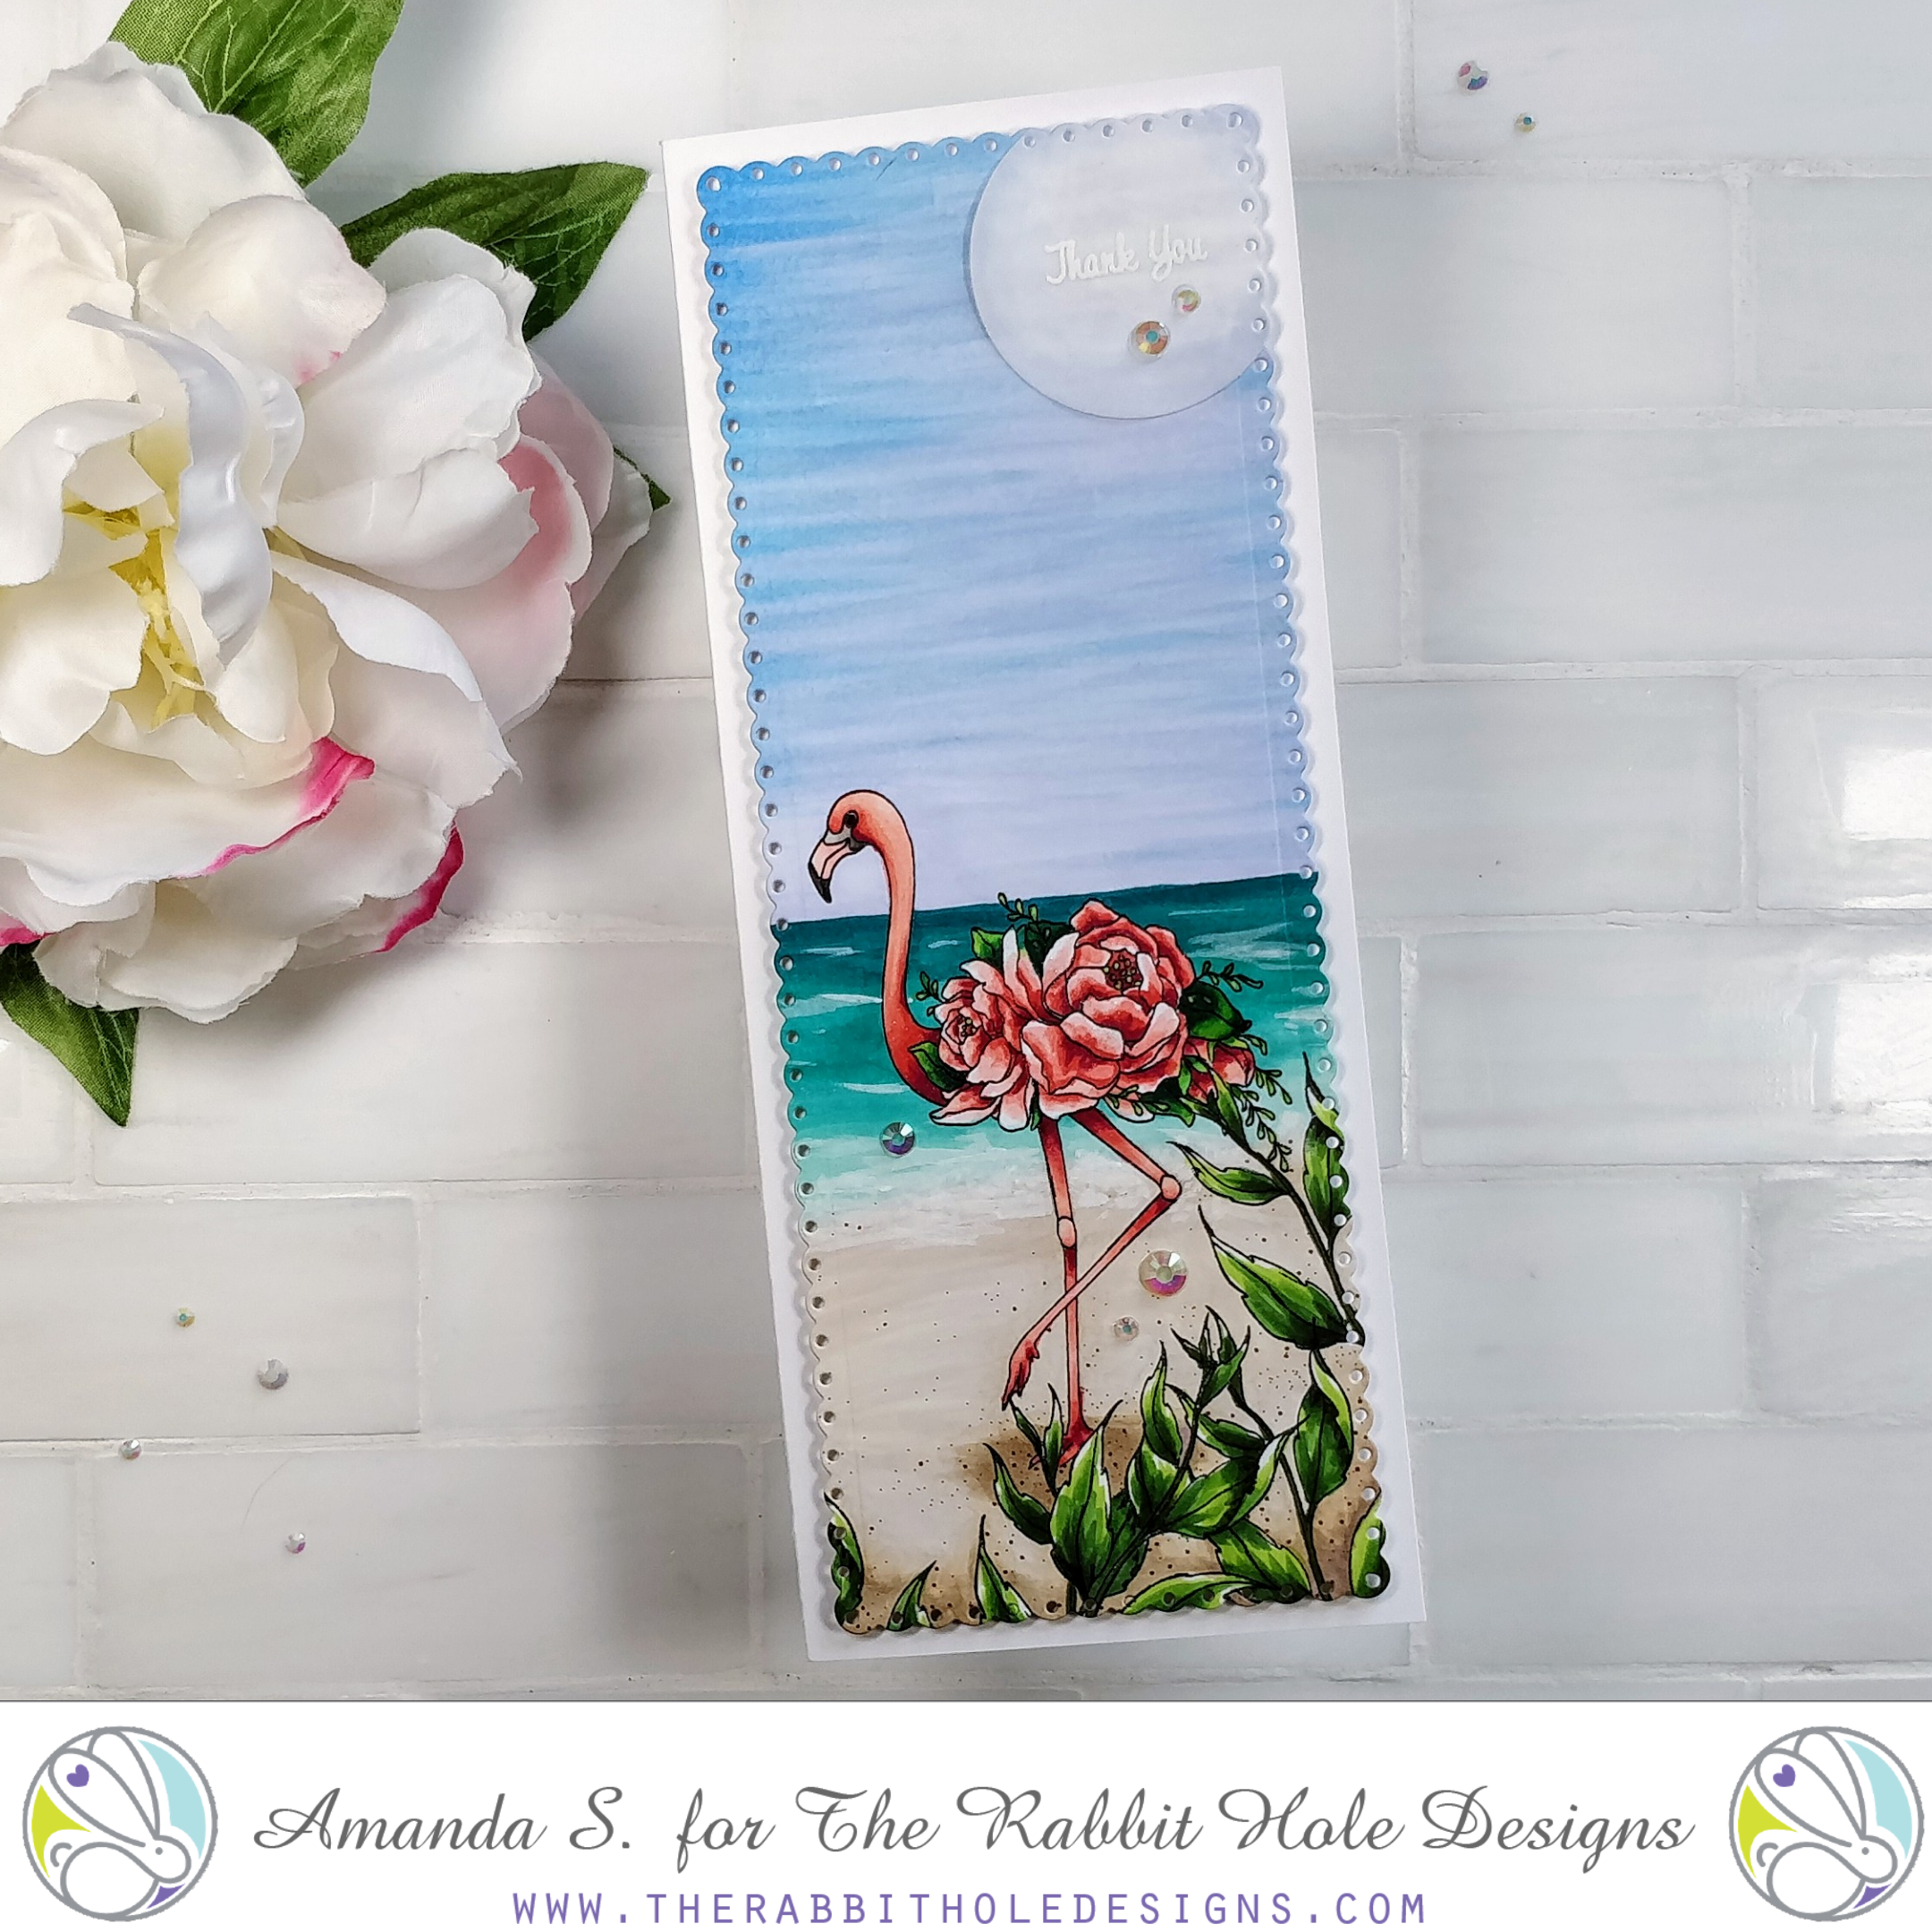
Hey crafty friend! Today, I’m sharing this lovely botanical beach scene card. It’s tall, slimline size is perfect for the new Flamingo Botanical stamp set from The Rabbit Hole Designs. Have you seen the set yet? I really love it! I stamped a few leaves and a sentiment from the Pretty in Peony set to round out the scene. Below you’ll find step-by-step photos for each segment as I colored it, and the Copic Markers I used. Don’t be afraid to swap out colors; just try to find markers with the same range of dark to light, and leave some white highlights here and there.
To start, draw a straight line for the horizon, then start coloring in the sky. Leave a spot for the sun (I used my colorless blender to bleach it out a little more). Next, rough in the sand, adding shadows under the flamingo, and around the leaves in the foreground. Fill the gap with ocean colors. Notice the sky and water both have the darker colors at the top, and gradually get lighter as they move down.
Sky: B24, B12, B21, B60, 0
Sand: E43, E41, E40
Ocean: BG09, BG49, BG15, BG13, BG11, BG10

Next, I began to color the flamingo. I started with the leaves, then added the pinks for the flowers and body. I colored the leaves in the foreground with different greens. Don’t forget to color the dark areas of the beak and eye, like I almost did.
Flamingo Leaves: G29, G07, YG06, YG03
Flamingo Flowers and Body: R39, R24, R22, R20, R30
Flamingo Beak and Eye: 100, W7, W3, W1
Foreground Leaves: G99, YG67, YG17, YG03

To finish the scene, I added brown dots to the sand with Sepia Multiliners. A coat of shimmer pen all over the flamingo gives her a touch of sparkle. And look at what a difference the white gel pen highlights make in the water! I drew small lines and smudged them with my finger to feather the edges. I brought the lines down into the sand as well. It really adds a lot of movement to the scene.
Details: Sepia Multiliners 0.5, 0.05, Shimmer Pen, White Gel Pen

To pull the card together, I trimmed the panel down with a scalloped rectangle die. (My die isn’t designed for slimline cards, so I cut the bottom portion, then moved my die, and cut the top portion to get the right size.) I mounted it to a white card base with foam tape, and added an embossed sentiment on a vellum circle. I cut the top corner of the circle with the same scalloped rectangle die to get it to match up perfectly. A good trick for adhering vellum is to put a dab of wet glue on the opposite surface you are gluing it to, and dabbing off as much as possible with your finger, before sticking the vellum down. The glue almost never shows through that way. A few iridescent gems add a little more sparkle to the finished card.

If I made this card over again, I’d work a little harder on the sky. I’d make it less wispy and blend the colors more. I might also mask off the sun and omit the vellum, but other than that, I really like this card. I think I even like it better than the watercolor flamingo I shared a few weeks ago. Which do you prefer? I’d love to know what you think!
Thanks for stopping by today. I hope I’ve inspired you to give this scene a try! Remember, you don’t need to draw anything other than the straight horizon line, and the curved sand/surf line. If you give it a go, please post it and tag me so I can see! I’ll be back soon with another fun card to share. And this weekend, I have a special collab hop planned, so make sure to mark your calendar and join us!
This site uses affiliate links whenever possible (at no additional cost to you), but only for products that I actually use and love.

Amanda, your card is absolutely beautiful! Thank you for sharing.