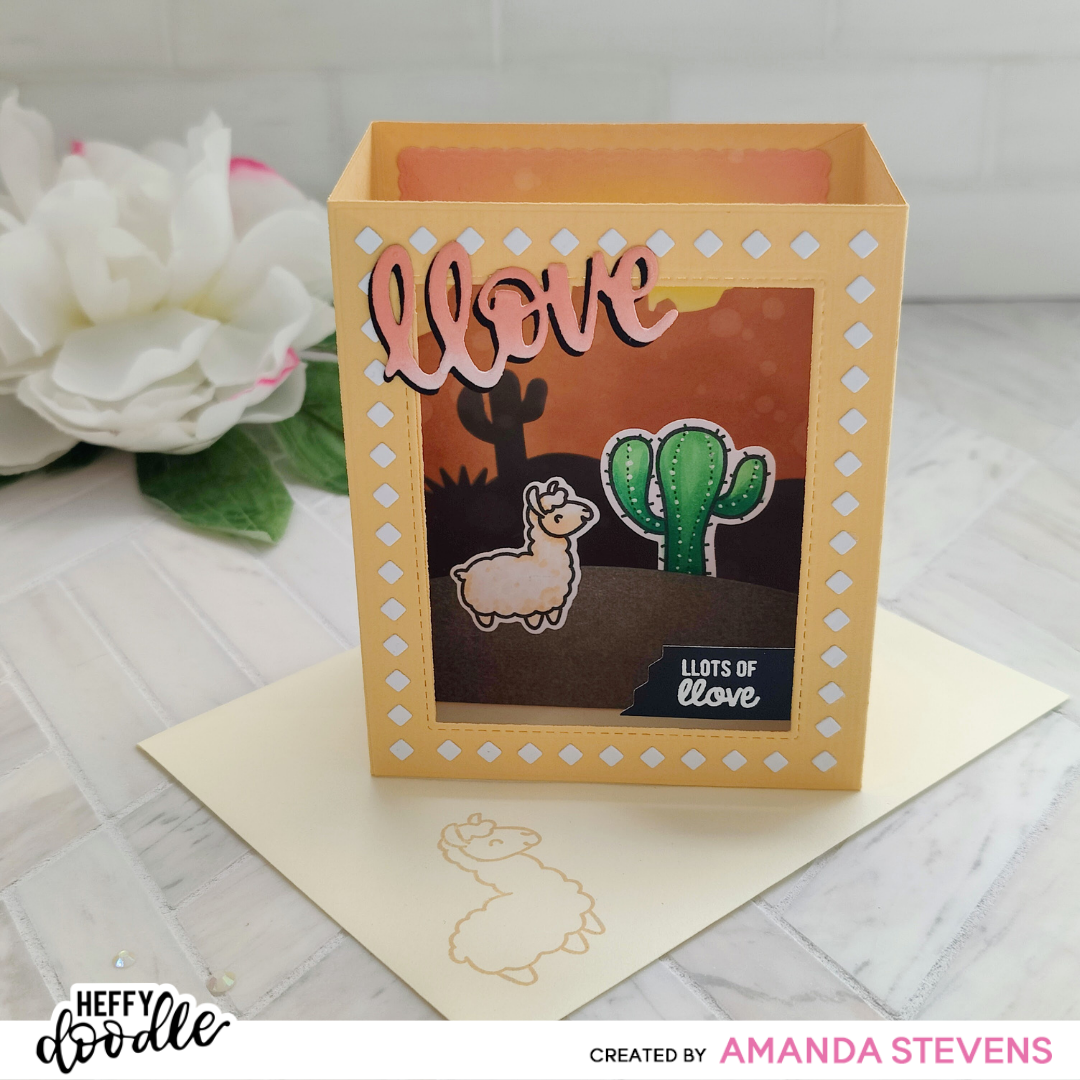
Hello, hello again my crafty friend! Today, I have a fun new box card to share and it’s filled with llots of llove (and a llama)! Take a look at how cute it is…
I love the desert scene that the stenciled background creates; the diamonds around the front of the card add southwest flair, but still allow it to feel masculine. Before I walk you through the process, grab these Heffy Doodle supplies so you can make one too…
SUPPLY LIST
Shadow Box Die Set
Llamazing Llamas Stamp Set
Llamazing Llamas Coordinating Die Set
Arizona Stencil
Love Die
Lovely Little Borders Die Set
More Strips of Ease Die Set
Heffy Doodle’s Shadow Box die set creates a fun size box card that’s pretty deep, so you have plenty of room for lots of layers. I decided to only add one center layer so my desert scene wouldn’t feel too busy. For the center layer, I stamped a llama and saguaro cactus. Then, I colored them with Copic markers and cut them out with the coordinating dies. You can see the colors I used below. To help give the llama a fluffy look, I stippled the colors and didn’t try to blend them on his coat. White gel pen dots on the cactus add a prickly look.
[row]
[column size=”1/2″ stack=”sm”] [/column]
[column size=”1/2″ stack=”sm”] [/column]
[/row]
COLORING CHART
Llama – R30, E21, E51, E50, E000
Saguaro – G19, G05, G14
Highlights – White Gel Pen
To create the background for the scene, I used the Arizona stencil and Distress Oxide pads. First, I blended sunset colors near the top of my panel. Then, I tucked the panel into the center slot of my stencil so the sky was masked off above the mountains. I blended rusty brown colors all the way down the panel. For the sand and cactus at the bottom, I repositioned the stencil and blended on black ink, right over the brown. A spritz of water all over the panel, before cutting it out with the scalloped die included in the box card set gave it an old postcard look.

While I had my ink blending supplies out, I blended black ink onto the center layer for the box, and the sunset colors onto the die cut word LOVE. Notice that I cut a second set of Ls so I could turn LOVE into LLOVE. You can see all of the pieces I cut out, along with the stamped envelope below…

When assembling the box card, I made sure to overlap the two large box pieces before gluing on the stenciled background. It was also easier to glue the llama and cactus to the center layer before I glued it into the box.
[row]
[column size=”1/2″ stack=”sm”] [/column]
[column size=”1/2″ stack=”sm”] [/column]
[/row]
To decorate the front frame of the card, I offset the ink blended word LOVE from the black layer, adding in the extra L. After heat embossing my subsentiment, I cut it out with a strip die, then cut the edge off at an angle with a zigzag border in the same set. Using another border die, I cut out white diamonds and glued them around the frame. It was easy to line them up and space them out evenly by using the negative cut as a guide.
[row]
[column size=”1/2″ stack=”sm”] [/column]
[column size=”1/2″ stack=”sm”] [/column]
[/row]
To finish the back of the card, I stamped a beige cactus onto a cream scalloped panel and glued it down. The light, tone-on-tone look gives me the ability to write my personal message on top of the image if I need the extra space. Since I try to never send cards in “naked” envelopes, I stamped a beige llama onto a coordinating cream A2 envelope. Here’s another look at the finished card.
[row]
[column size=”1/2″ stack=”sm”] [/column]
[column size=”1/2″ stack=”sm”] [/column]
[/row]
To keep things feeling masculine, I skipped the shimmer spray and gems. I’d love to know what you think! Let me know below.
Thanks so much for stopping by today. I’ll be back later this week with lots more cards to share! See you soon.
This site uses affiliate links whenever possible (at no additional cost to you), but only for products I actually use and love.
