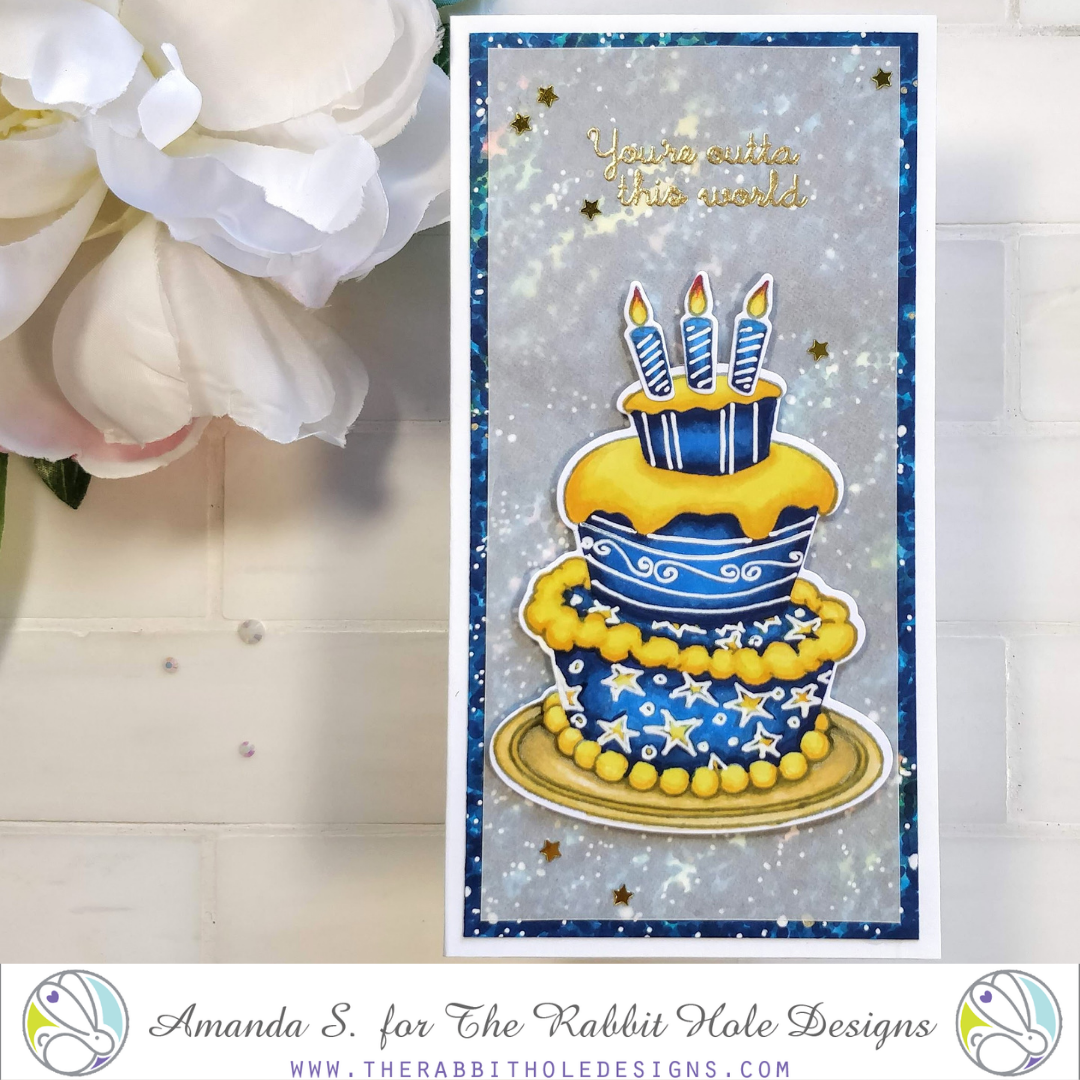
Need an “out of this world” birthday card? I’ve got you covered! Today’s card features a Copic colored galaxy background; the best part – no splatter mess!
First, let’s start with the star of the show, the cake! Have you seen the Just Cake stamp set from The Rabbit Hole Designs yet? It’s really cute! (And it has stars all over the bottom layer, so it inspired the galaxy background for the rest of the card.)
Knowing that I wanted to color it in shades of blue, I stamped the cake with London Fog ink. It’s a Copic friendly grey, that works well for no-line coloring. (I prefer to stamp with Warm Glow ink for living things, and warm tones. London Fog is perfect for coloring cool tones and inanimate objects.) You can see the Copic markers I colored the cake with below.
Once I was happy with the colors, I came back and outlined some of the details with a white gel pen. (Sneak peek of a new product coming soon!)
Using the coordinating dies, I cut out the cake and candles. I glued the candles on top and set it aside while I worked on the background.
Just like all galaxy backgrounds, this one started out a mess. I scribbled pale shades of pink, yellow, and blue onto a white cardstock panel. Next, I stippled dots of mid-tone colors all over, making sure not to completely cover the pale colors. Then I added more dots with my darkest markers. You can see the progress below. Notice that even after my darkest colors are down, the background still doesn’t look like a galaxy. To pull it together, I added lots of dots with a white gel pen, and then a few gold dots for shimmer. Every galaxy needs stars, right?
[one_half]
[/one_half]
[one_half last]
[/one_half]
Originally, I thought I’d pop the cake up right on top of the galaxy, but the background was so busy, the cake was almost lost. No problem, a little vellum fixes everything. I embossed the sentiment in gold powder, then glued the vellum panel to the galaxy, leaving a border visible. To keep the glue from showing through the vellum, I strategically applied it behind the sentiment and where the cake would sit. I also dabbed a small dot of glue at each corner of the galaxy background, and smeared most of it away. The vellum sticks to it and the glue is virtually invisible.
To complete the card, I glued the galaxy to a mini-slimline card base, again leaving a border, and popped the cake up on top with foam tape. A few gold star confetti pieces add extra sparkle. Isn’t it fun? This card fits into a #7 coin envelope.
Want to see another card using the Just Cake stamp set? Check out this article! Let me know if you spot the difference in the no-line coloring.
Thanks so much for stopping by today! I hope I’ve inspired you to give this a try. Tag me on social media if you do. I’d love to cheer you on!
I’ll be back soon with another fun card to share.
This site uses affiliate links whenever possible (at no additional cost to you), but only for products I actually use and love.


WOW Amanda the Copic coloring is as spectacular as the background! What a cool card!!
Love your card, Amanda. Never thought to use Copics that way. And thanks for the step by step instructions.
Funtastic card. The shading of the
“pearls” gives them so much depth.
Vellum does a great job taming the
vibrant background. thanks for
sharing. txmlhl(at)yahoo(dot)com