Hello crafty friends! I hope you’re still hopping along with the Coffee Loving Cardmakers’ Spring/Summer Coffee Lovers Blog Hop! I’m back with another fun card featuring the Caffeinated Shark from The Rabbit Hole Designs. This time instead of making a coffee card, I created a tea themed card. I made this card for my sister, and although she loves coffee, she has been on a tea kick lately so I thought she’d like this more.

This card was really easy to create with the help of a pre-made card base and a few dies. I started by splattering some watered down Forest Moss Distress Oxide ink onto the 5½” kraft card base and set it aside to dry. Next, I used a set of nesting circle dies and cut a 4½” white circle for the saucer, and a 3¼ white circle for the bottom layer of the mug. I nested together the 3¼” and 3″ circle dies and cut three frames to create the rim of the mug. I also die cut a small tag shape to look like the top of the handle.

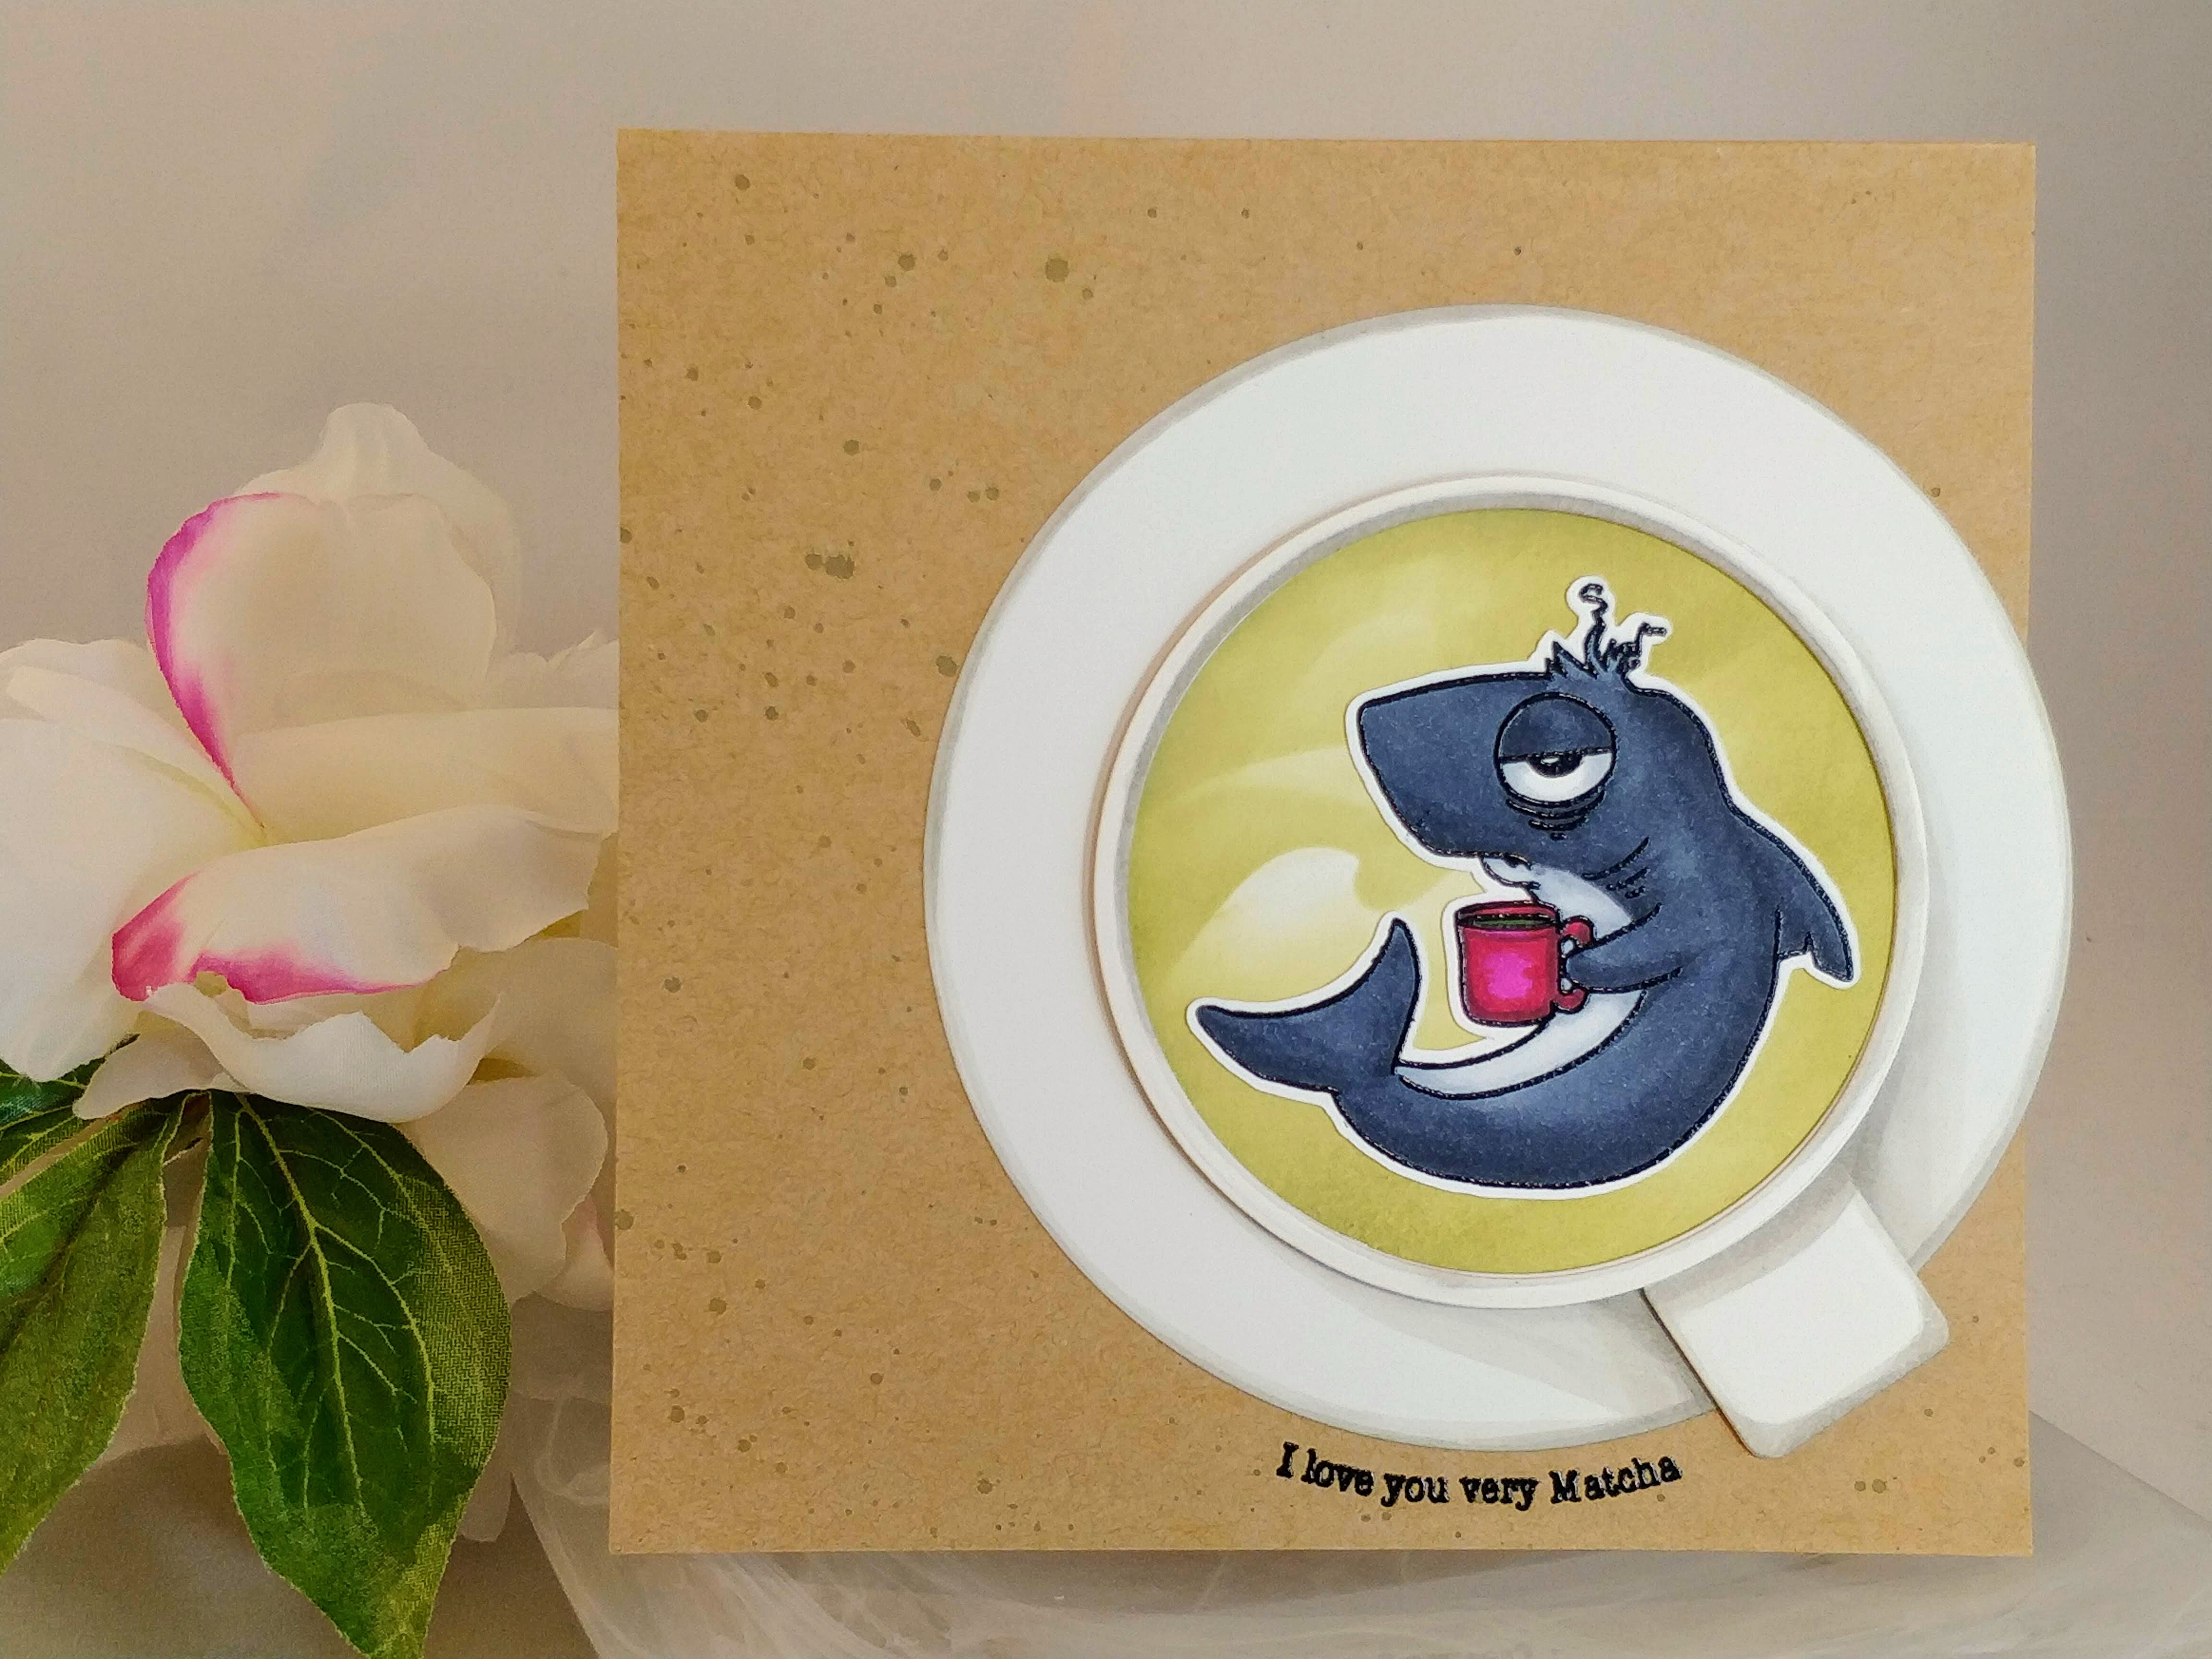
Before gluing the mug layers together, I ink blended some Forest Moss and Old Paper Distress Oxide waves onto the bottom layer of the mug to look like an ocean of Matcha (green tea). I didn’t have a wave stencil, but I did have a set of wave border dies, so I created my own stencil by cutting the borders out of a scrap of cardstock. Then, I used warm grey Copic markers to add some shading to the white cup and saucer layers. To assemble the mug, I glued the tag under the Matcha layer and then popped them up onto the saucer with thin fun foam. I glued the three rim layers on top of the Matcha, making sure the shaded piece was on top.
Next, I stamped and embossed the Caffeinated Shark. I colored him with Copic markers and then cut him out with my ScanNCut. I left a narrow white border so I wouldn’t loose the little squiggles of his hair. Then I glued him on top of the Matcha layer of the mug.
To finish up the card, I lined the mug up on top of the card base to figure out the placement for my sentiment. I used my Misti to pick up the sentiment and curved it around the saucer. Then, I stamped and embossed the sentiment onto the card base. Isn’t it sweet? It’s from the new Perfectly Blended set. After the sentiment was done, I just glued the saucer in place. I love the subtle texture and shine the embossing gives this card.

If you enjoyed today’s card and are looking for more caffeinated inspiration, you might like this post. And be sure to head over to the sister post for this card on The Rabbit Hole Designs’ blog and comment for your chance to win a prize! Thanks for hopping by…
This site uses affiliate links whenever possible, but only for products I actually use and love.
