
Have you played with the new Stand Ups die set from i-crafter yet? The mechanism creates a really neat pop-up feature inside your cards! (Please don’t let the word “mechanism” scare you, it’s just one little piece of paper with two flaps to glue down. I promise, it’s super simple to use.) Let me show you how cool it is, then I’ll show you how easy it is to assemble…
Adorable, right? And the little pop-up pups inside are just too cute with their balloons. I wanted to make these more masculine, so I added black and white layered frames on the front, and I used black pearls for accents, rather than glittery gems. There is still a rainbow of colorful balloons, but the overall tone is not feminine.
Side note… Guy cards can be tricky, so I really appreciate that most of i-crafter’s stamps and dies are clean and modern, without being too cutesy. Add in the variety of interactive card bases, and all of the mix and match possibilities, and it’s no wonder i-crafter is my go-to brand for masculine cards, right?
Alright, I promised I’d show you how easy it is to assemble the pop-ups in today’s cards, so grab these supplies and meet me in the craft room…
SUPPLY LIST
Stand Up Insert Base Die Set
Puppy Love Die Set
Happy Birthday Wiper Die Set
Stand Up Window Add-on Die Set
Purrfect Birthday Stamp Set
PRO Mending Deck
i-Press Burnishing Tool
i-Grip Locking Tweezers
New Year’s Eve Pearl Mix
For these cards, the first thing I did was to die cut my decorative pieces from white cardstock and color them with Copic markers. I love the look, with all of the highlights and shadows you can add when you color them yourself, but if you prefer, you can cut your elements from colored cardstock instead. I also cut additional dogs and balloons from black cardstock to layer behind the colored ones. This will make them stiffer on the pop-up mechanism, and cleaner looking from the back. (You could cut the additional layers from the same color as your card base if you prefer, but I wanted to reinforce the black borders.) Here’s a look at the markers I used and how I colored everything…
[row]
[column size=”1/2″ stack=”sm”] [/column]
[column size=”1/2″ stack=”sm”] [/column]
[/row]
With my decorative elements ready to go, I picked the colors for my card bases and mat layers. To emphasize the warm tones of the dogs and allow the white space to pop, I chose cream card bases and cut matching mechanisms. I added black and white layers under the blue mats on the front of my mini-slimline cards to mimic the black and white borders of the dogs and sentiments. Since the mechanisms were wider than the dogs, I trimmed them down so they wouldn’t extend beyond the right side of the dogs. I clipped the bottom tabs at an angle for a cleaner finished result. (You can see the cut offs in the photo below.)
[row]
[column size=”1/2″ stack=”sm”] [/column]
[column size=”1/2″ stack=”sm”] [/column]
[/row]
To assemble the mechanism, fold all of the score lines away from you. It’s helpful to use a burnisher to make the folds nice and crisp. Lay the mechanism in the center of your card with the triangle at the top, and the crease of the long flap lined up along the center fold of the card (refer to the photos below for help). Pull the top triangle toward you, add glue just to that section, then push it back onto the card to adhere it in place. Next, fold the bottom section up at an angle and add glue to the narrow flap. Close the card to attach it in the proper place. When you open your card, the mechanism pops up!
[row]
[column size=”1/2″ stack=”sm”] [/column]
[column size=”1/2″ stack=”sm”] [/column]
[/row]
[row]
[column size=”1/2″ stack=”sm”] [/column]
[column size=”1/2″ stack=”sm”]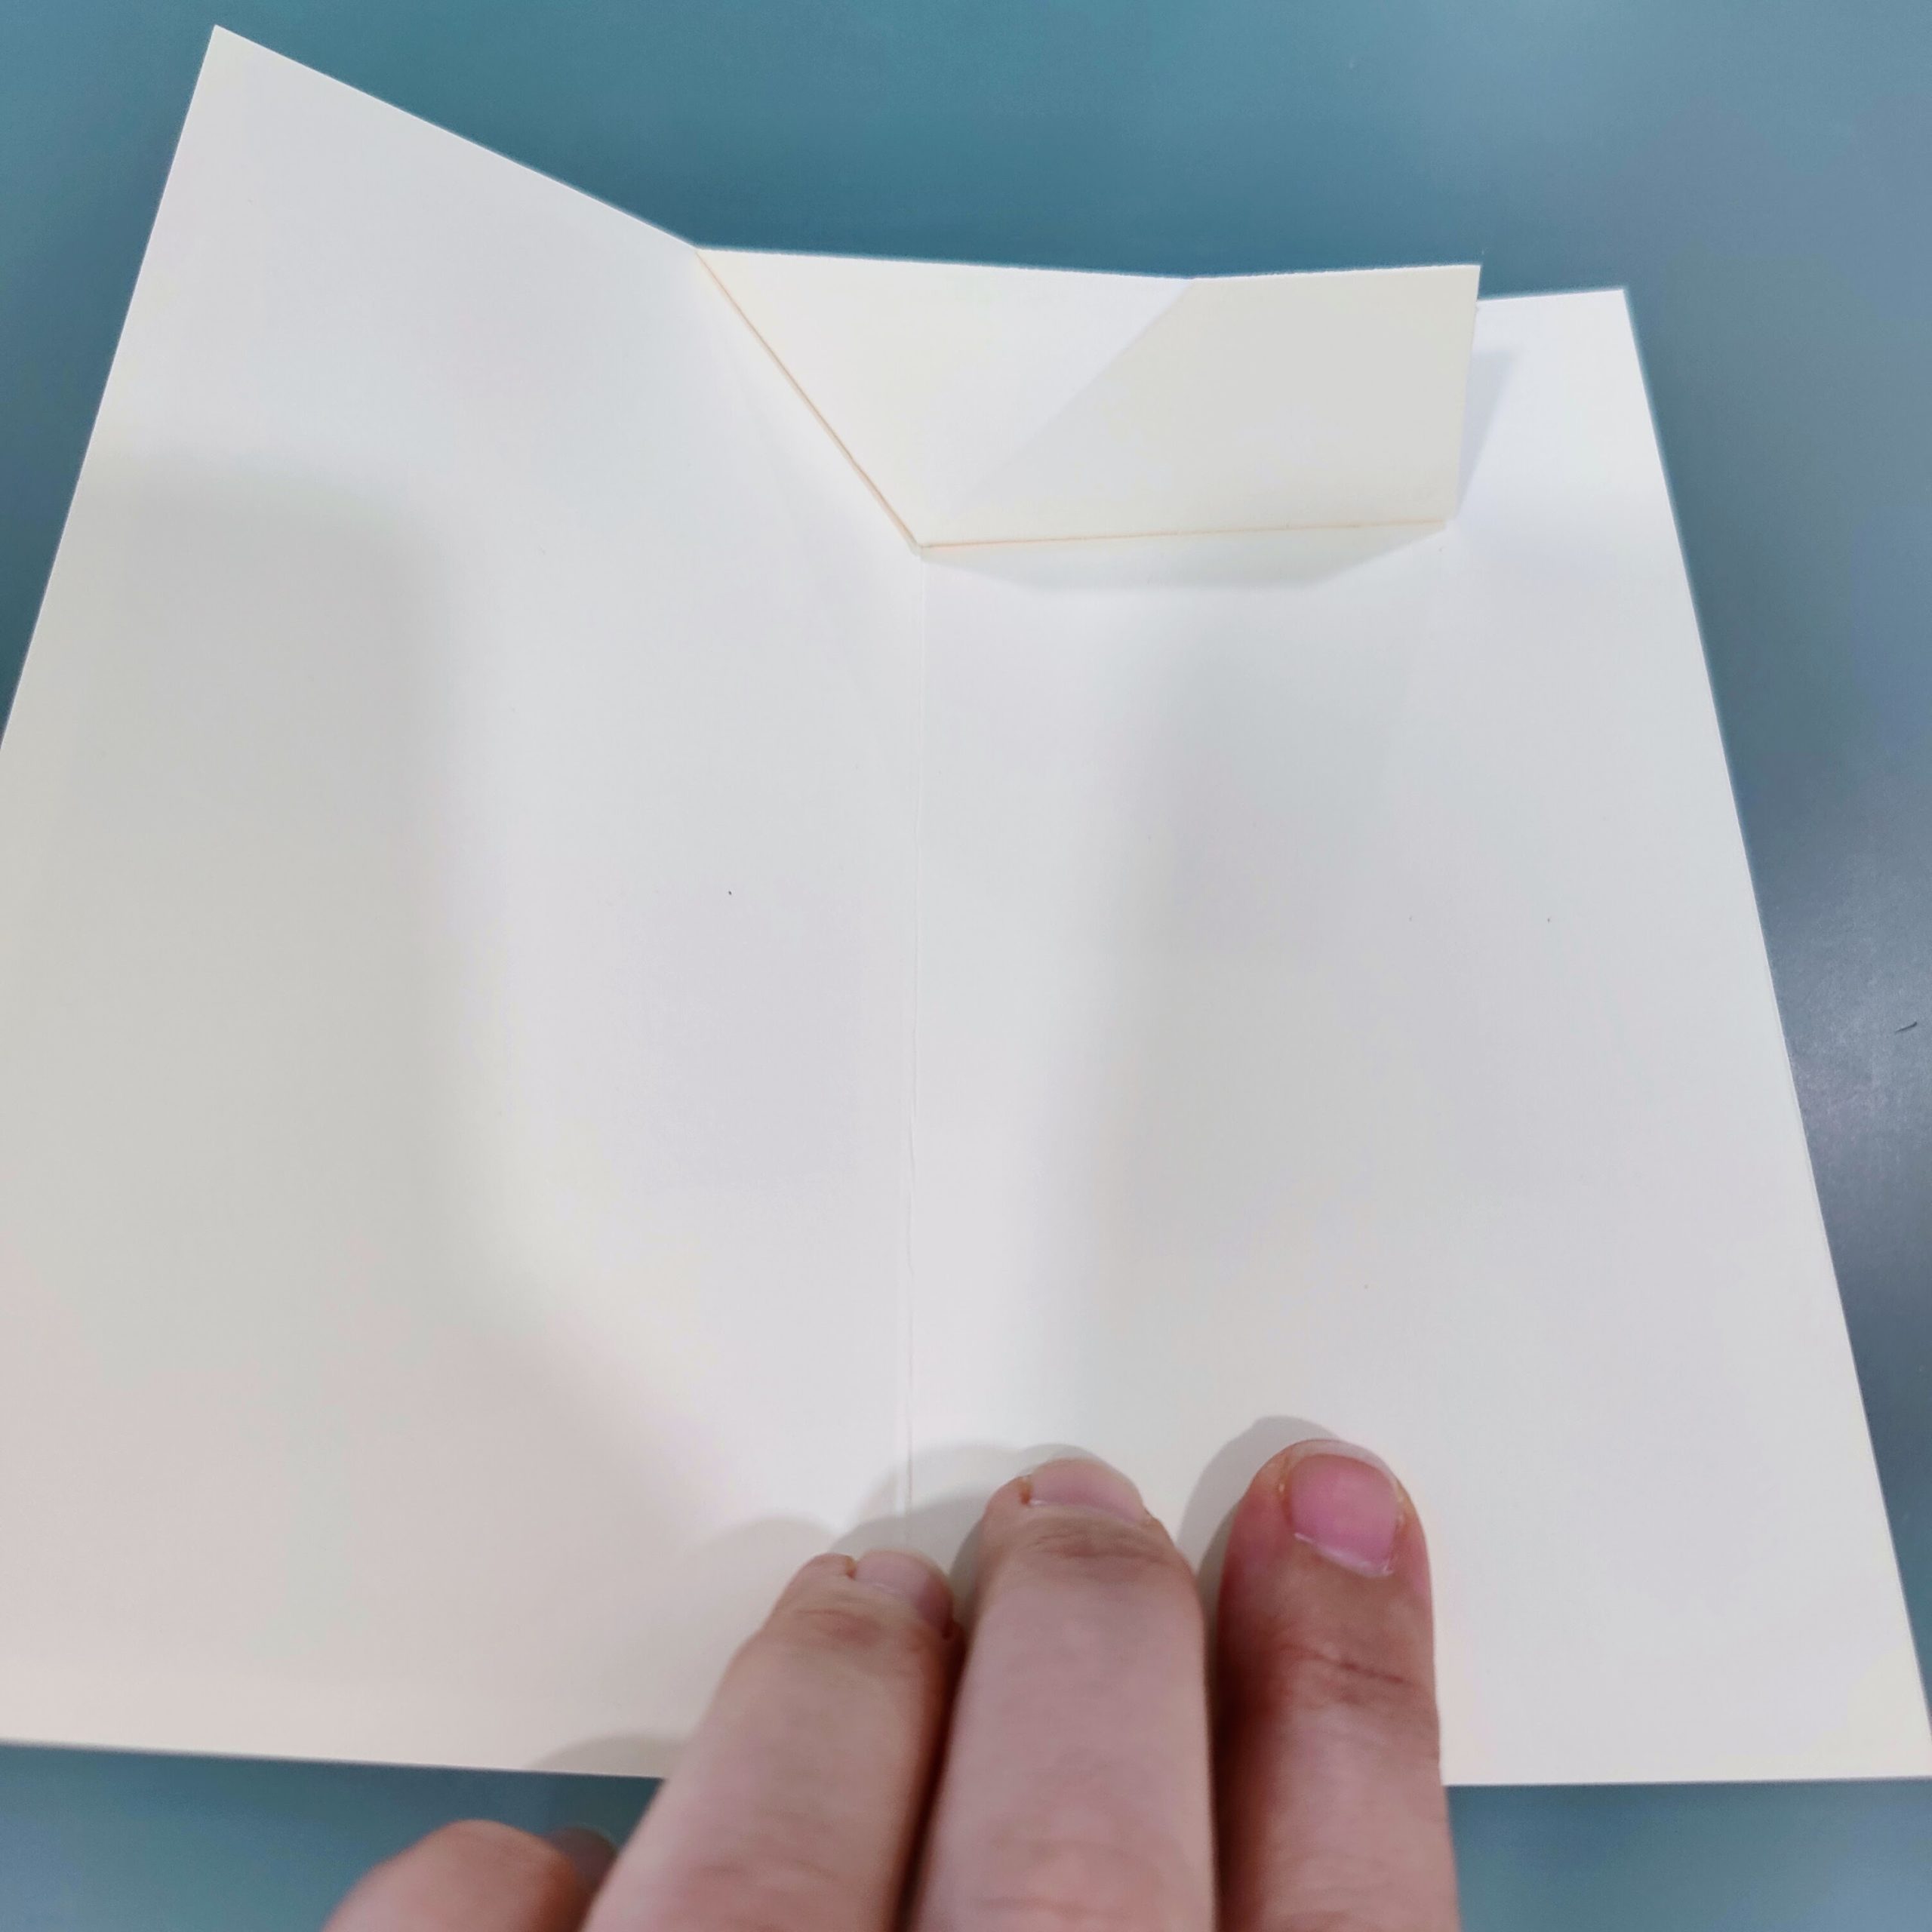 [/column]
[/row]
Now we’re ready to add our decorations! Using locking tweezers makes it easier to line things up without getting your fingers in the way. I use them all the time. Thin foam under some of the elements on the front of the cards pop them up and add depth and interest.

A few black pearls on the front of the cards finish them up. I love the way they turned out! What do you think?
[row]
[column size=”1/2″ stack=”sm”] [/column]
[column size=”1/2″ stack=”sm”] [/column]
[/row]
[row]
[column size=”1/2″ stack=”sm”] [/column]
[column size=”1/2″ stack=”sm”]
[/column]
[/row]
Thanks so much for stopping by today! I hope I’ve inspired you to give these Stand Ups a try. Remember, you can mix and match elements to pop up whatever you like! Also, the die set was originally designed for A2 cards, but as you can see with my cards, the mechanism works in virtually any sized side-folding card. I’ll be back soon with more fun cards to share. See you then!
Before I go, I want to remind you to tune in to Craft Roulette tonight (and every Friday night) at 4:30 pm Pacific/7:30pm Eastern! As the Spin Sponsor for June, we’re excited to help Mary give away gift certificates to the Pear Blossom Press shop each week! See you in the chatterbox…
This site uses affiliate links whenever possible (at no additional cost to you), but only for products I actually use and love.

So very cute!