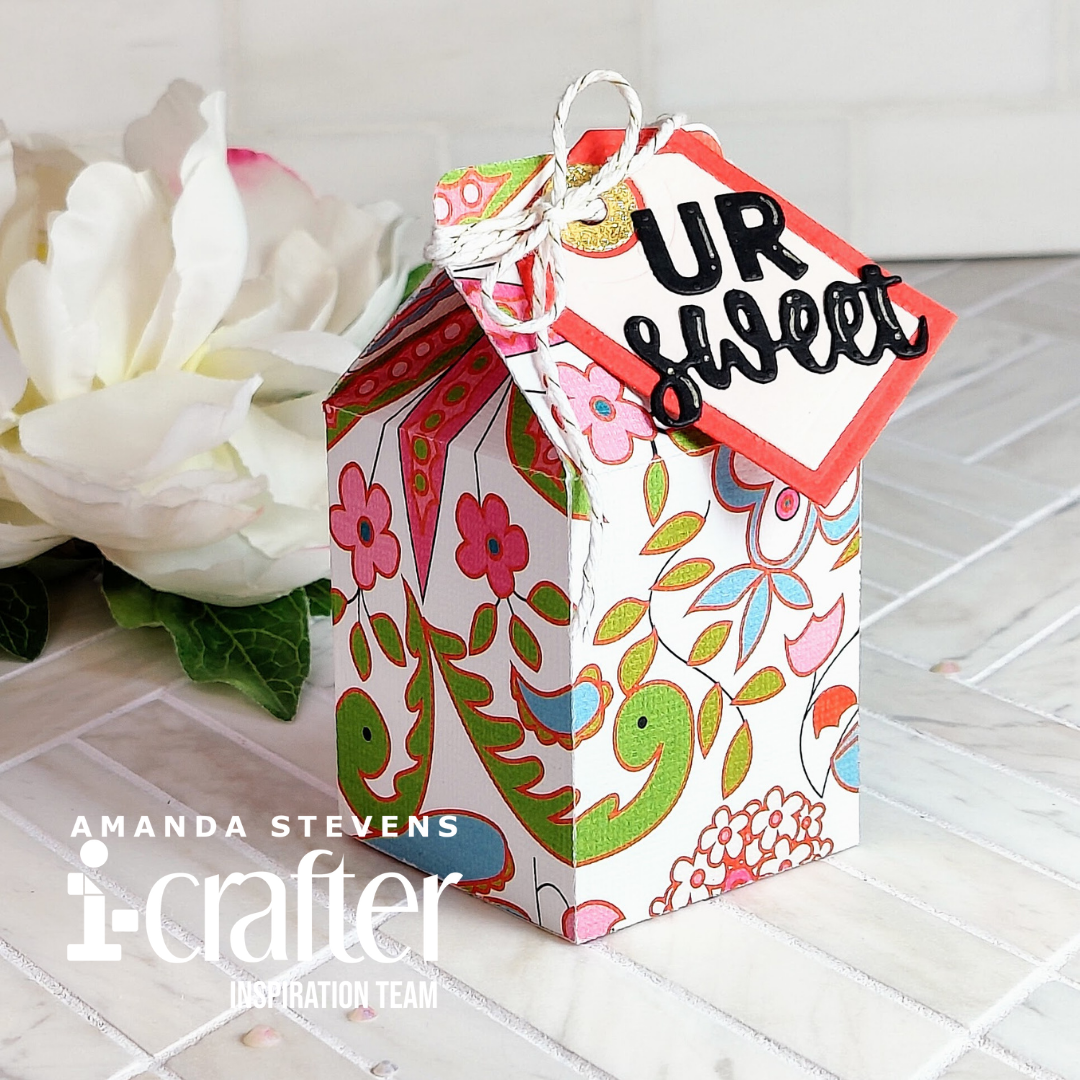
Hey crafty friend, I’m back with another sweet treat for you today. Using the new Milk Carton die set from i-crafter, I made a little favor box for Valentine’s Day! Isn’t it cute? Of course, you could use this box for any party, shower, or holiday, when you want to give out favors.
 This box is a little larger than some of the other treat boxes I’ve made, so it’s great for bigger favors, or more candy. Assembled, the bottom measures 2″ x 2″ and it is 2 1/2″ tall at the shortest point. I was able to tuck in a ring box and some candy. It’s large enough to fit several Chapstick tubes in, Matchbox cars, or other small toys. Even a mini cupcake, or a small stack of cookies would fit inside! Wouldn’t that be cute? Milk and cookies. Lol, the possibilities are endless.
Here are the featured products I used for today’s project…
SUPPLY LIST
Milk Carton Die Set
Carly Alphabet Die Set
Pro Deck Cutting Plate
Let me show you how easy it is to assemble…
The first thing you’ll want to do is to cut out your pieces. You’ll need to cut a pair of the large Milk Carton body panels. I used heavyweight pattern paper from my stash. Then, I cut out the tag pieces, and the word SWEET too. I wanted to add “U R” to the beginning of my sentiment, so I cut those letters out with my Carly Alphabet set. (If you need a good alphabet set, this one is awesome! It has both uppercase, and lowercase letters, as well as numbers and punctuation. And it’s a great size; I use it all the time!) While we’re talking about die cutting, I want to mention that I’m still loving my Pro Deck cutting plate. It’s fantastic! After more than 1500 cuts so far, it still looks and feels brand new. There is no warping, and it doesn’t mar my paper at all.
 After I cut out the pieces, I quickly glued the tag layers together, with the sentiment on top. For a fun accent, I added lines and dots to the letters with a gold gel pen.
 Before assembling the boxes, I recommend folding along all of the score lines that the die embosses into the panels. Then, lay both panels side by side. You’ll add glue to the two flaps on one panel and attach it to the other.
[row]
[column size=”1/2″ stack=”sm”] [/column]
[column size=”1/2″ stack=”sm”] [/column]
[/row]
Next, add glue to the flaps on the other panel, and glue it to the other side, to form a square tube. (Note: if you are making a bunch of these ahead of time, you can wait to seal the top and bottom, and just store them flat until you’re ready.)
[row]
[column size=”1/2″ stack=”sm”] [/column]
[column size=”1/2″ stack=”sm”] [/column]
[/row]
To seal the top, you’ll pinch the sides in and add glue to the flap. To seal the bottom, fold and glue the four flaps in. Be sure you fill your box before you seal both ends though.
[row]
[column size=”1/2″ stack=”sm”] [/column]
[column size=”1/2″ stack=”sm”] [/column]
[/row]
After that, it’s just a matter of decorating. In this case, I wrapped twine around the top and tied on my tag.
[row]
[column size=”1/2″ stack=”sm”][/column]
[column size=”1/2″ stack=”sm”] [/column]
[/row]
I love the way this turned out! It was so quick and easy to put together too. This box would be perfect for party favors, or classroom treats. What would you use it for?
Thanks so much for stopping by today! I’ll be back soon with another fun project to share. See you then!
This site uses affiliate links whenever possible (at no additional cost to you), but only for products I actually use and love.
