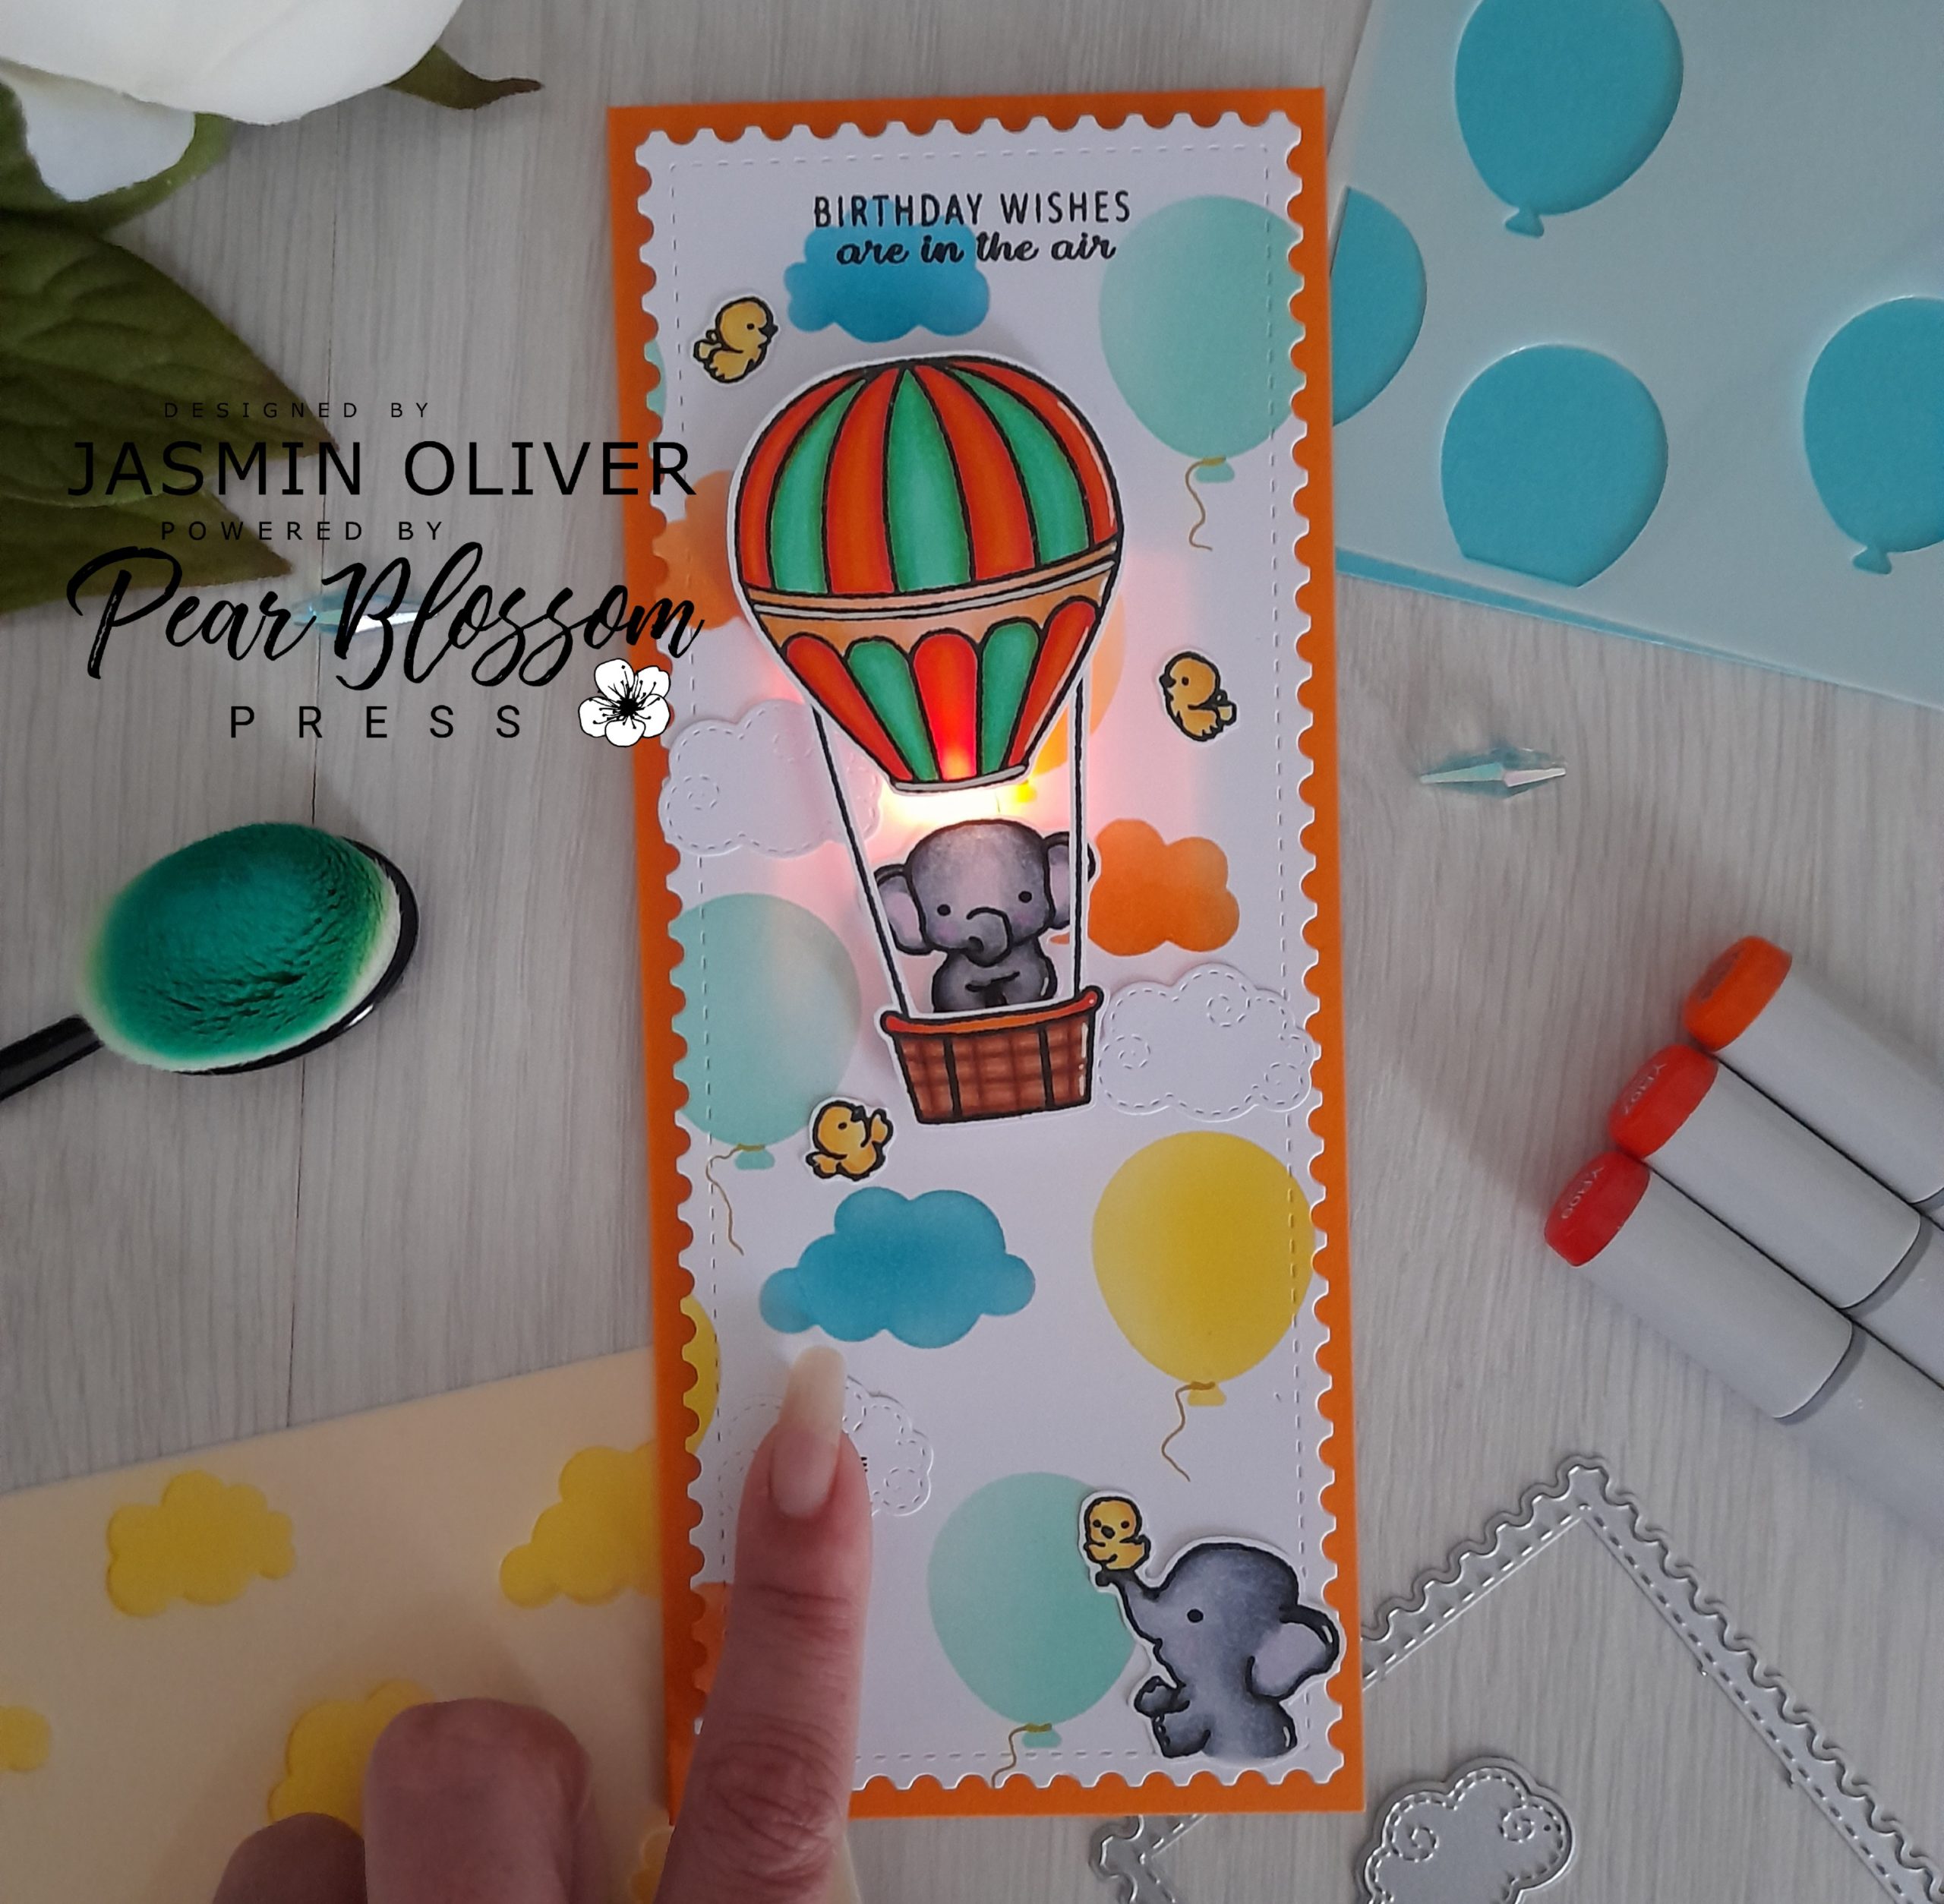
Hey Crafty Friends! Jasmin Oliver here (@jasmincraftymakes on Instagram), and I’m so excited to share a project with you as a guest designer for Pear Blossom Press. Today’s card features EZ-Lights. Watch this space for another project I will be sharing soon, using the new Halo Lights!
I’ve always dreamed of taking a hot air balloon ride; maybe I’ll get there one day! For now I will have to live vicariously through this adorable Up, Up and Away stamp set by Kraftin Kimmie.
Starting with my images stamped in Black Tuxedo Memento Ink on alcohol marker friendly card stock, I coloured them with Copic markers.
Next up, I pulled out two of my favourite Heffy Doodle stencils, Head in the Clouds and Balloon Room. Whilst these are 6×6 stencils, due to the layout they work great with slimlines and other shaped cards, as they are easy to layer up! I used a variety of Distress Inks to create a colourful background, then die cut the panel with Heffy Doodle’s Slimline Mini Mail dies. Using a Gold Gel Pen from Pear Blossom Press, I added strings to my stenciled balloons.
To indicate where to press the button for the lights, and for additional decoration, I die cut several Swirly Clouds, as they fit nicely with my theme. I cut three. (I personally do these things in odd numbers as they seem more appealing to the eye!) On just one of my stitched clouds, I stamped PUSH ME, using Heffy Doodle’s Interactively Yours stamp set.
Next, I figured out placement for my hot air balloon and the “push me” cloud. Then, using a pokey tool (I used a needle from my sewing kit), I made small holes where the lights and button should go. This helped align them properly from the back without it being too complicated! EZ-Lights have three lights attached to one battery; you can use them all or you can use just one, and snip the others off that are not needed. I used all three lights under my balloon to give it a real glow!
With my holes poked, I put my die cut images to the side and turned the panel over. It was time to do the exciting bit! Using double-sided sticky tape on the flat side of the battery unit, I secured my button in place, lined up over the single small hole I made. I doubled mine up for extra strength! 
Next, I taped the three lights in the holes I made toward the top of my card. I used invisible scotch tape to hold them in place. However, any strong tape you have will work. I like the clear tapes for white/light panels, so you don’t run the risk of darker tapes showing through your panel.
If you are making a smaller card instead of a slimline, you might find you have more excess wire hanging about, the trick is to gently loop it round so that it lays flat, and use more tape to keep it in place.
I used Double Thick Foam Tape around the edge of my panel to pop it up from my slimline card base, and an extra piece by the button for additional strength. This tape gives a great depth, and leaves plenty of room between the card base and front panel, for a clean finished look. After adhering the die cut images in place, the card was finished. Notice how the hot air balloon is popped up? That helps the light bounce around and light up the whole area, rather than creating hot spots.
So here we have our adorable elephant taking a hot air balloon ride! I love the glow the lights give this scene, it’s really sweet!
Thanks for stopping by today. I will be back soon to share another card, until then happy crafting!
Jas
A great big thanks to Jasmin Oliver for guest designing for us today! She’ll be back soon with more fun light-up cards to share. For more inspiration, check out her blog, and if you’re not already following Jasmin on Instagram, you will definitely want to! Please make sure to use her links above, if you’d like to purchase any of the items used today. Some are affiliate links, and that helps to support her hobby. Don’t worry, there is no additional cost to you; it’s just an awesome way to thank her for the inspiration.


What a lovely card Jasmin!