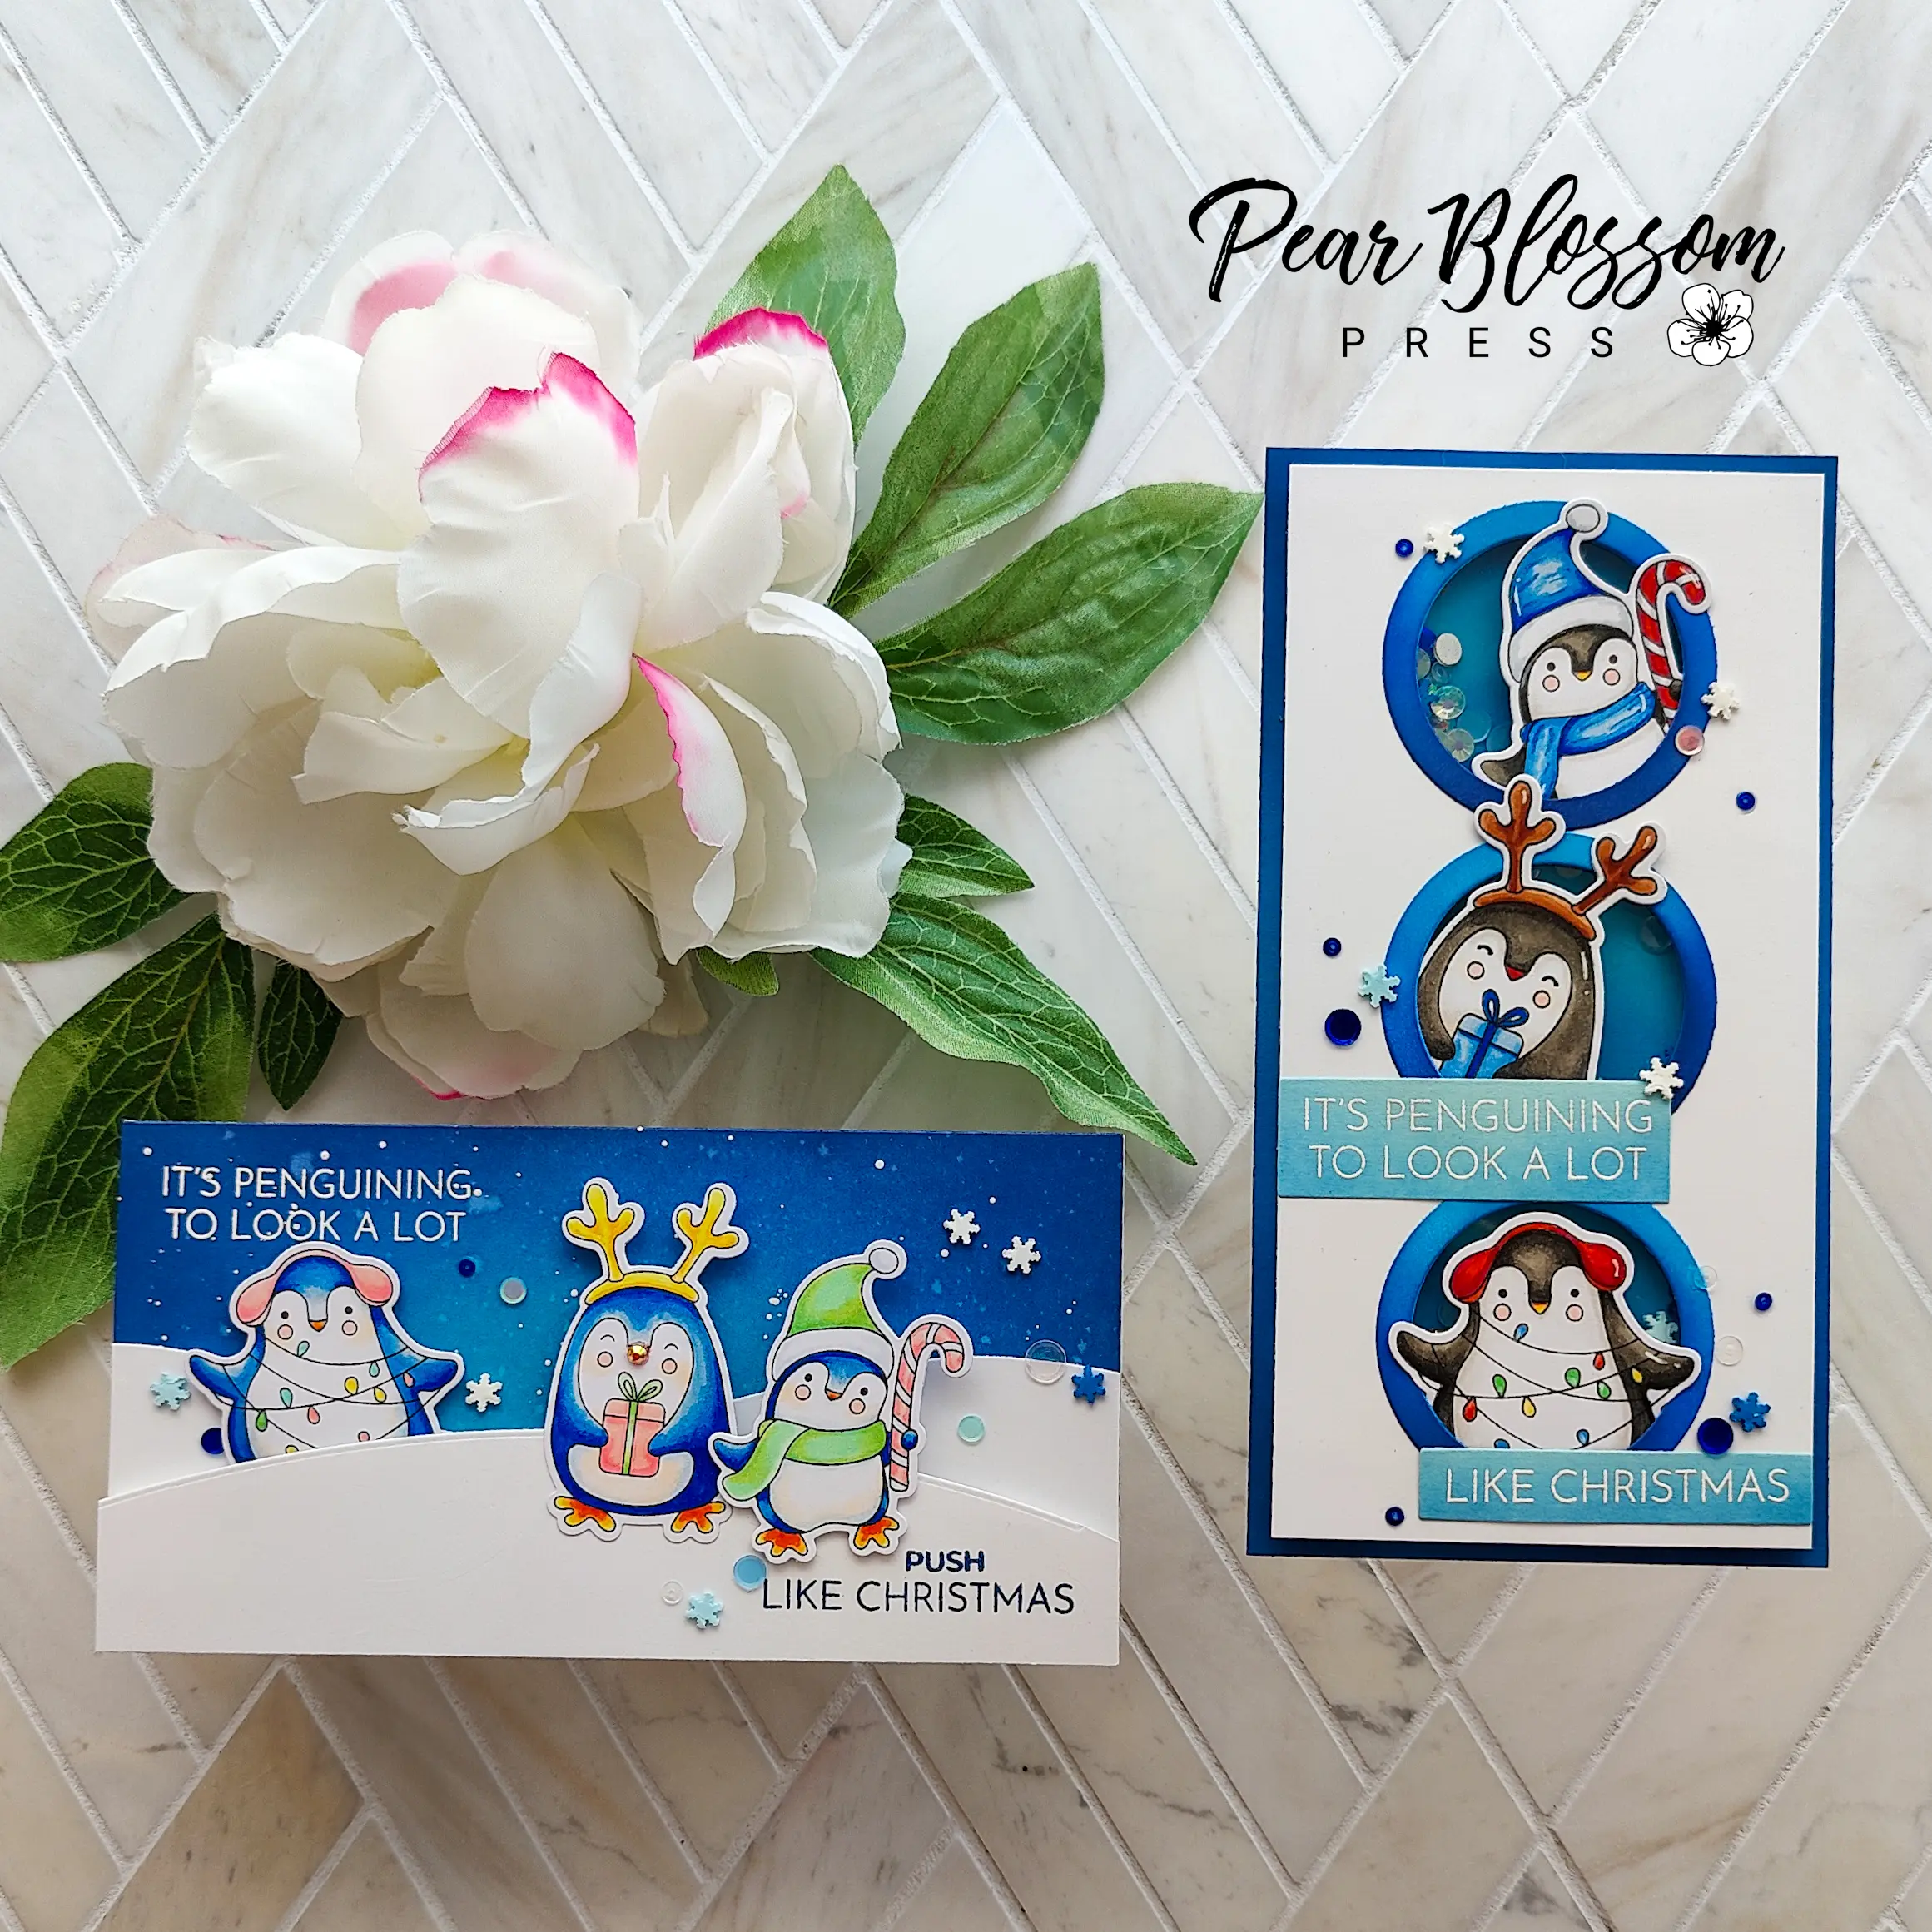
Hello, hello my crafty friend! I’m excited to share a fun pair of cards, both featuring the new Penquining Stamps and Dies from The Rabbit Hole Designs. It’s always nice to be able to stretch your supplies, so I wanted to show you two different ways to use the same set, and of course, I had to make them both interactive! One is a shaker card, the other lights up. Take a look…
Aren’t they fun?
I know what you’re thinking, it’s June and the Christmas cards are already coming? Yep. And I love it! Holiday cards are some of my favorite to make and I’ve learned that I get bored making more than a couple of the same kind. I also know that stamps and dies are an investment, so I wanted to show you several ways to use these cute penguins. (For even more ways, be sure to hop along with us! Details below.)
Grab your supplies and meet me in the craft room…
Supply List
Penguining Stamp Set
Penguining Coordinating Dies
World’s Best Double Thick Foam Tape
EZ-Lights
Interactive Labels Stamp Set
Let’s take a quick look at the shaker card first. I used nesting circle dies to cut windows in a 3″ x 6″ panel, and three frames to go around them. I stamped and colored my penguin trio, using a combo of Copic and Olo markers, opting for more traditional colors (warm grey penguins, brown antlers, red candy cane, and lots of blue accents to coordinate with the ink blended background and frames). After cutting them out with the coordinating dies, I tucked them behind the windows and added acetate to the back. Using double thick foam tape, I popped the panel up on my mini-slimline card panel, sandwiching in some shaker bits behind the windows. A pair of sentiment banners and more shaker bits on top finish the card. It’s fun to shake!
[row]
[column size=”1/2″ stack=”sm”] [/column]
[column size=”1/2″ stack=”sm”] [/column]
[/row]
For the light-up- card, I ink blended another card base and splattered on water and Copic White to create a snowy background, careful not to get too much in the upper left corner so the embossed sentiment would still be easy to read. I cut a pair of white hillsides and glued one to the card panel, then popped the left penguin up with thin foam tape. Before attaching the second hillside, I glue the reindeer penguin to the center, poked a hole in his nose, then flipped it over and taped one LED of an EZ-Light in the hole (I cut the other two lights off, but you could bundle up all three lights). I attached the battery on the hillside, lining up the button behind the stamped word “PUSH.” Double thick foam tape around the rest of the penguin and hillside helps elevate it to the same thickness as the battery (so there won’t be an uneven bump). You can see the back in the images below…
[row]
[column size=”1/2″ stack=”sm”] [/column]
[column size=”1/2″ stack=”sm”] [/column]
[/row]
I attached the third penguin with another layer of thin foam, so he would be a little higher than the one next to him. A few more of the shaker bits from the first card and a red gem glued to the reindeer’s nose finish the card. Press the button, and this card is sure to wow your recipient!
[row]
[column size=”1/2″ stack=”sm”] [/column]
[column size=”1/2″ stack=”sm”] [/column]
[/row]
Cool, right? Who wouldn’t love getting this card? Notice the different way I colored the penguins this time? Instead of warm greys, I colored them with shades of blue and I used pastel colors for all of the accents. I think I like this combo better than the traditional colors. Which do you prefer?
Ready for more ideas on how to color and use these stamps? Hop along with us!
The Rabbit Hole Designs
Erin
Amy
Tracy S
Lauren
Jenn
Jessica
Wendy
Amanda – you are here
Lydia – next stop
Deana
Thanks so much for stopping by today. I hope I’ve inspired you to give these cuties a try! I’ll be back soon with more fun cards to share.
This site uses affiliate links whenever possible (at no additional cost to you), but only for products I actually use and love.
